


Workflows Overview
Learn how to get started with workflows and make your website more powerful and dynamic.
Identifying elements
A lot of our workflows require you to add an ID (Identifier) name to your elements, this is to make sure Ycode knows which element will trigger or be triggered by an event.
There are two ways to add an ID to an element, automatically generated or manually.
Automatically generated
Choose the element you want to give the ID to, once chosen select that element and right-click on it (either on the canvas or on the layers panel). A few options will show up on a menu, choose either “Create a page workflow” or “Create a global workflow”.
Note: If you don’t know the difference between a page and a global workflow please see our documentation on the topic!
This will automatically generate an ID name for your elements, this is great if you don’t want to name all of your elements individually, however, because it’s randomly generated you will end up with extremely lengthy and random names which can make using workflows harder.
Manually
Choose the element you want to give the ID to, once chosen select that element and go to the right-hand side to the Settings. Here, you will have an ID section where you will be able to manually name your element.
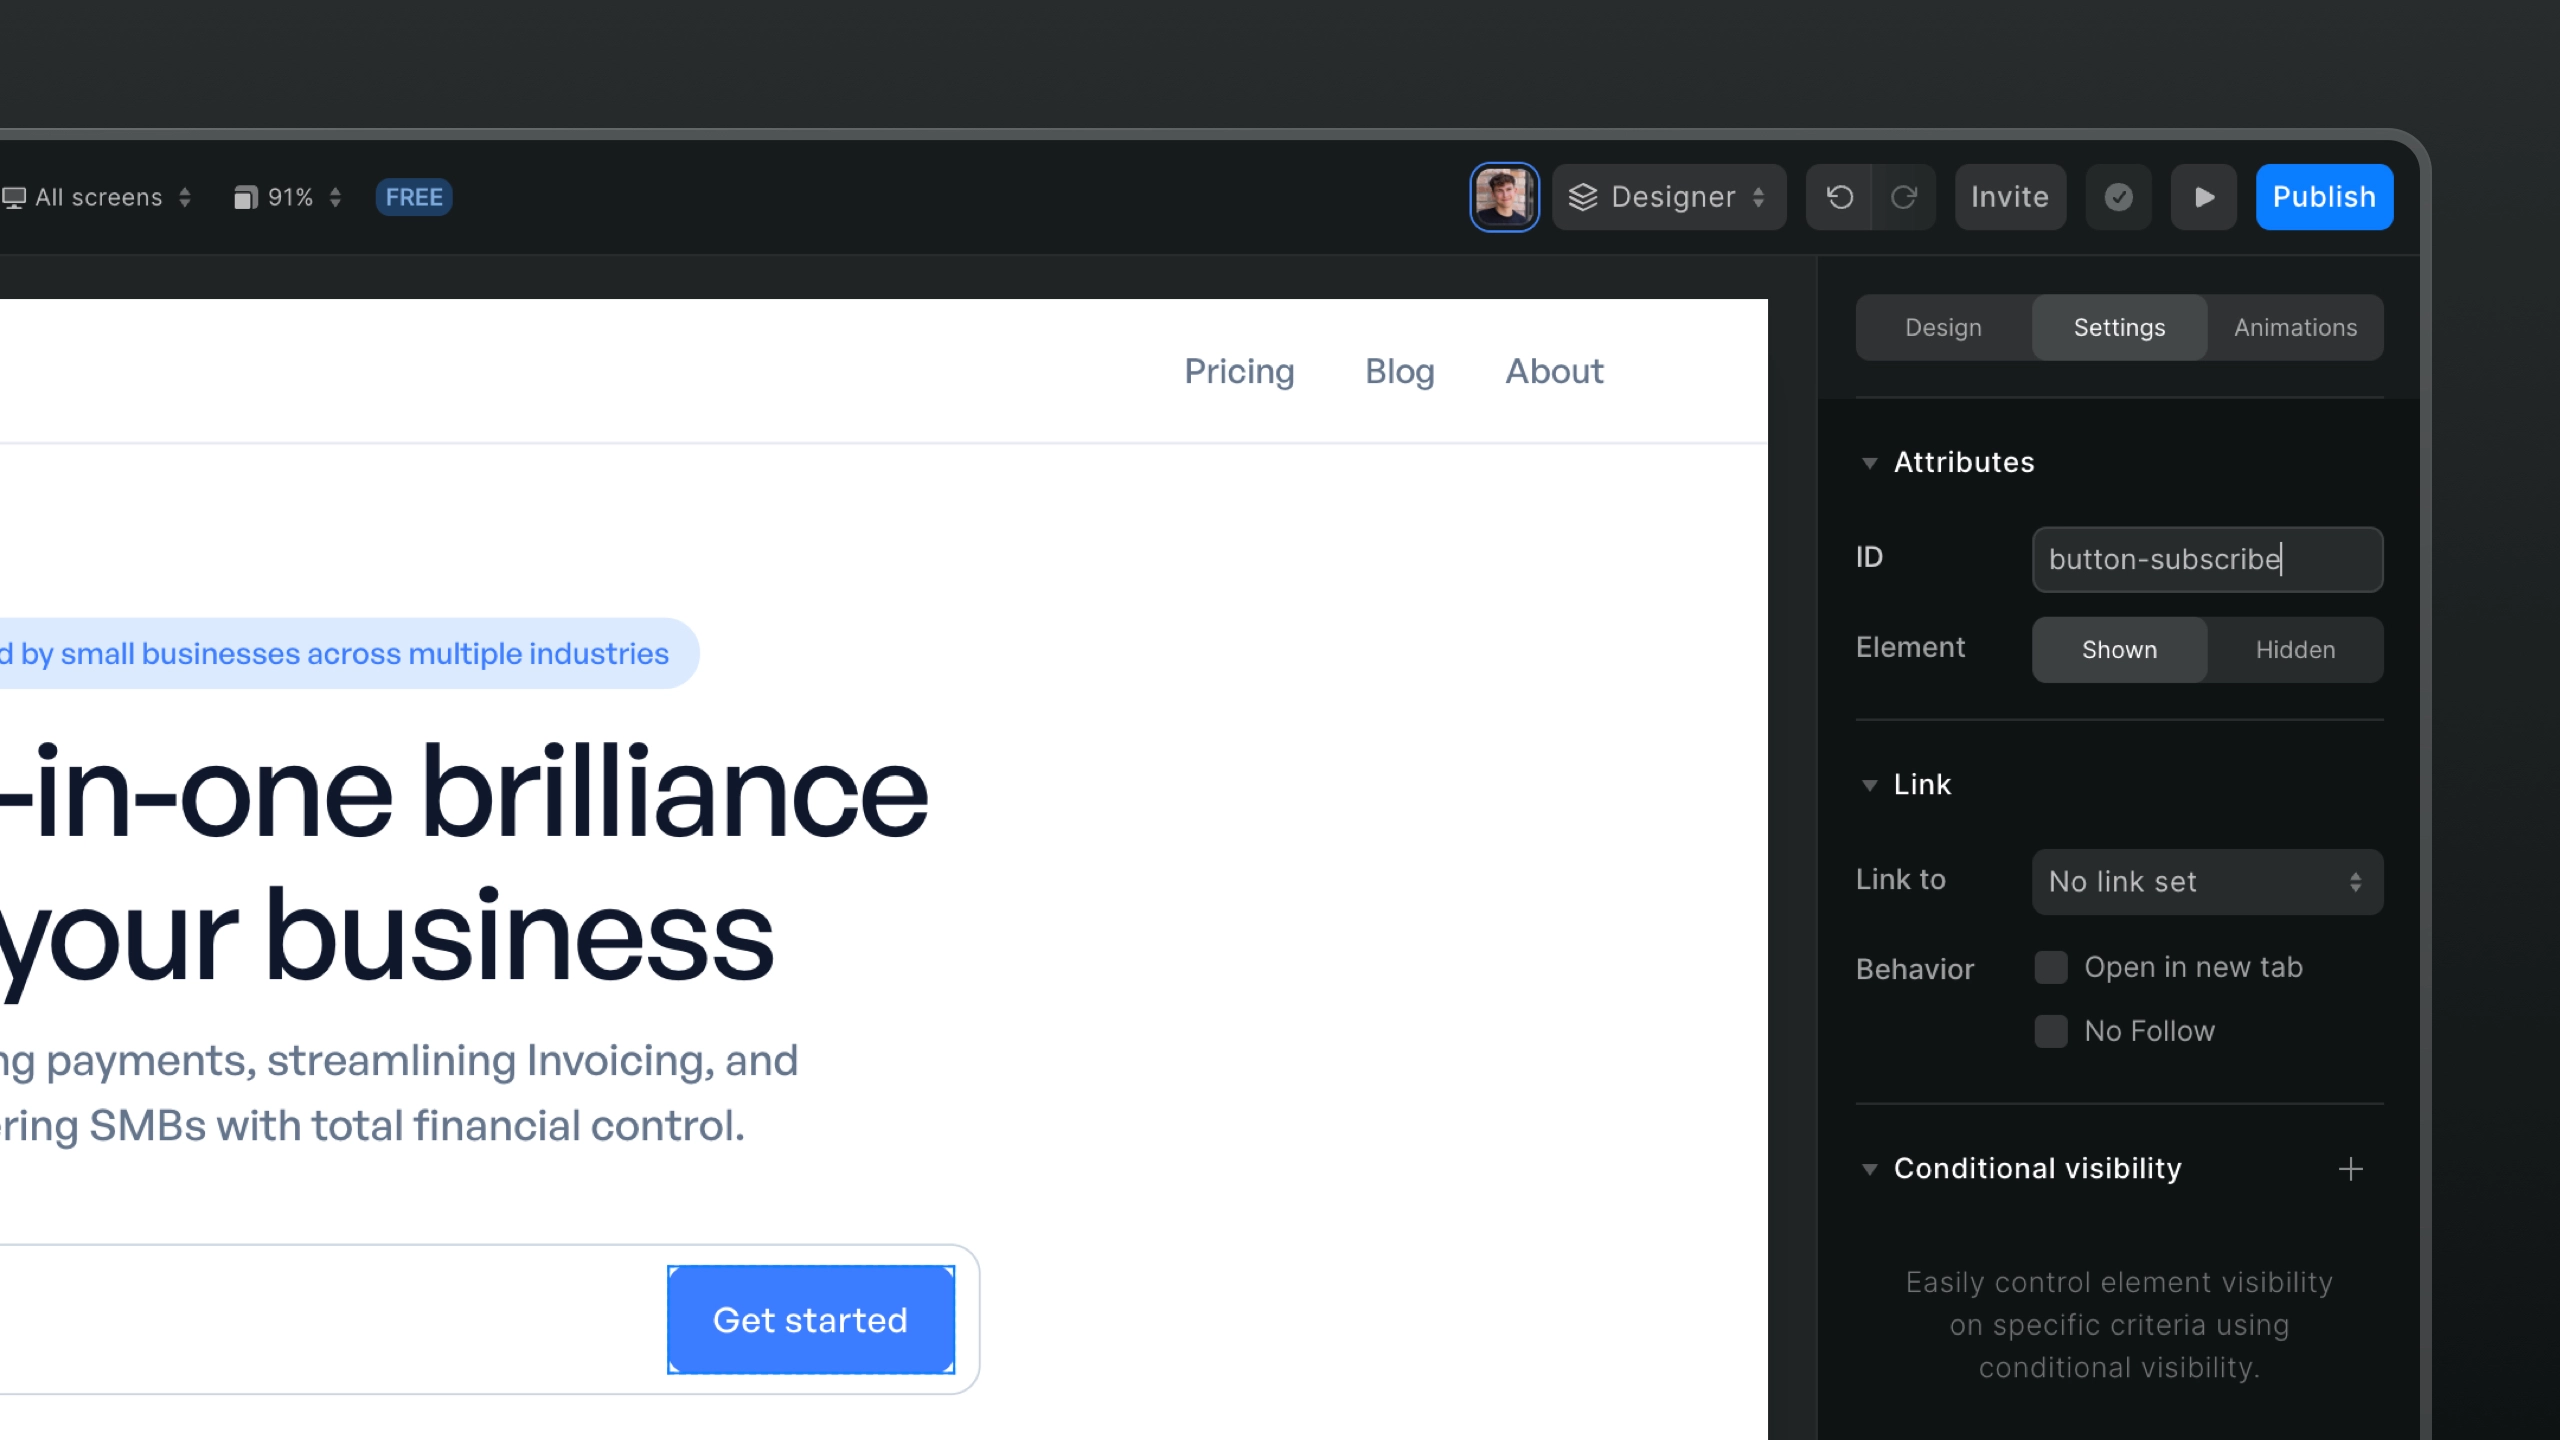
While this can be a bit time-consuming if you have a lot of elements that take part in workflows, because your naming them yourself it will be easier to keep track of what each workflow event is triggering what and it will be easier to create new workflows and not lose track of the ID’s.
Workflow types
In Ycode, you can build two types of workflows:
Page workflows - are specific to a page.
Global workflows - let you repeat a workflow and use the same ID on multiple pages and elements. A good example of global workflow would be a Navigation element that is being used across all pages, with workflow to show/hide mobile menu.