
Do you have amazing visuals to show? Knowledge to share? Advice to give? A blog is a great way to share your ideas with the world, connect with people and build your own brand.
With a head full of blog content ideas, it’s time to create your new virtual space!
In this article, we’ll explain how to design a blog — from preparing the foundation to using the right web elements to growing your reach with a solid blog strategy.
Let’s dive right in!
Step 1: Set yourself up for success
Before you start doing, let’s decide on how you’ll bring your blog design to life. Will you use a blogging platform or build your own blog? And what will your blog be titled? We’ll elaborate below.
Platform: WordPress vs. Ycode
Wondering whether you should create a blog in WordPress, Blogger or another blogging platform?
If it’s your first time as a blogger and you want the process to be quick and easy, a blogging platform is a good choice. Especially for WordPress blogs, where there are ready-made templates and plugins available. Just import a blog template, make a few tweaks and you can start adding your blog content.
That said, if blog design, flexibility and scalability are high up on your wishlist, then building your own blog is a much better solution.
With a no-code builder like Ycode, you’re in total control of the design and usability of your new blog. It’s easy, you don’t need any prior HTML or CSS knowledge. Just use the drag & drop builder and connect APIs to use and show external data.
Granted, it might take you a little longer to learn and build your own blog, but once you do, you can easily scale it. And you’ve learned a new skill that’ll be highly valuable for decades to come.
Domain name
Did you decide on how to build your blog? We hope the answer is: Yes, with Ycode!
The next step is to choose a domain name.
When you create a new web project with Ycode, our no-code builder automatically generates a public URL. It works fine, but it’s not that pretty (xyz.ycodeapp.dev).
For a more professional look, it’s best to buy a domain name and set it up as a custom domain within Ycode. You can easily order domain names on websites like GoDaddy, Namecheap, Bluehost or any other registrar. When you buy the domain name, don’t worry about paying extra for hosting, Ycode takes care of the hosting!
Step 2. Build your blog with the right web elements
Though each blog is different, good blog layouts have a few web design elements in common.
We’ll discuss both smaller design elements and ones related to the overall structure of your blog.
1. Elements for your overall blog structure
Homepage
A blog homepage is like an ever-changing art gallery wall. As the exhibition keeps changing, it’s best to keep the wall and its environment simple, so the pieces really pop. A neutral background, some striking frames and an exhibition tagline is all you need.
This is how you should design your blog layout too.
Give each element on the blog homepage enough room to breathe (through white space). When deciding on your color scheme, make sure it works harmoniously with a variety of blog images. Be cautious about using background colors or header images, as they can turn your homepage into a funfair when paired with the blog images.
When deciding on homepage web elements, pick the essentials and refrain from any extra fluff. With blogs, it’s tempting to fill the page and sidebar with widgets like galleries, recent posts and social feeds. But are they all necessary? It might only distract and confuse readers.
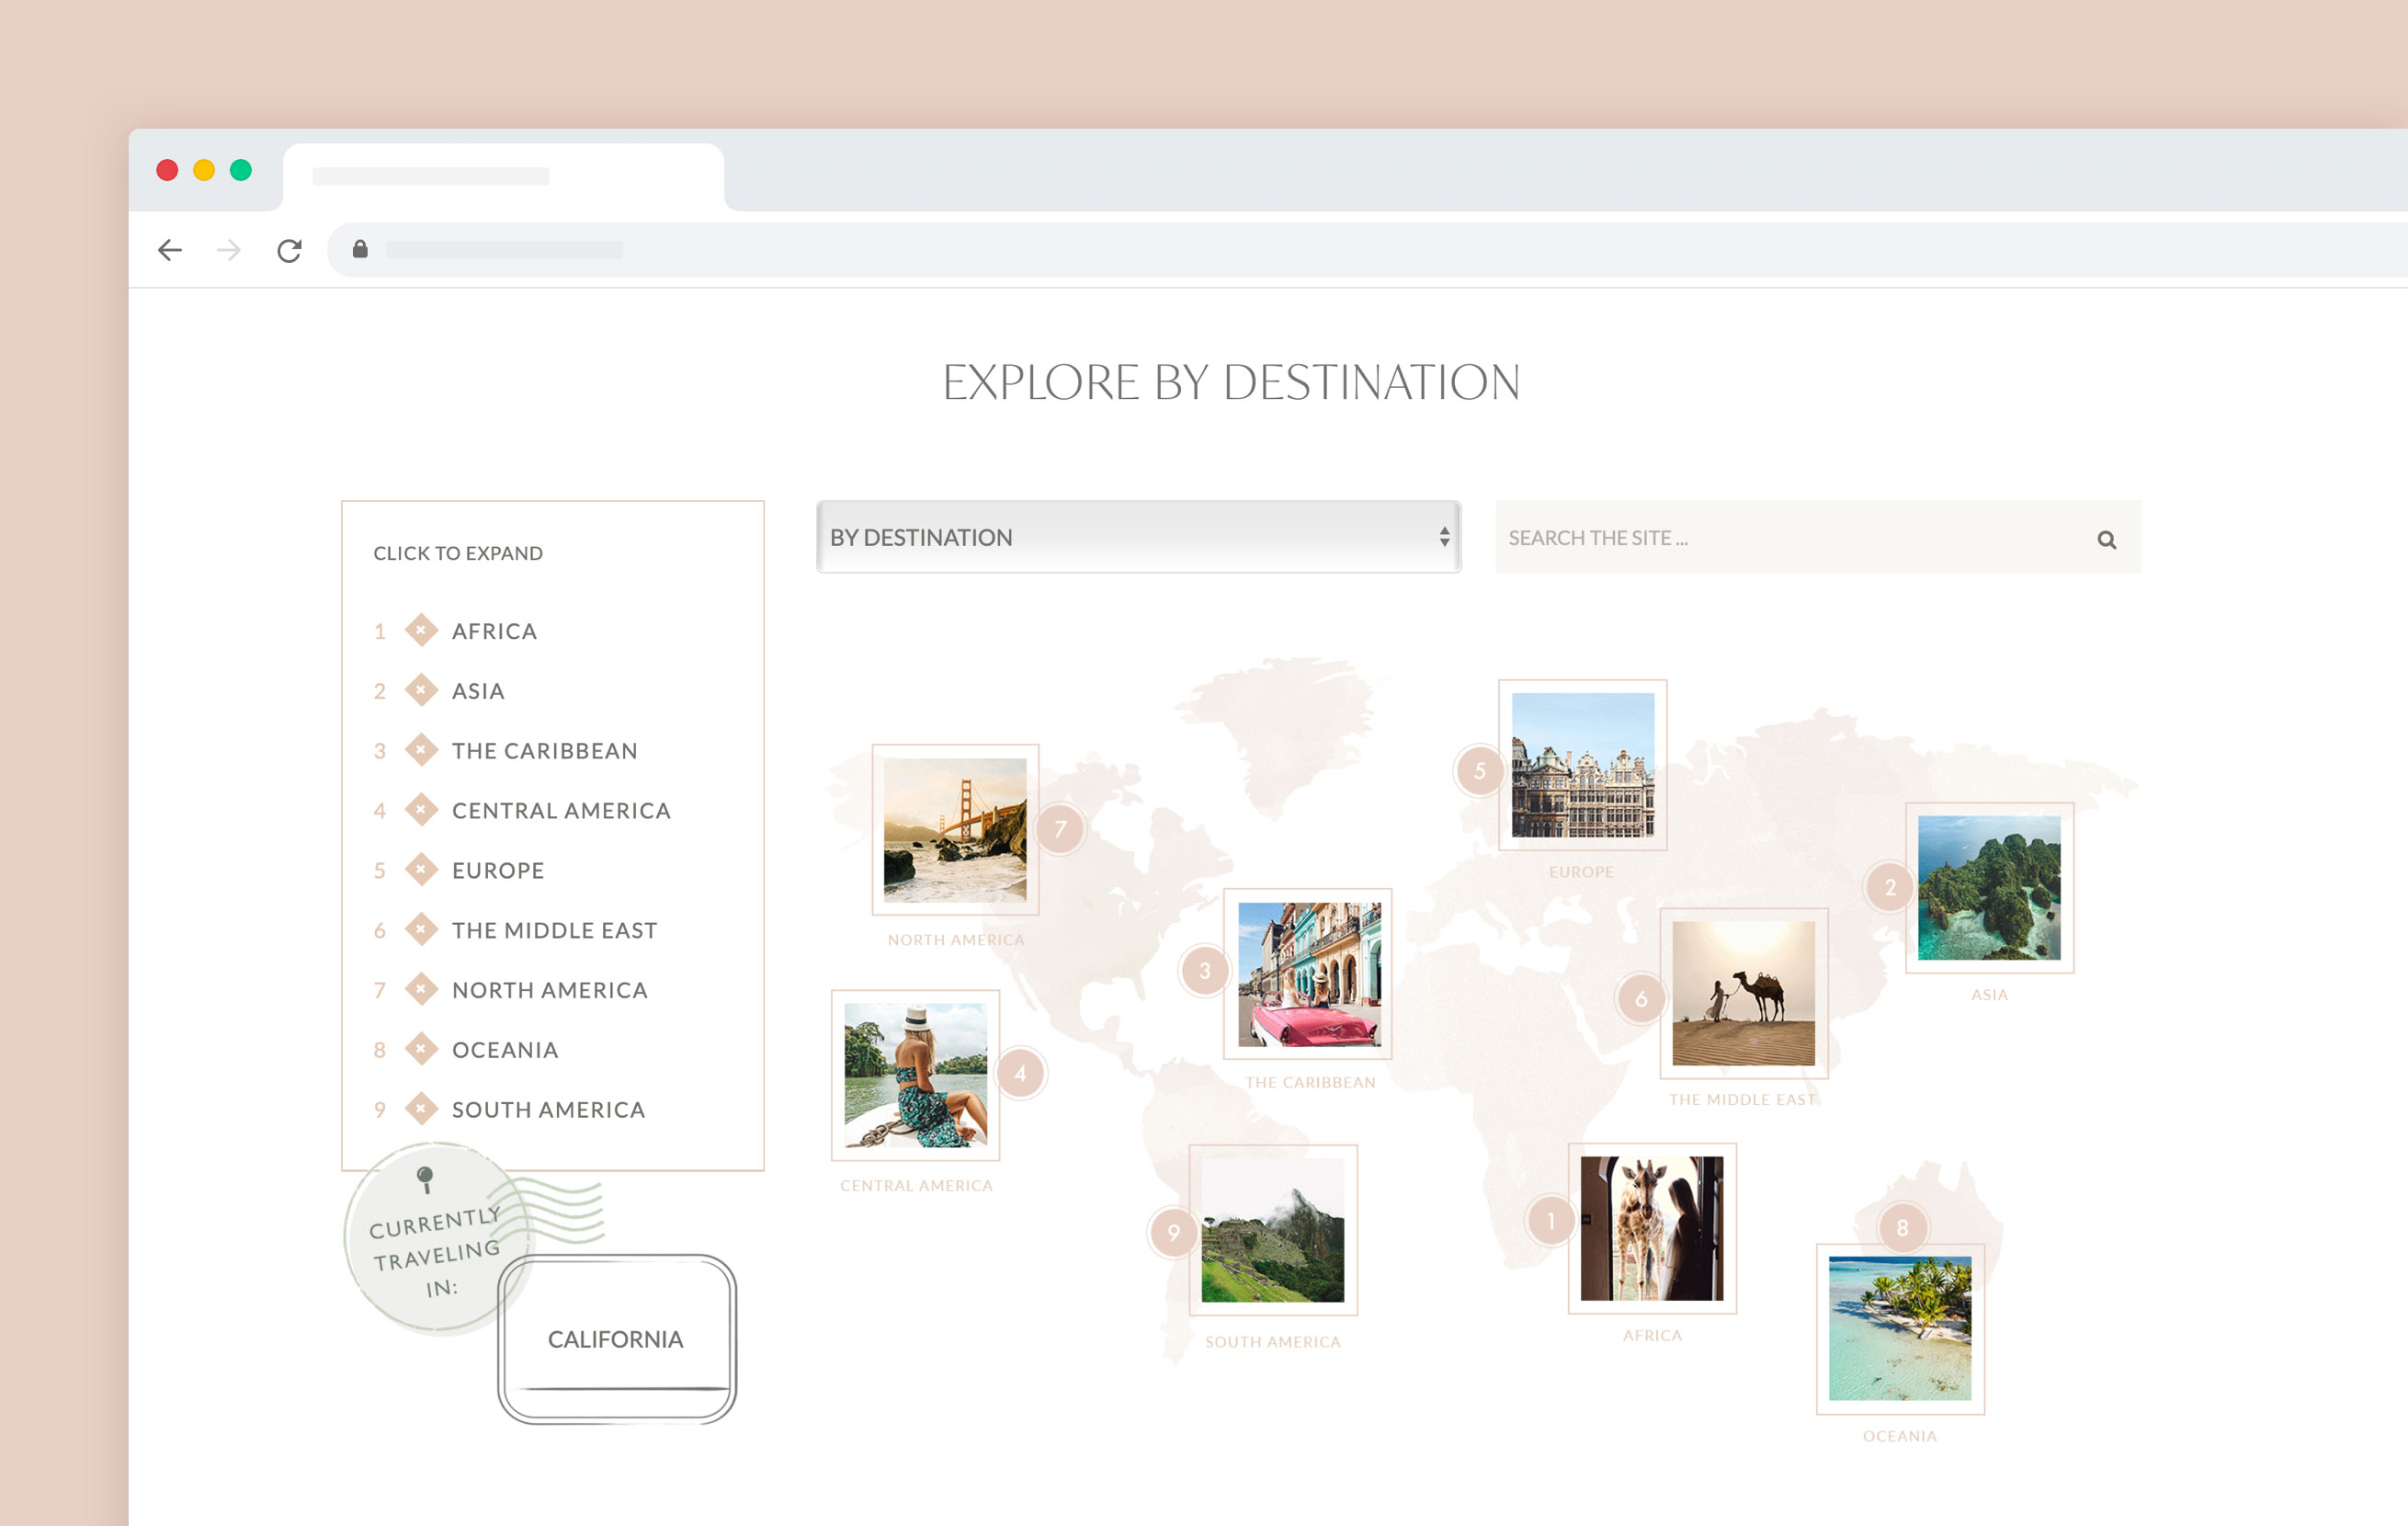
On the other hand, do think out of the box to see what website design elements would fit your blog.
For example, the virtual travel map on The Blonde Abroad’s travel blog is super relevant. It offers a great user experience and is a fun way for visitors to explore different destinations.
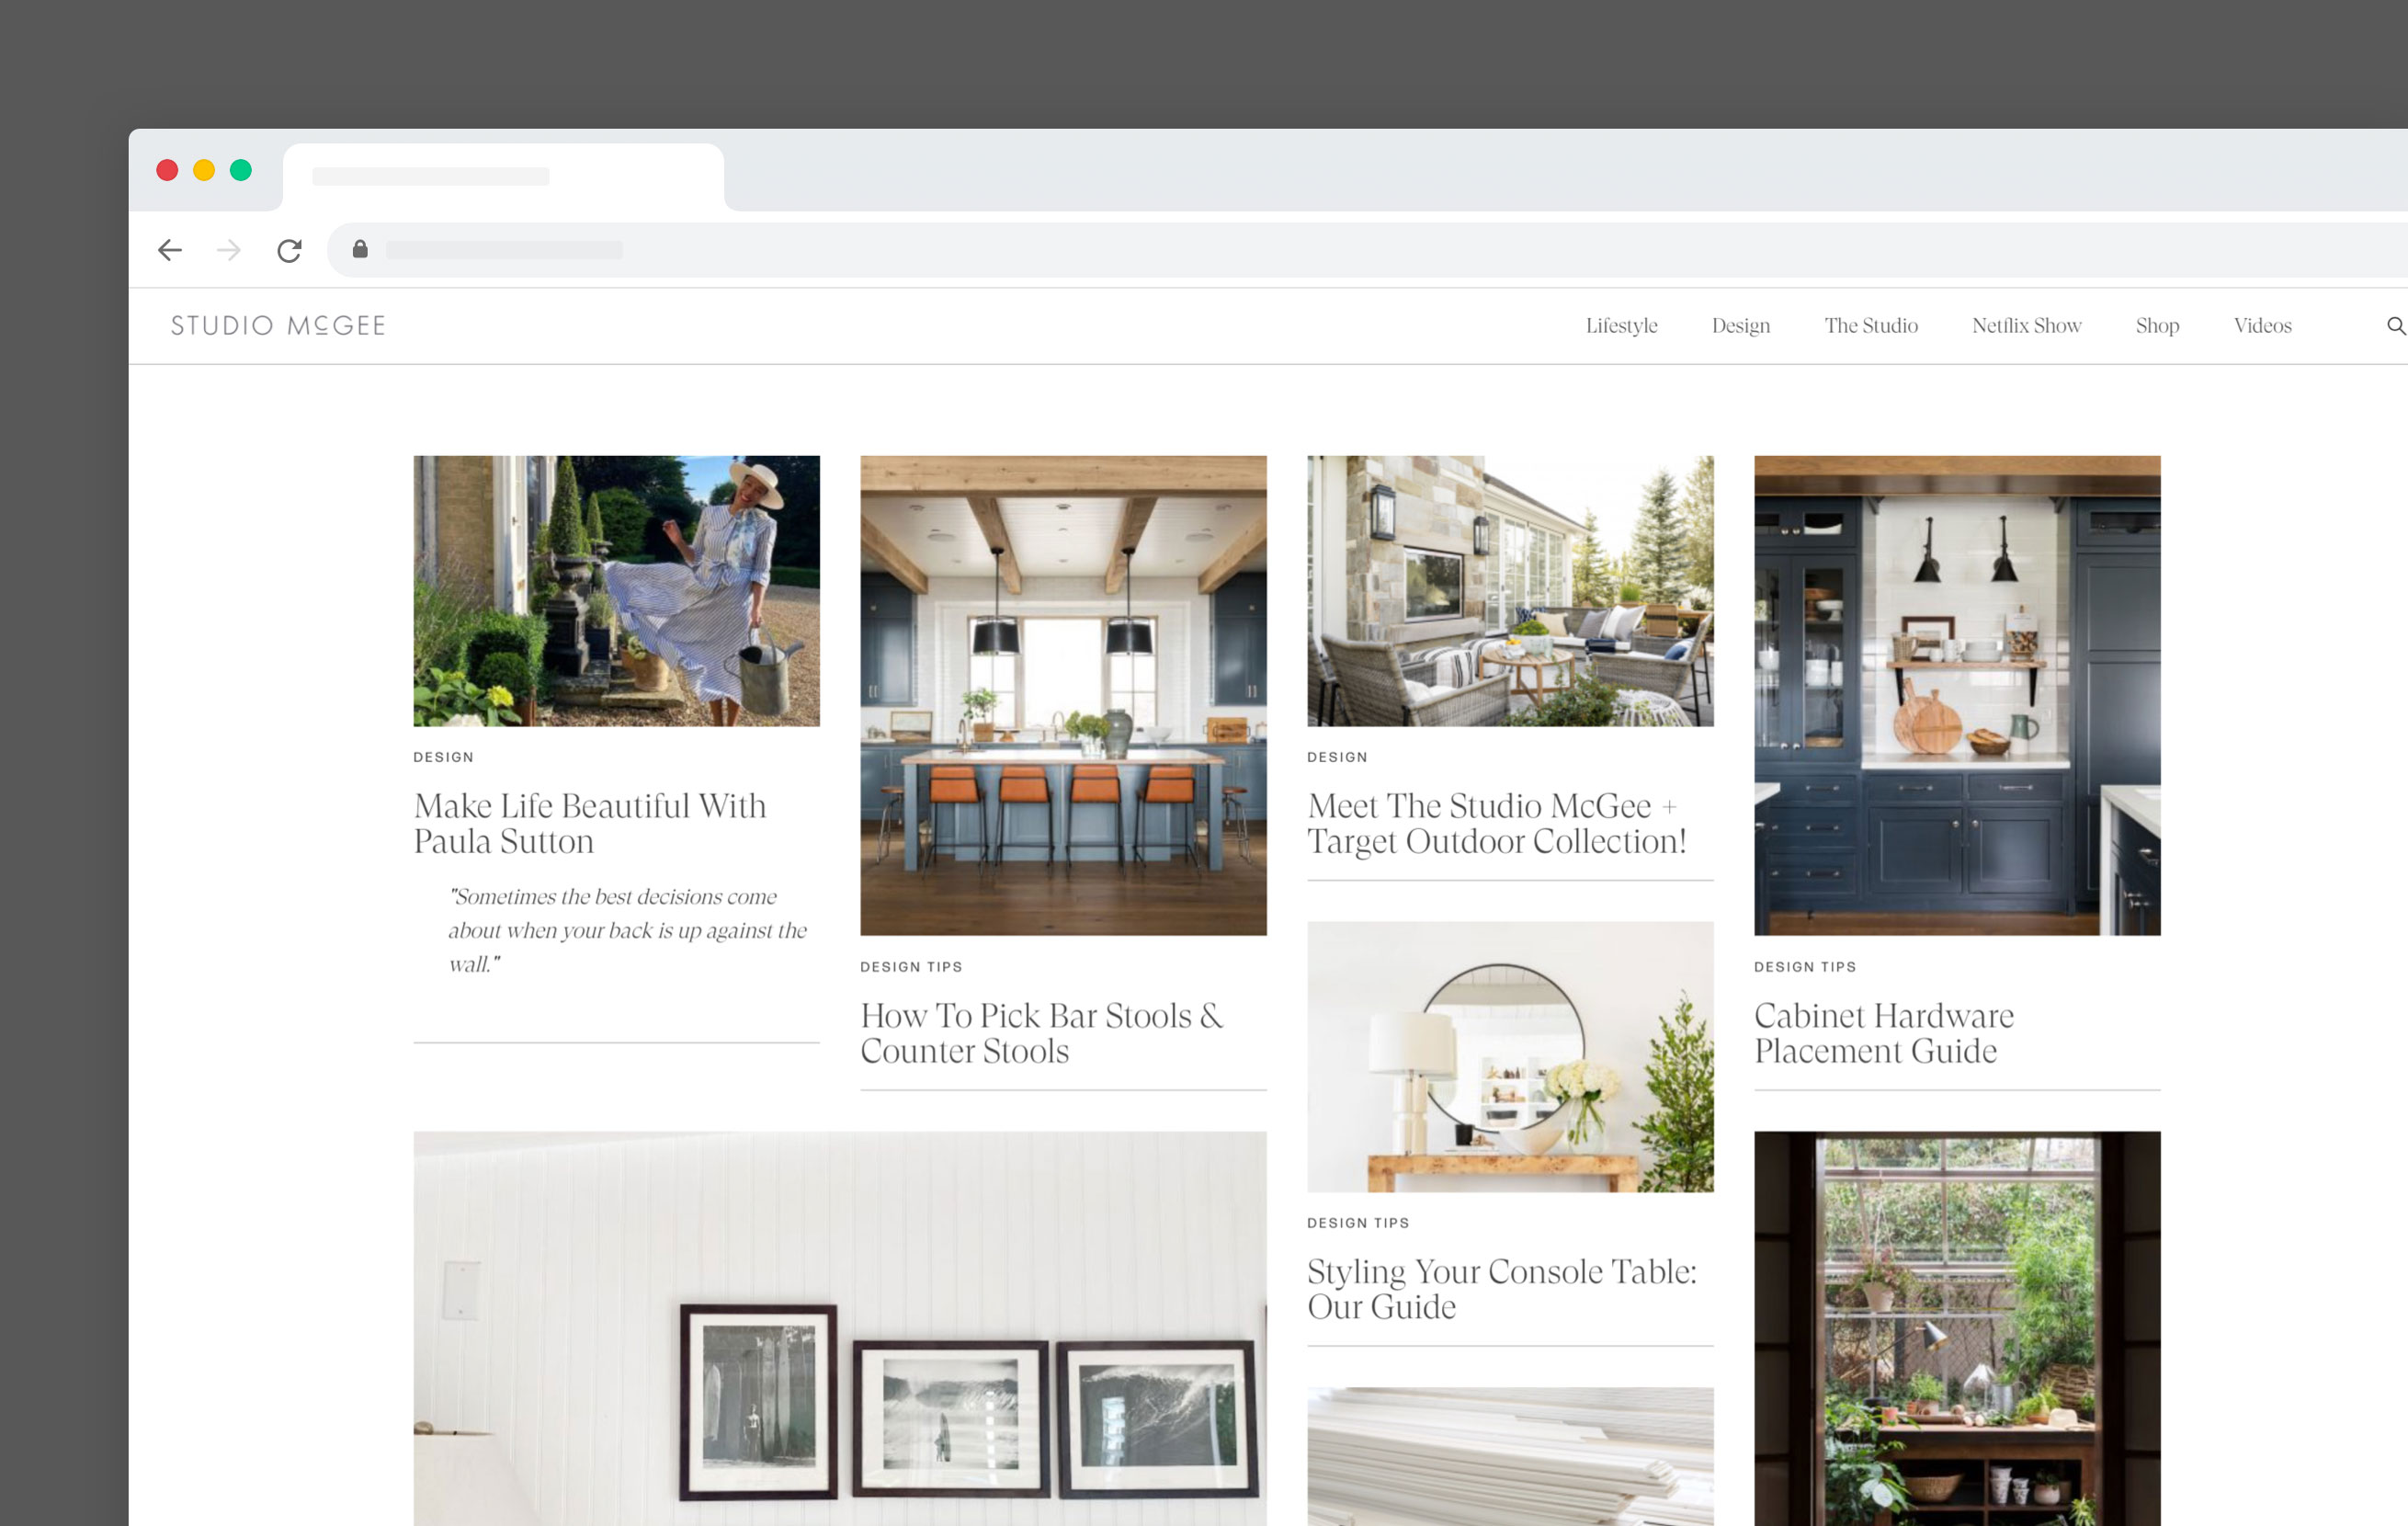
And finally, it’s important to know how you will present your content. Will you use a grid layout, go for an online magazine look or opt for a simple blog layout? Will pictures or text be more important?
Studio McGee uses a grid layout, which works really well due to the minimalist blog layout and serene blog pictures. Though there are a lot of new posts promoted in one single view, it’s far from chaotic.
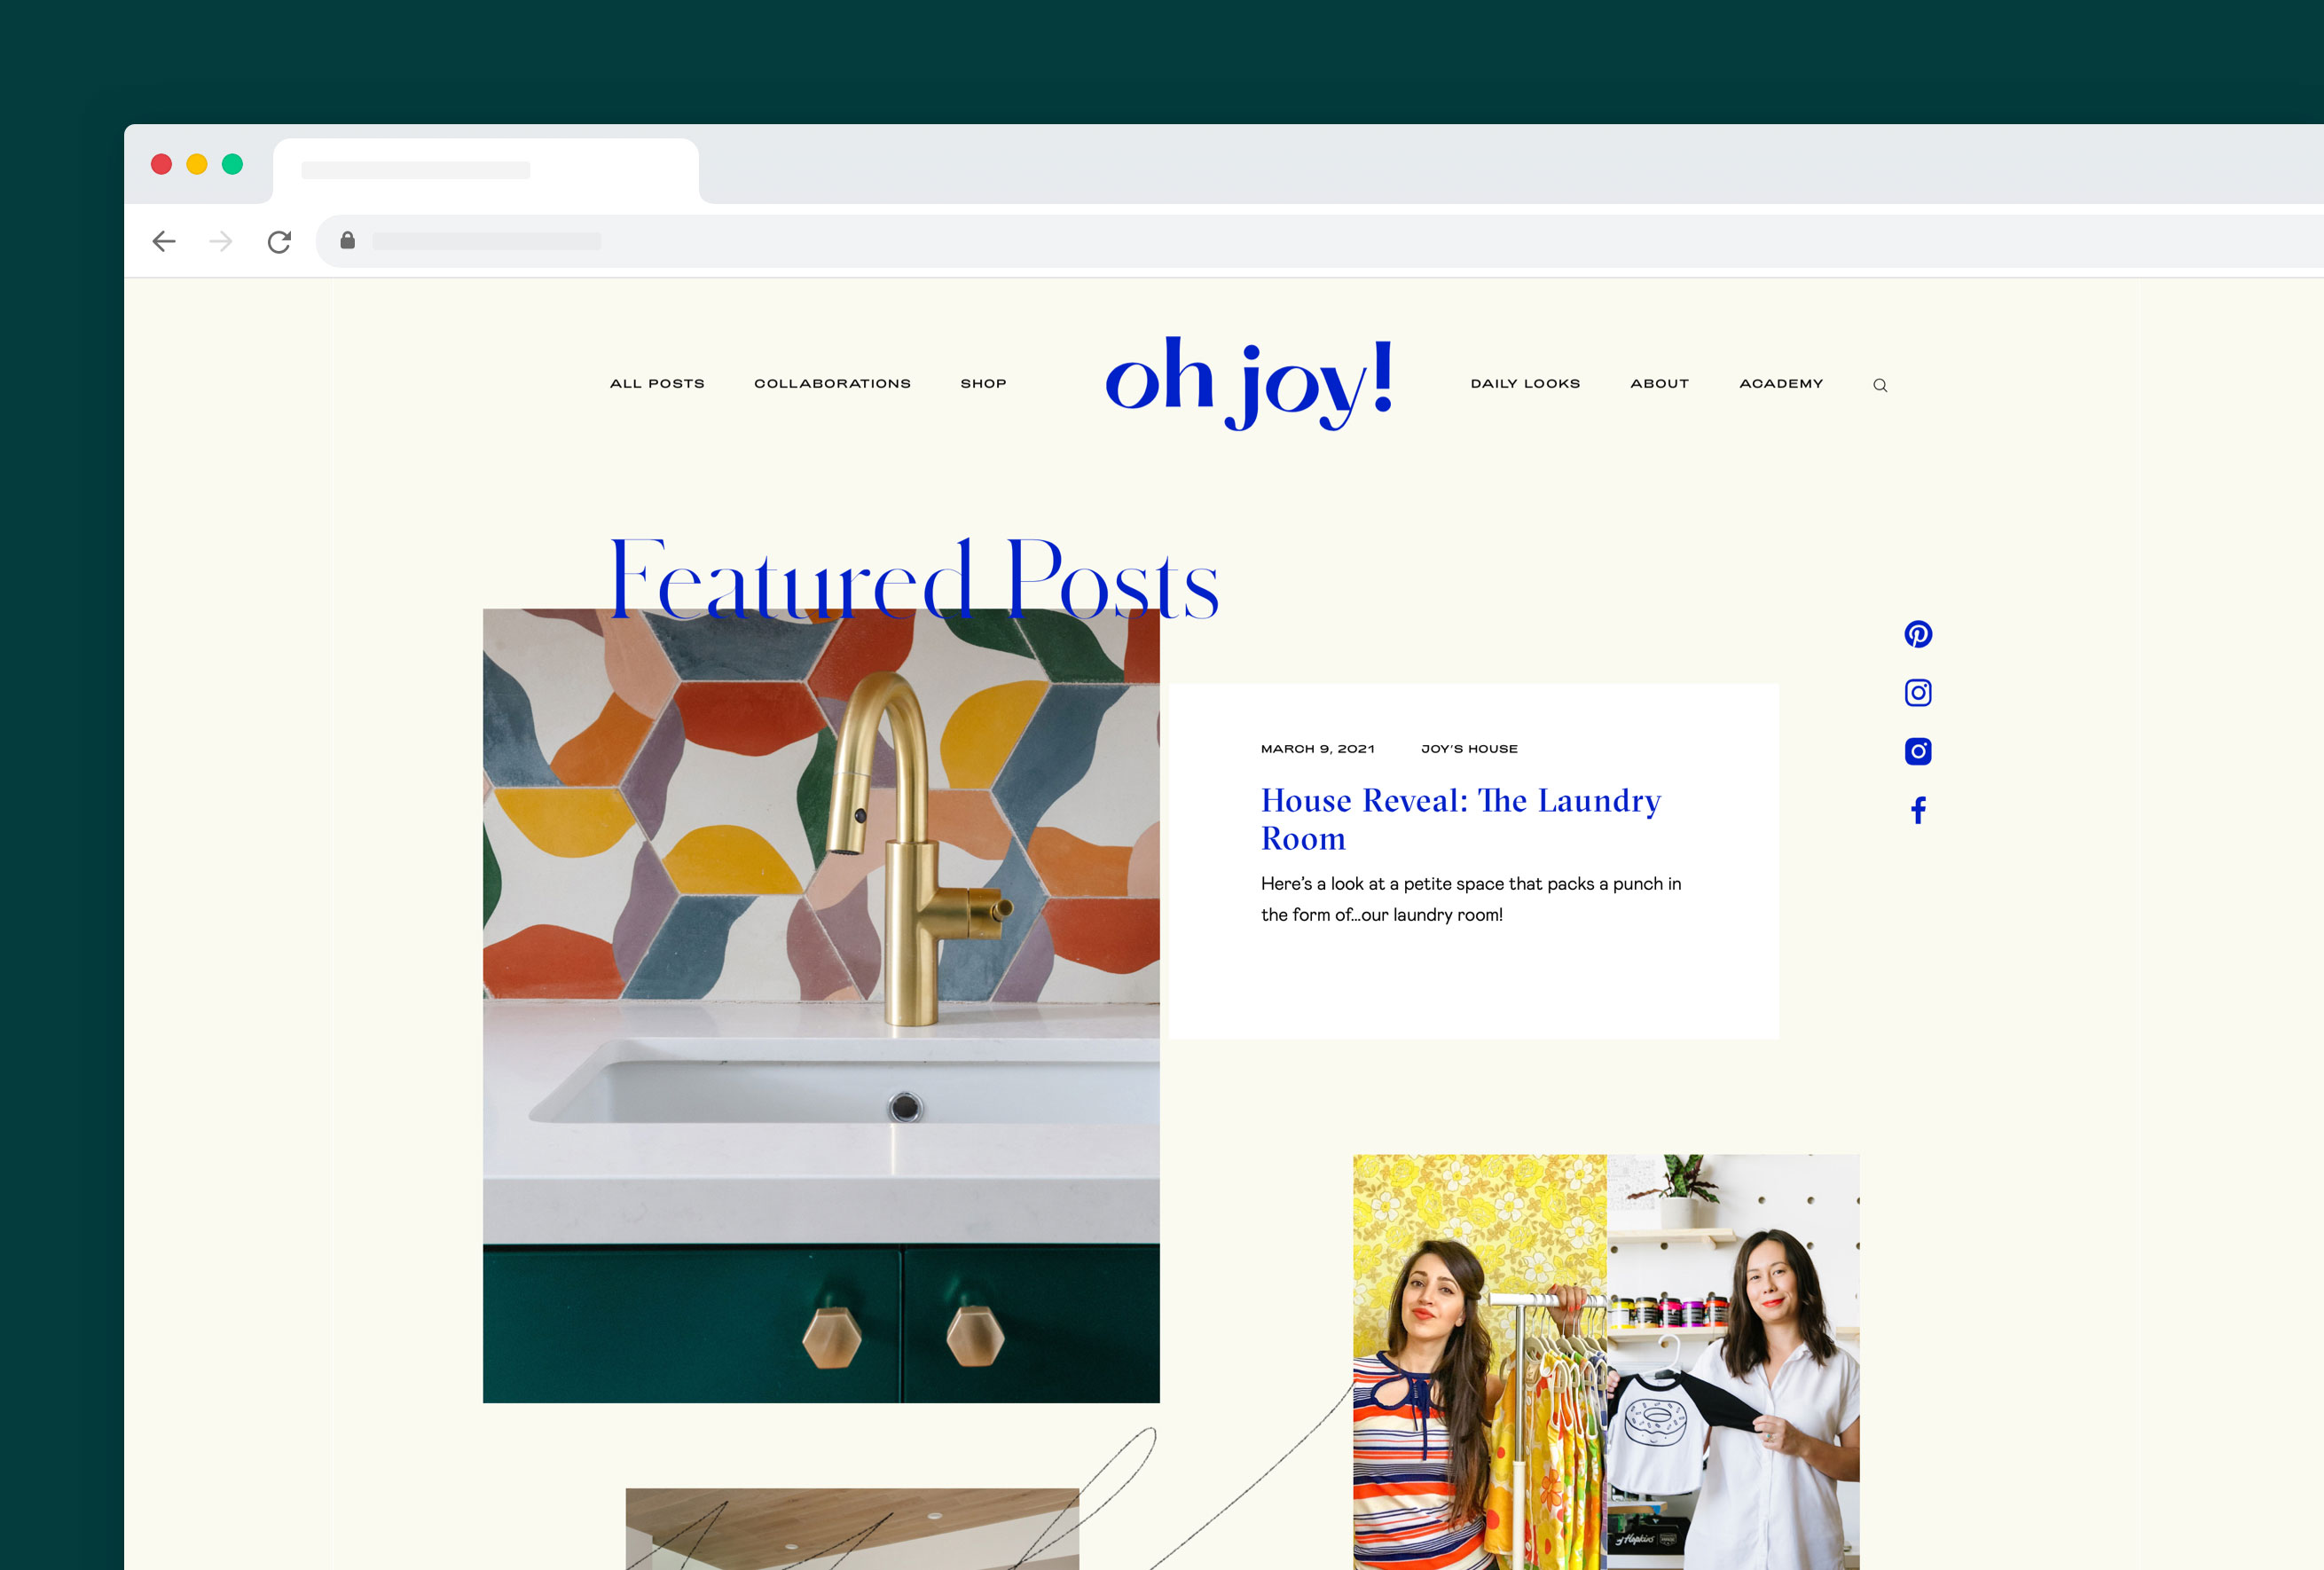
A great example of a blog home layout where the images get all the attention is Oh Joy. The vibrant, high-quality images that are playfully scattered over the homepage make this blog layout super engaging to scroll through.
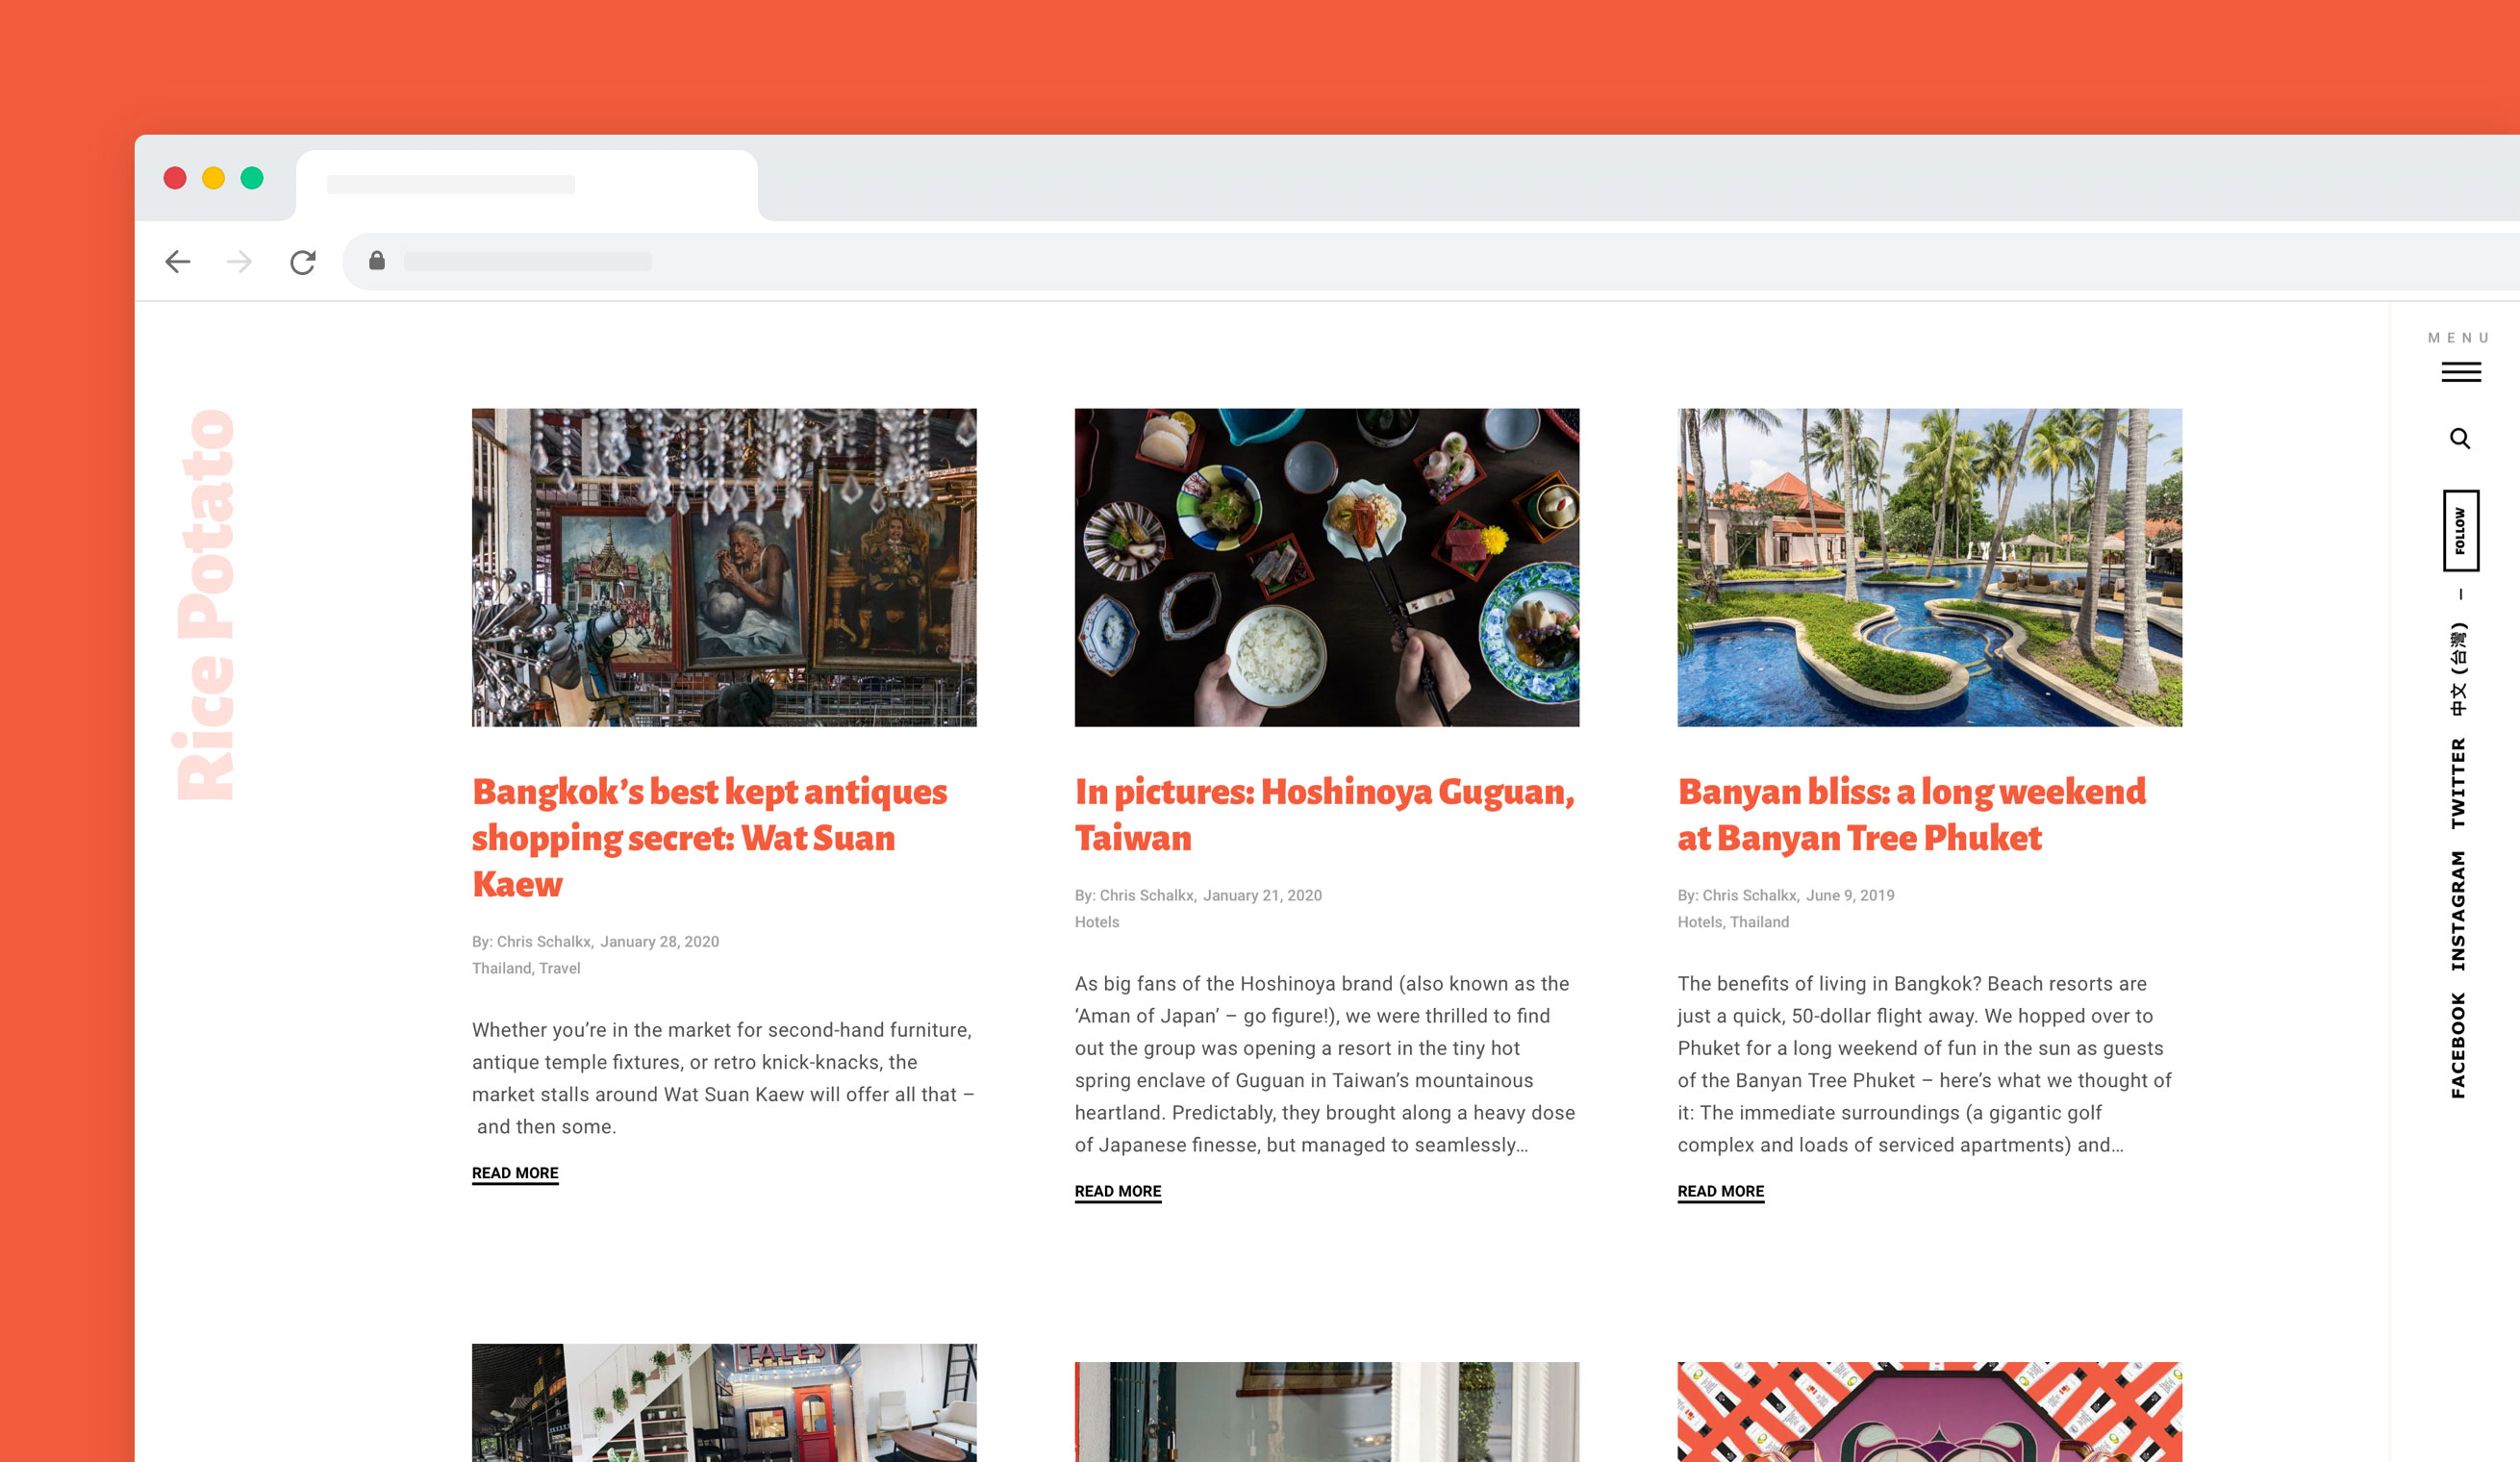
When your blog is less about images and more about your writings, this homepage from travel Rice Potato is a beautiful example. Though the text takes up most of the space, the logo on the right and the compact menu on the left give the website a very artsy feel.
Navigation
The navigation bar helps visitors to find what they are looking for, understand your website’s logic and swiftly navigate through all the pages.
Though blogs have loads of blog article pages, they typically don’t have many website pages.
On a new blog, you can link to an About and Contact page from the top navigation. As you write more blogs over time, you can link to blog categories, guides or other content you’ve created.
How do you design the ideal navigation bar? We’ve got some ideas.
Design principles to adhere to:
Keep it simple
Add hierarchy. Mention the most important categories and work with subcategories in a dropdown menu if you want to link additional items
Shorten titles as much as possible (“Blog” vs. “Read our blog”)
Keep the navbar consistent throughout the entire website
Design a more compact menu version for mobile views
Use the footer menu for pages that don’t fit in the main navigation
Optionally: Add a search bar (though this element is also often seen in the sidebar)
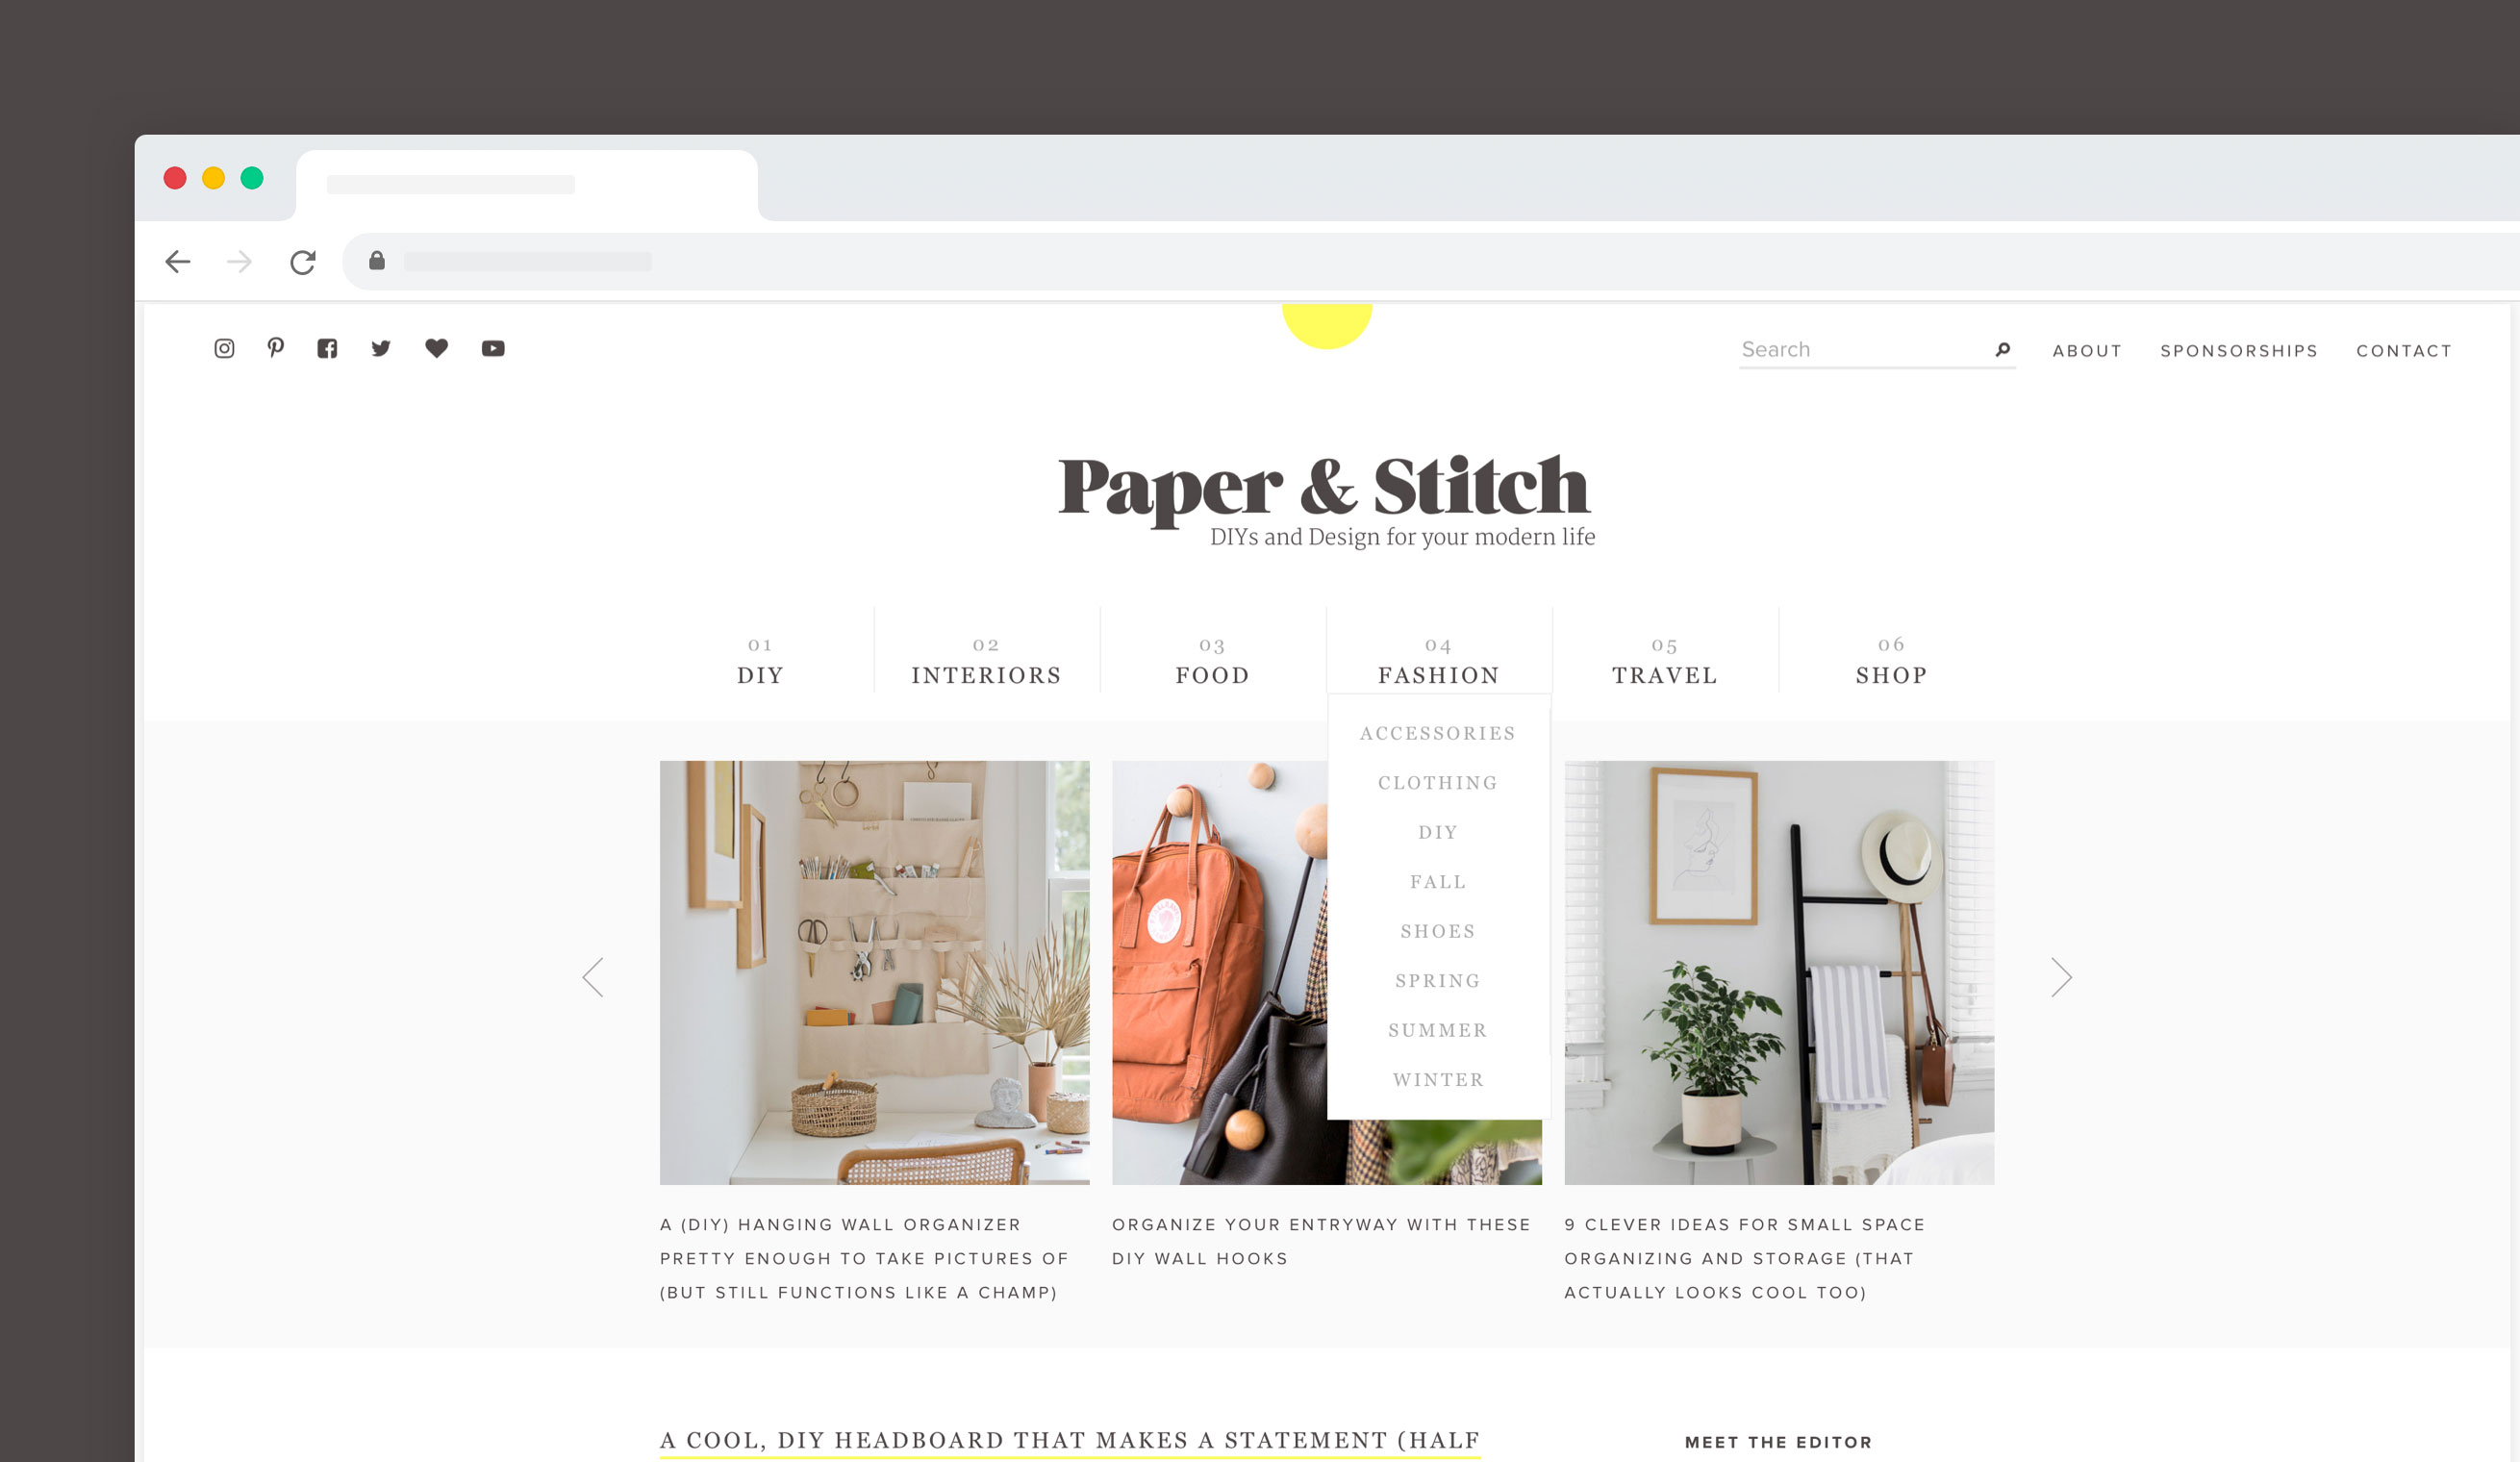
Here at team Ycode, we love seeing navigation bars like the one from Paper & Stitch. It’s compact, minimalistic and as a visitor, you can immediately pick your favorite subject (general or more specific in the dropdown menu) and start reading.
Sidebar
Like a navbar, the sidebar is also a web element that helps people navigate your blog easier. On blogs, a sidebar often contains more information about the author, a search bar and post recommendations.
To do blog sidebars right, you just need to remember one thing: Don’t go wild on widgets.
A blog sidebar often contains these elements:
Author introduction (with a link to the about page/post)
Search bar
Social media links
Blog categories
Links to important pages
Optional: New video/podcast episode
Optional: Ads
It could also be a lot less, or a lot more. Just design the sidebar with your audience in mind. Ask: Is this content relevant for my blog readers? The fewer items, the more chance of them being seen.
Furthermore, you can use just one sidebar or have two, one for the homepage and one for individual blog post pages.
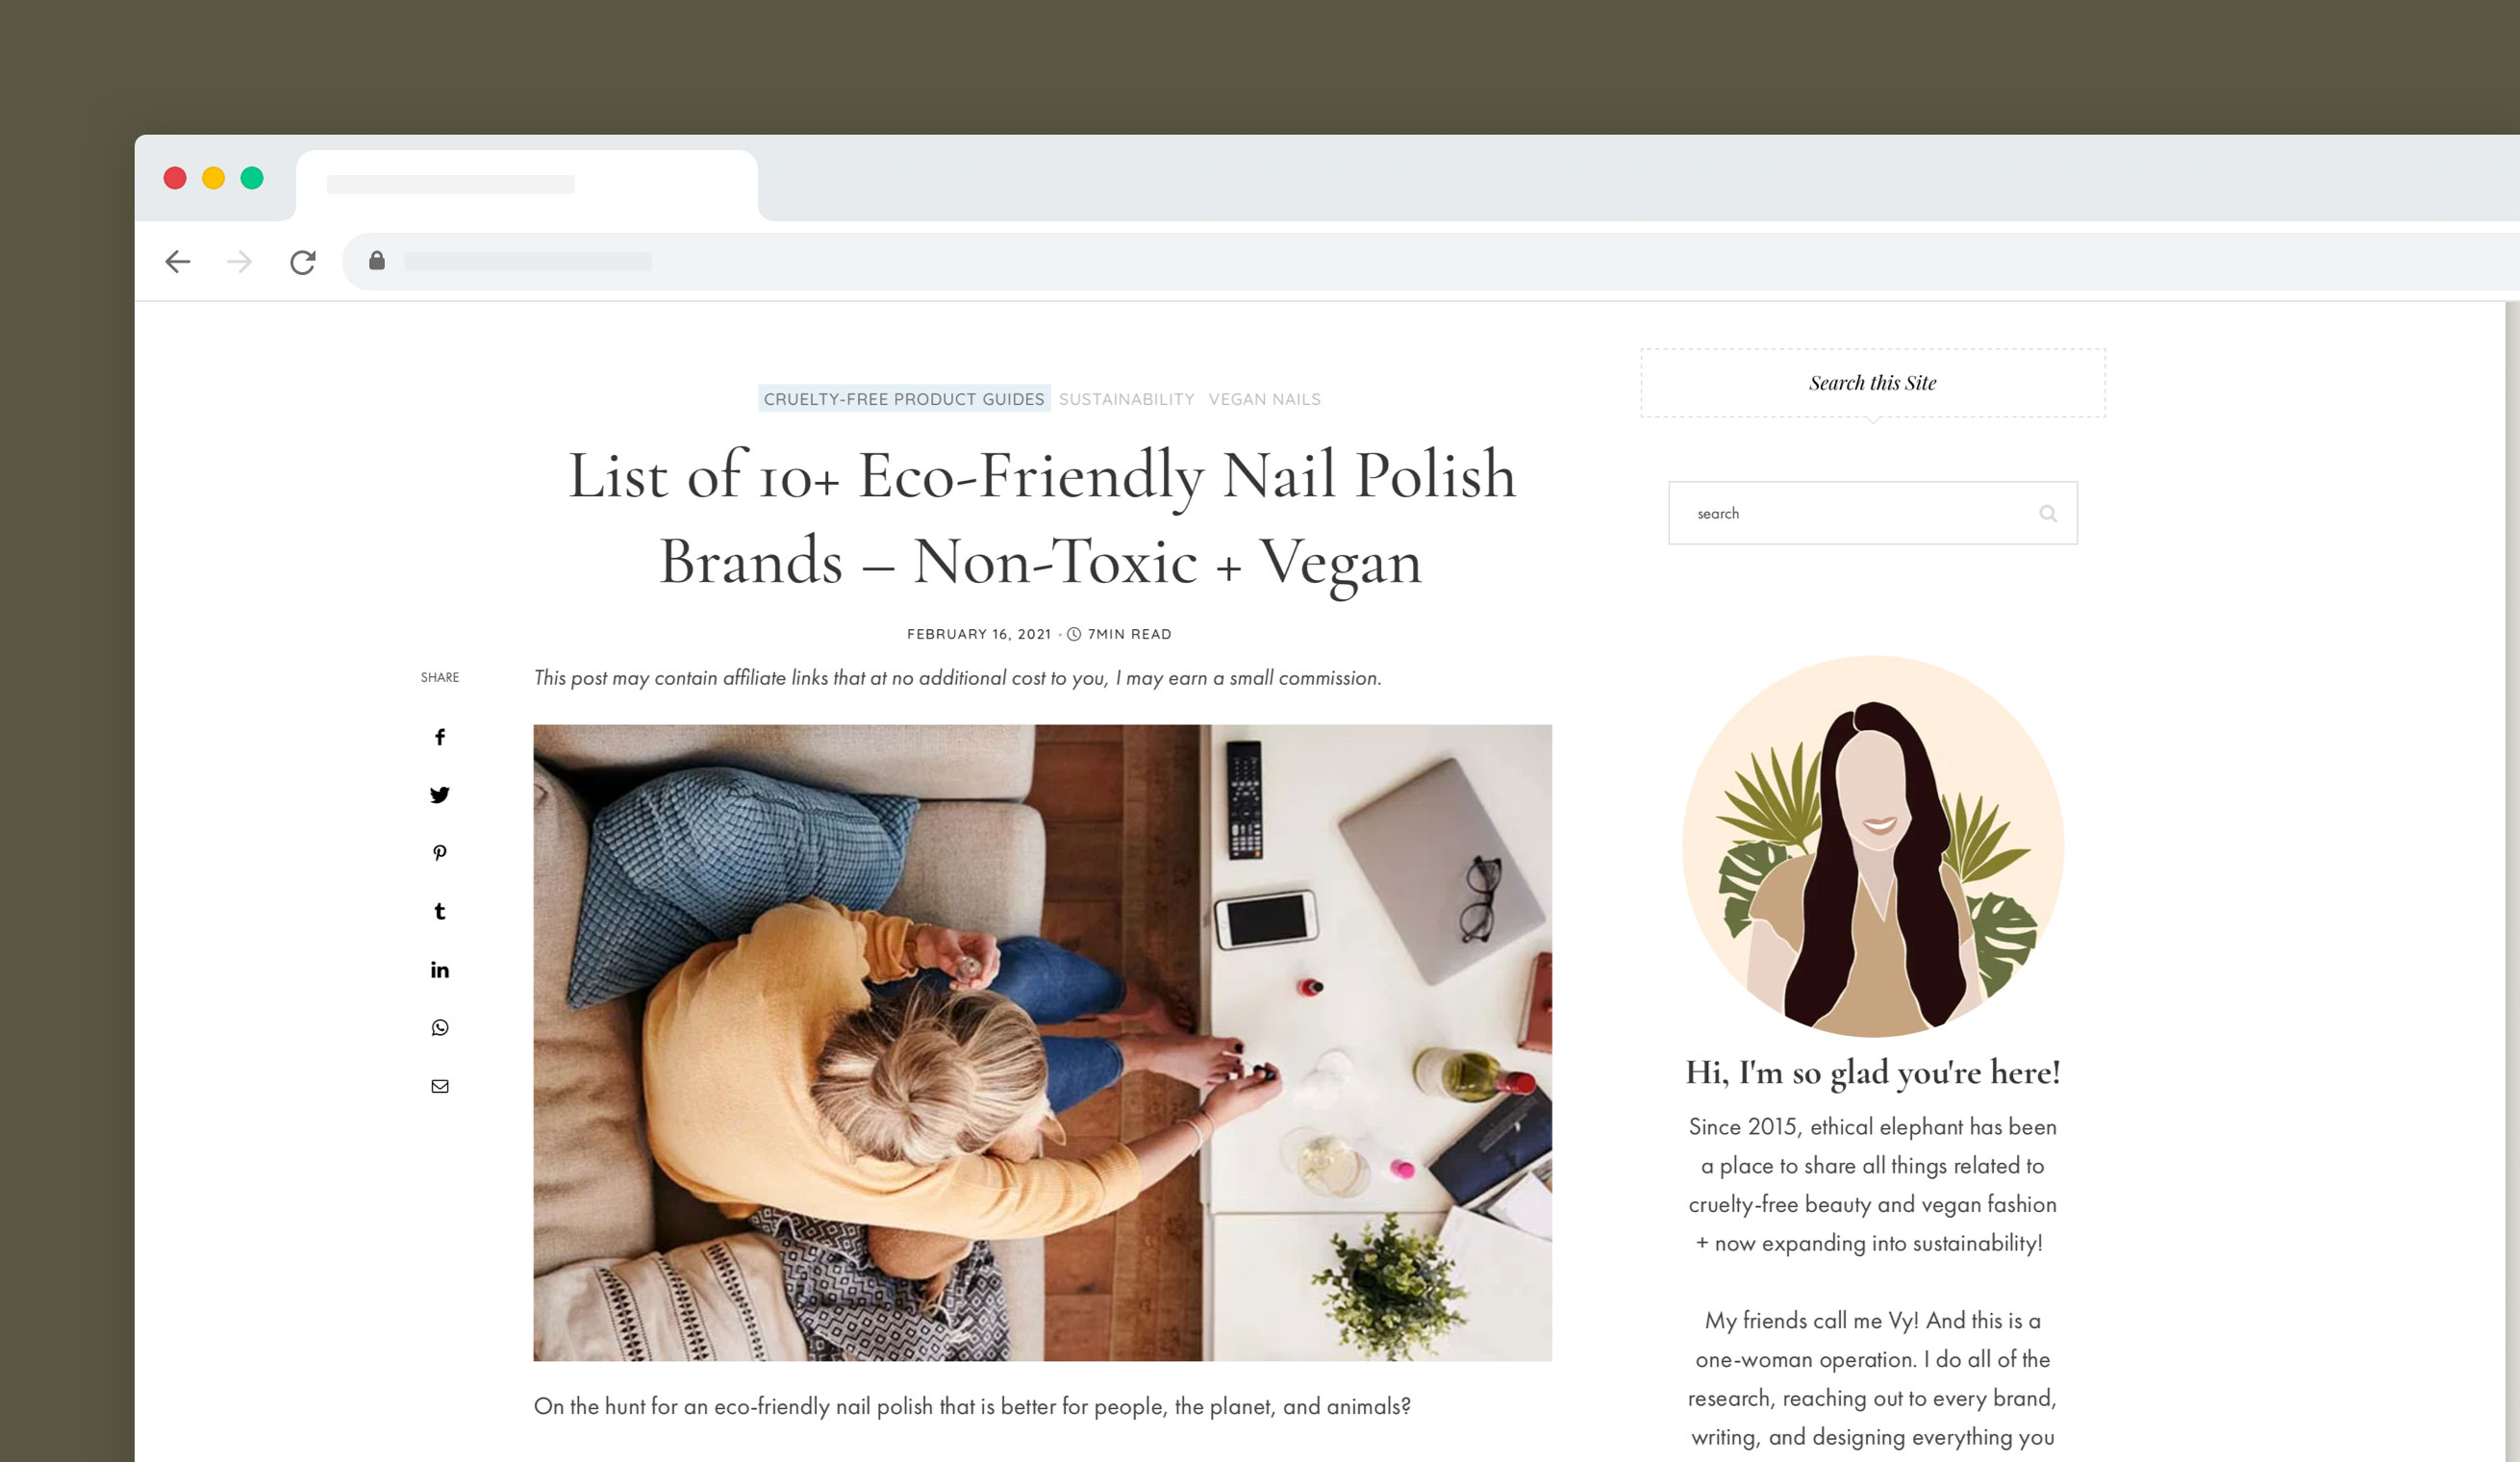
A good example of a blog homepage sidebar can be seen on the ethical elephant blog. There’s a small about text, a support me message, social subscribe buttons and cruelty-free resources.
Blog categories
Make it easier for your blog visitors to navigate through blogs and find content that could interest them. Blog categories are tags that can be assigned to articles to group them together.
You can show the categories on the top of the blog page, as a tag on the blog post or in the sidebar (or all three options!).
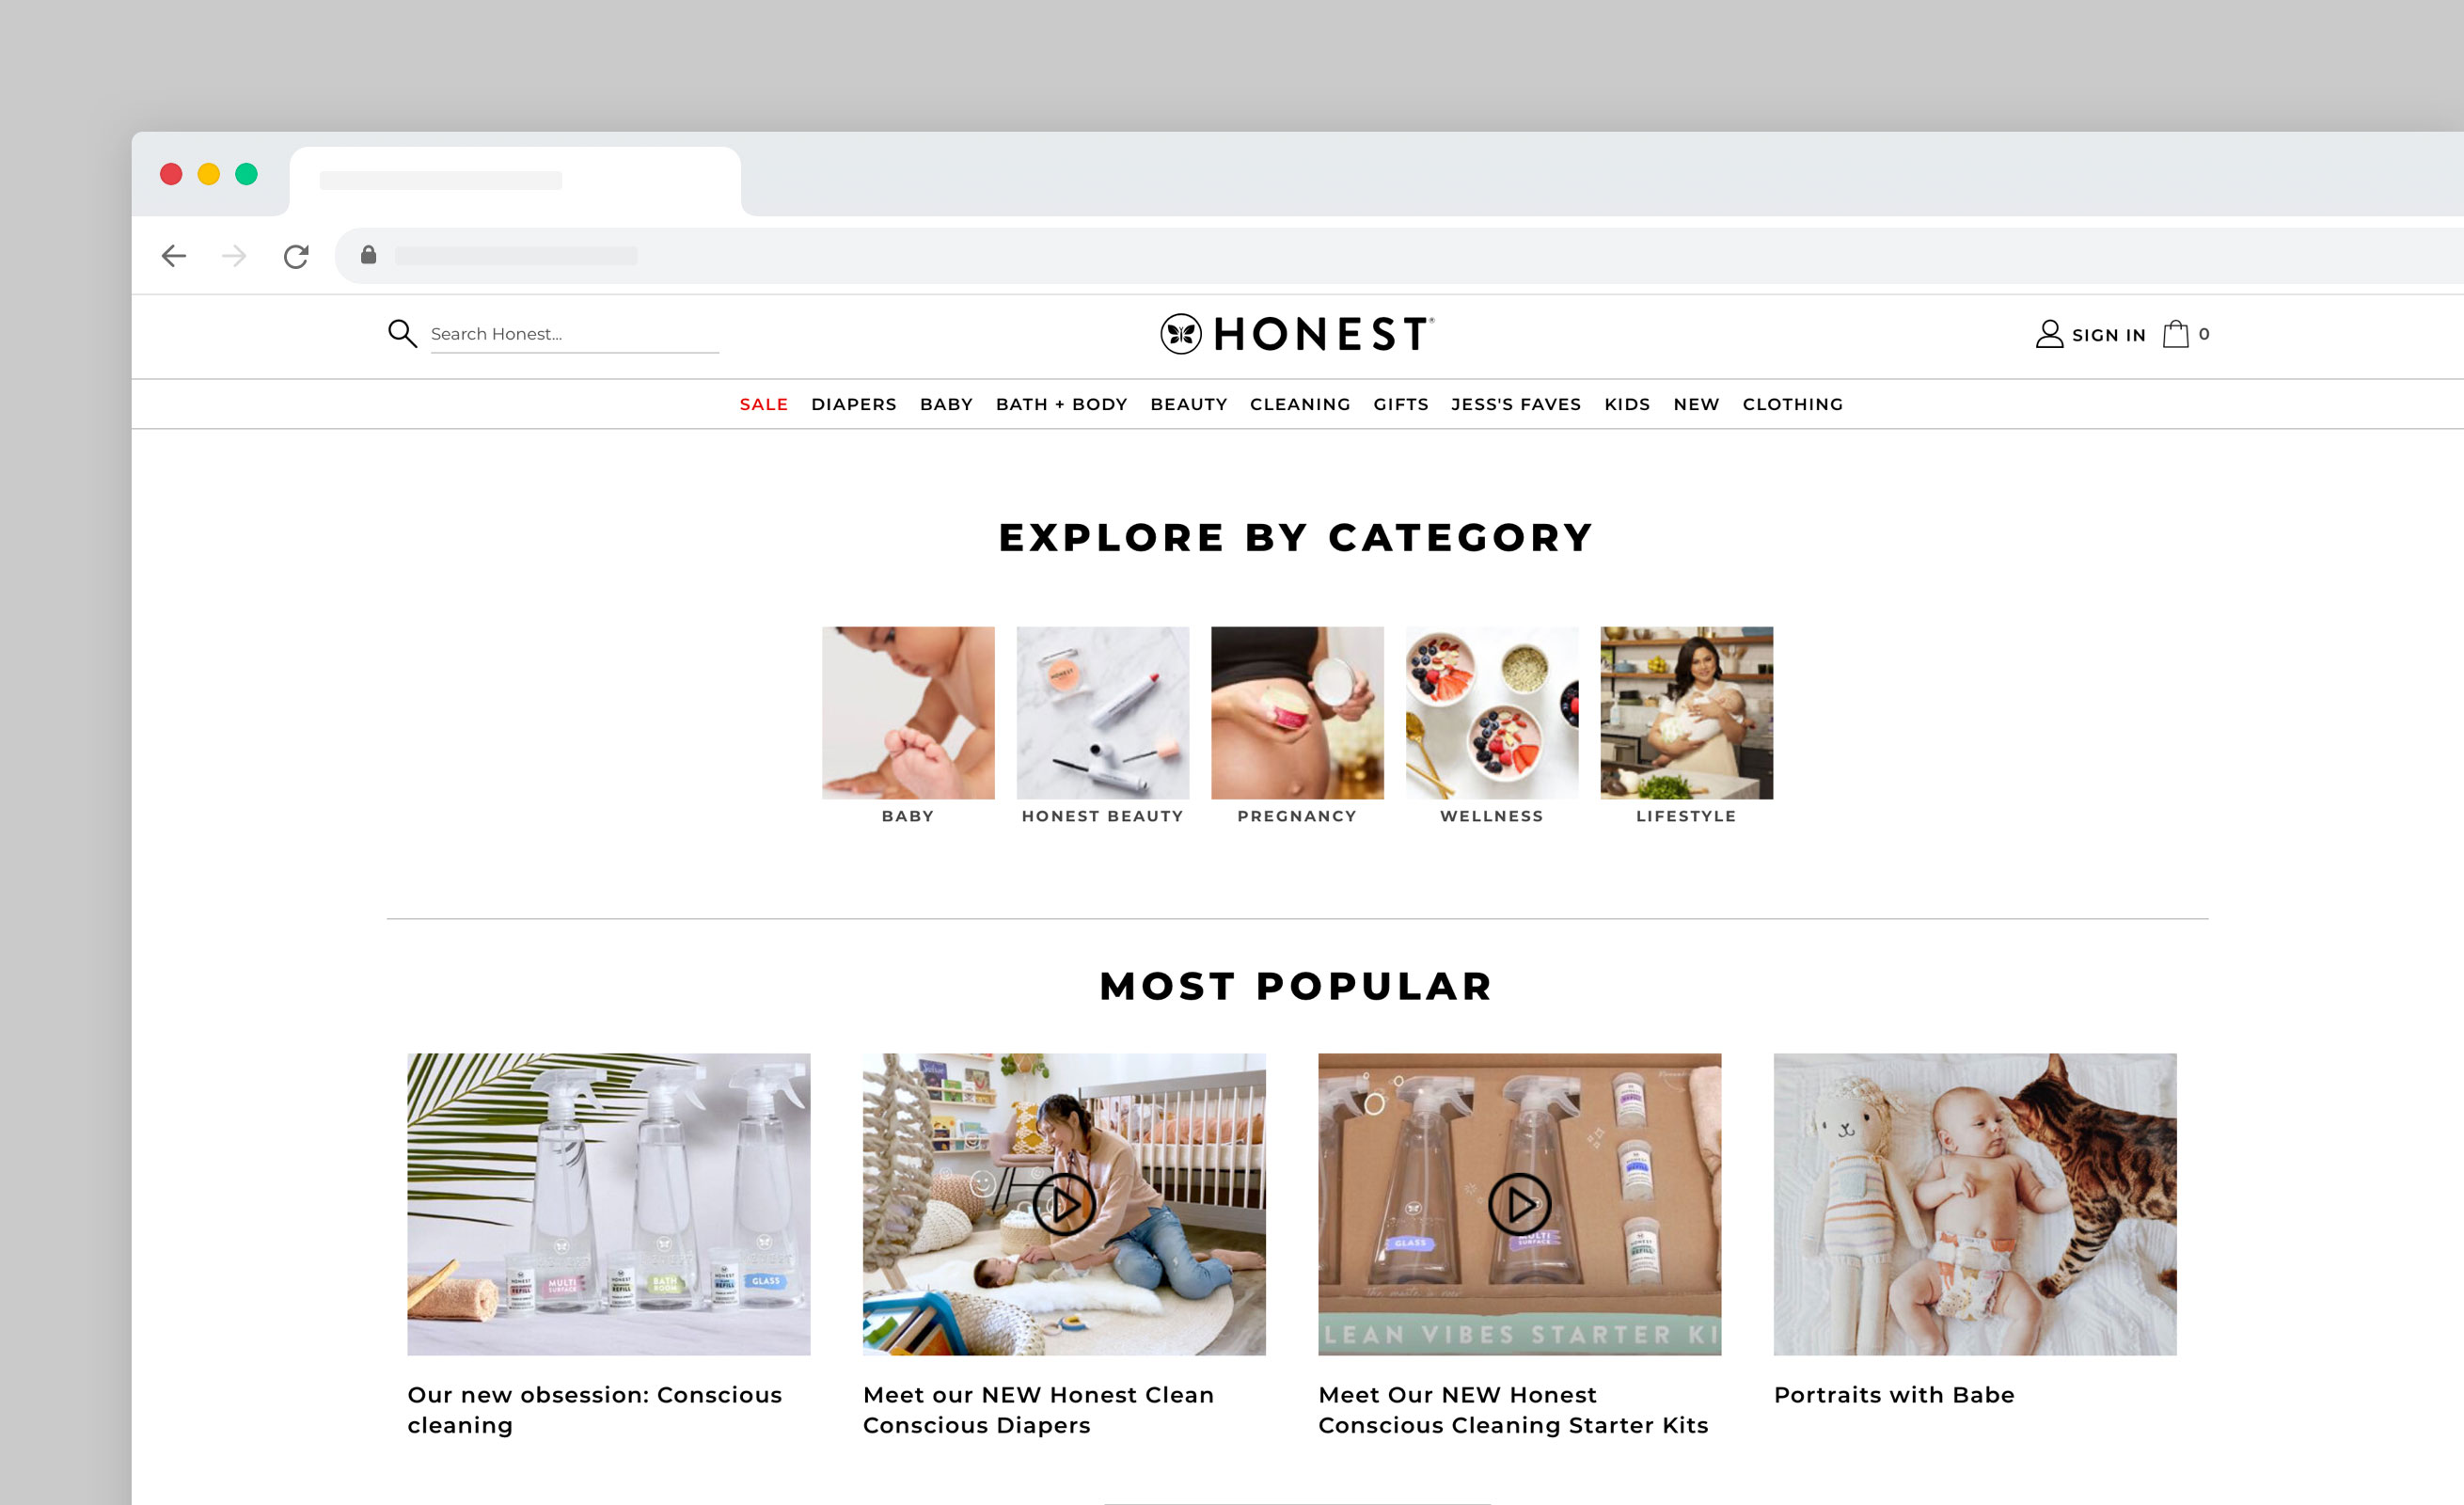
On The Honest Company blog, the categories and mentioned at the top. We love the blog’s design, with its easy navigation and the calming, well-ordered landing page.
Scrolling down, you’ll see that the main blog page is divided into clear sections:
Explore by category
Most popular
The latest
Editor’s picks
Comment section
Where’s the fun in posting blogs when there’s no one to interact with them? Engage with readers by adding a comment section to your blog.
Though you can build your own blog comment section, an easy solution is to use the Disqus plugin to allow comments on blog articles. It’s easily inserted using Disqus’ universal embed code. Via the web app, you can moderate comments and filter out spammy guests.
TIP
In Ycode, you can also customize and insert your own simple form by using a data form type and then displaying the results from the database. In this video tutorial, we’ll show you how to set up a local database in Ycode.
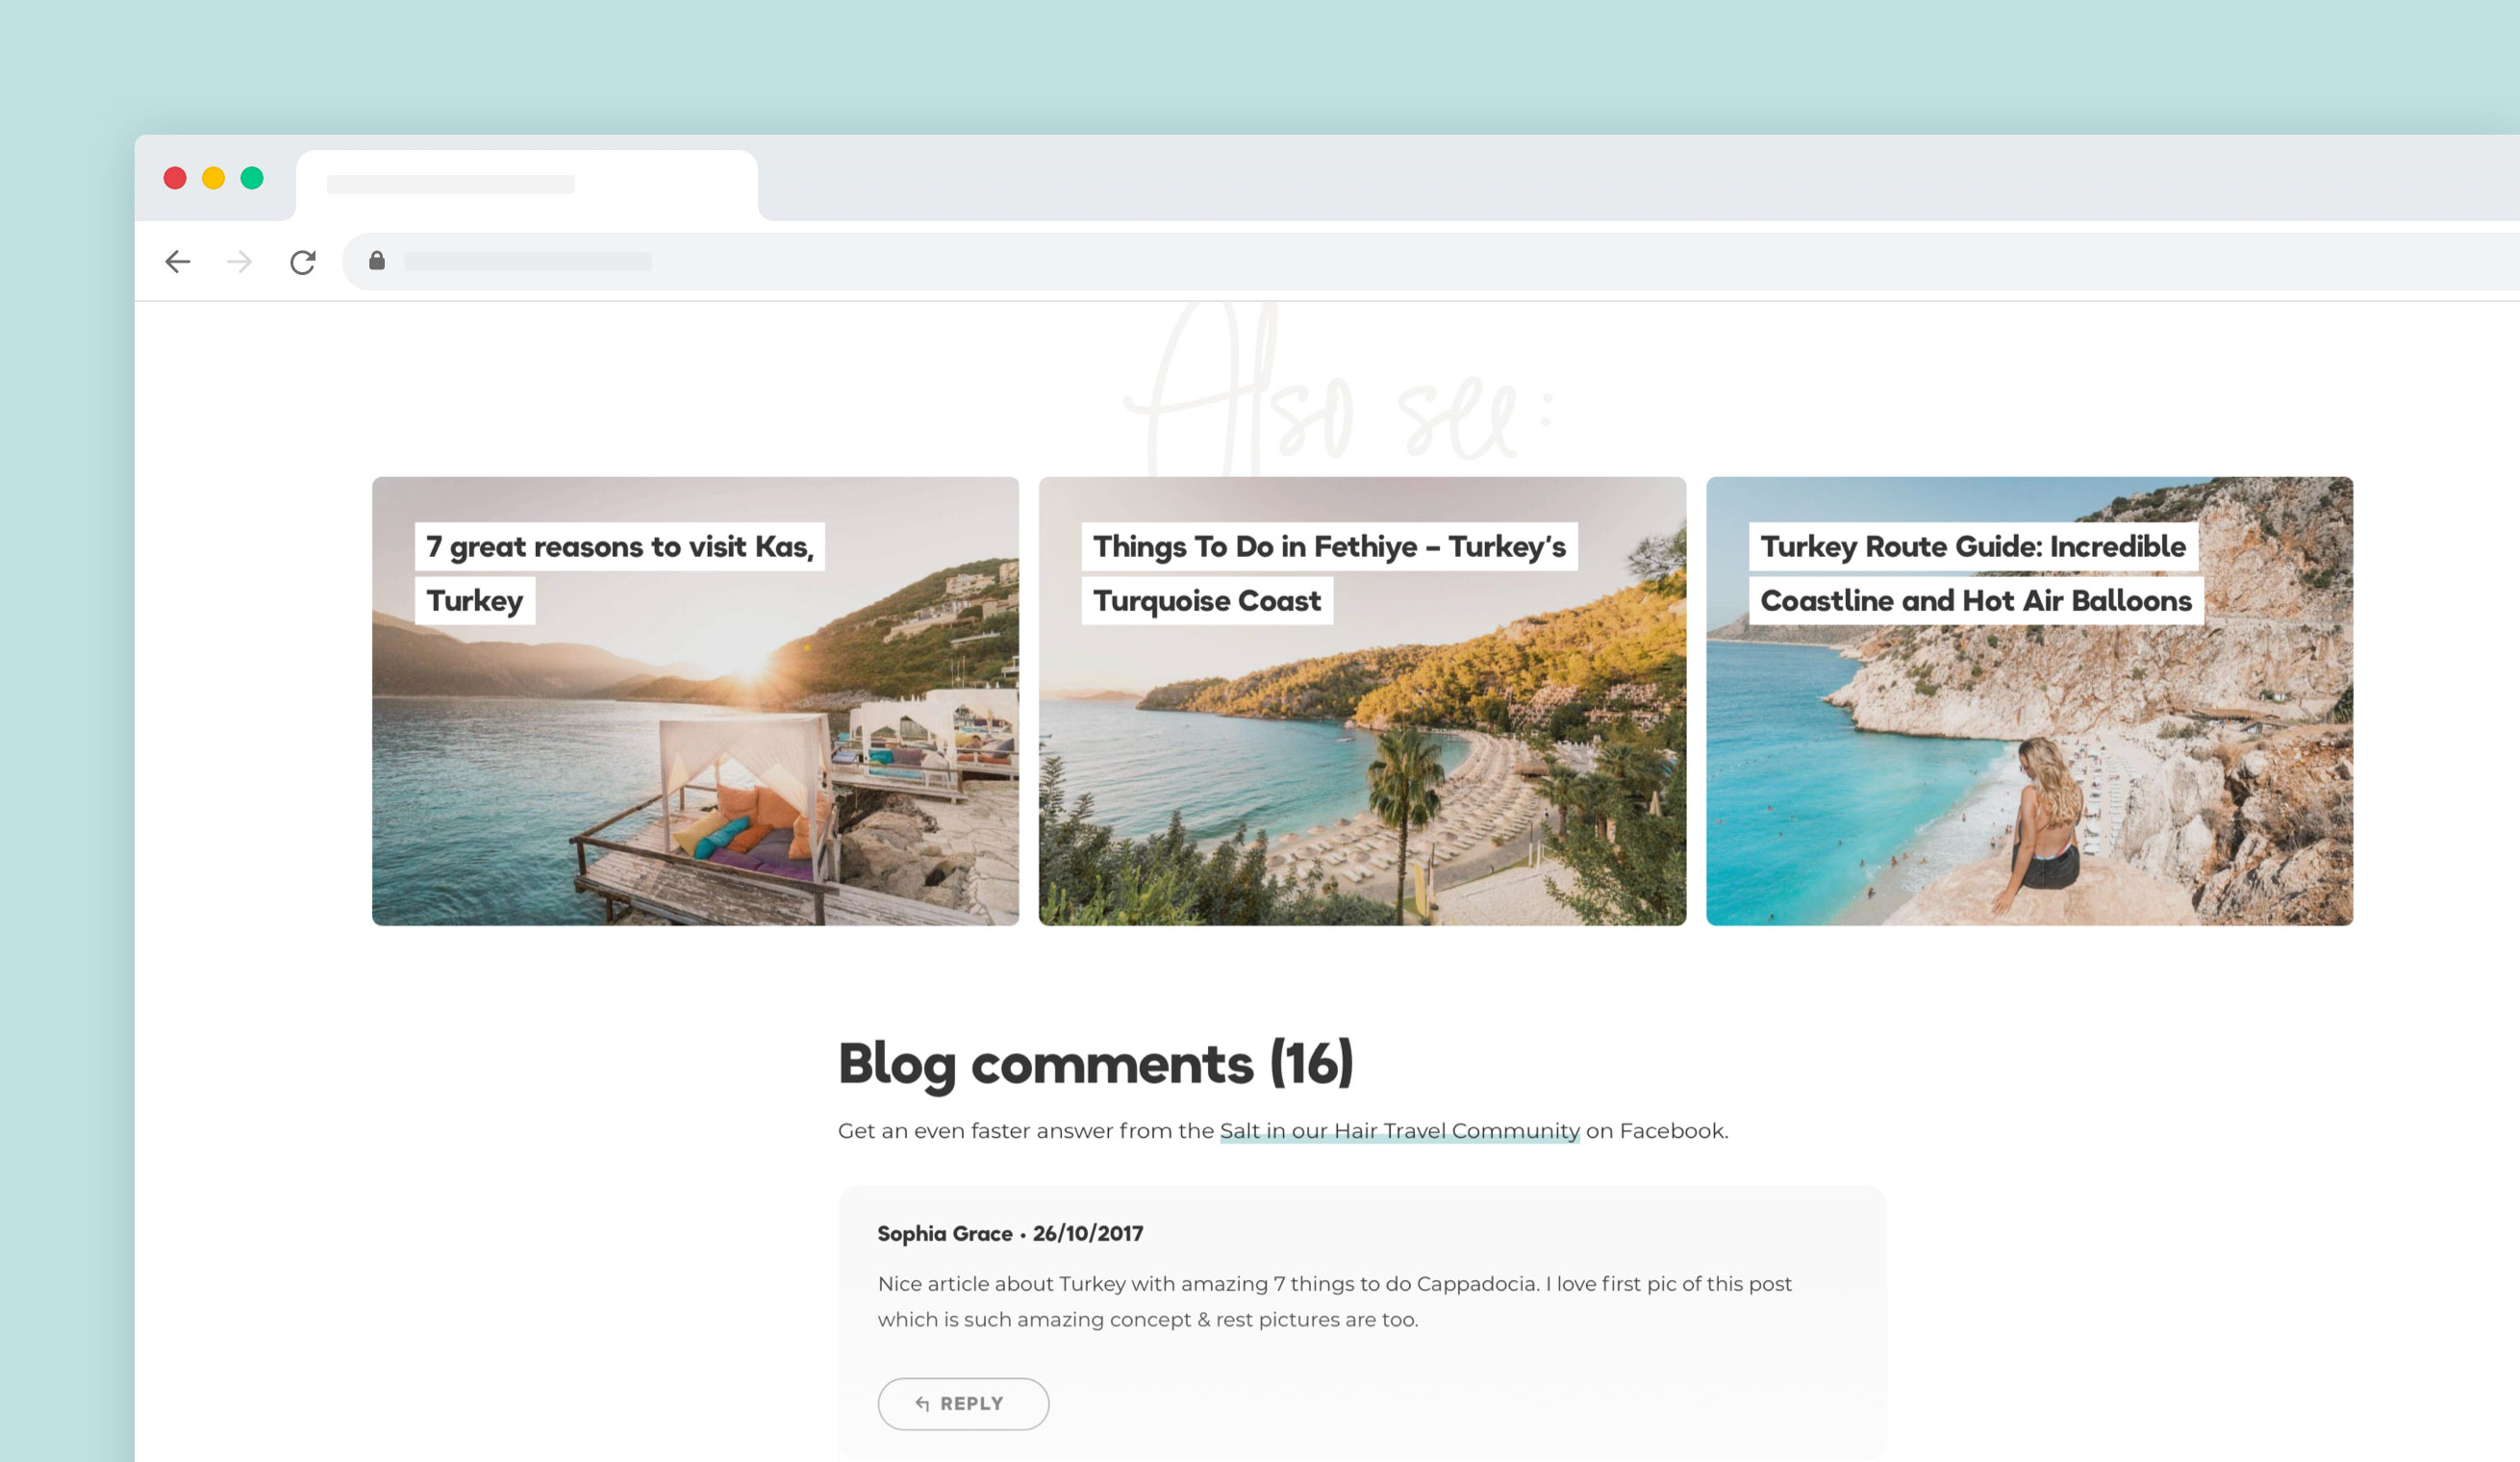
On the travel blog Salt in our Hair, there’s a little line under the blog comments that refers to their Facebook community. If you run an online community (like our Ycode community), the comments are a great place to promote this space.
Footer
In web design, it’s courtesy to end every web page with a footer. This section often contains important blog links, or links that didn’t fit into your main navigation. Or any additional information you’d like to let people know about.
In blogs, the footer often also contains copyright information and links to your privacy policy, terms and conditions and use policy. Additionally, you can embed your newsletter signup form in the footer.
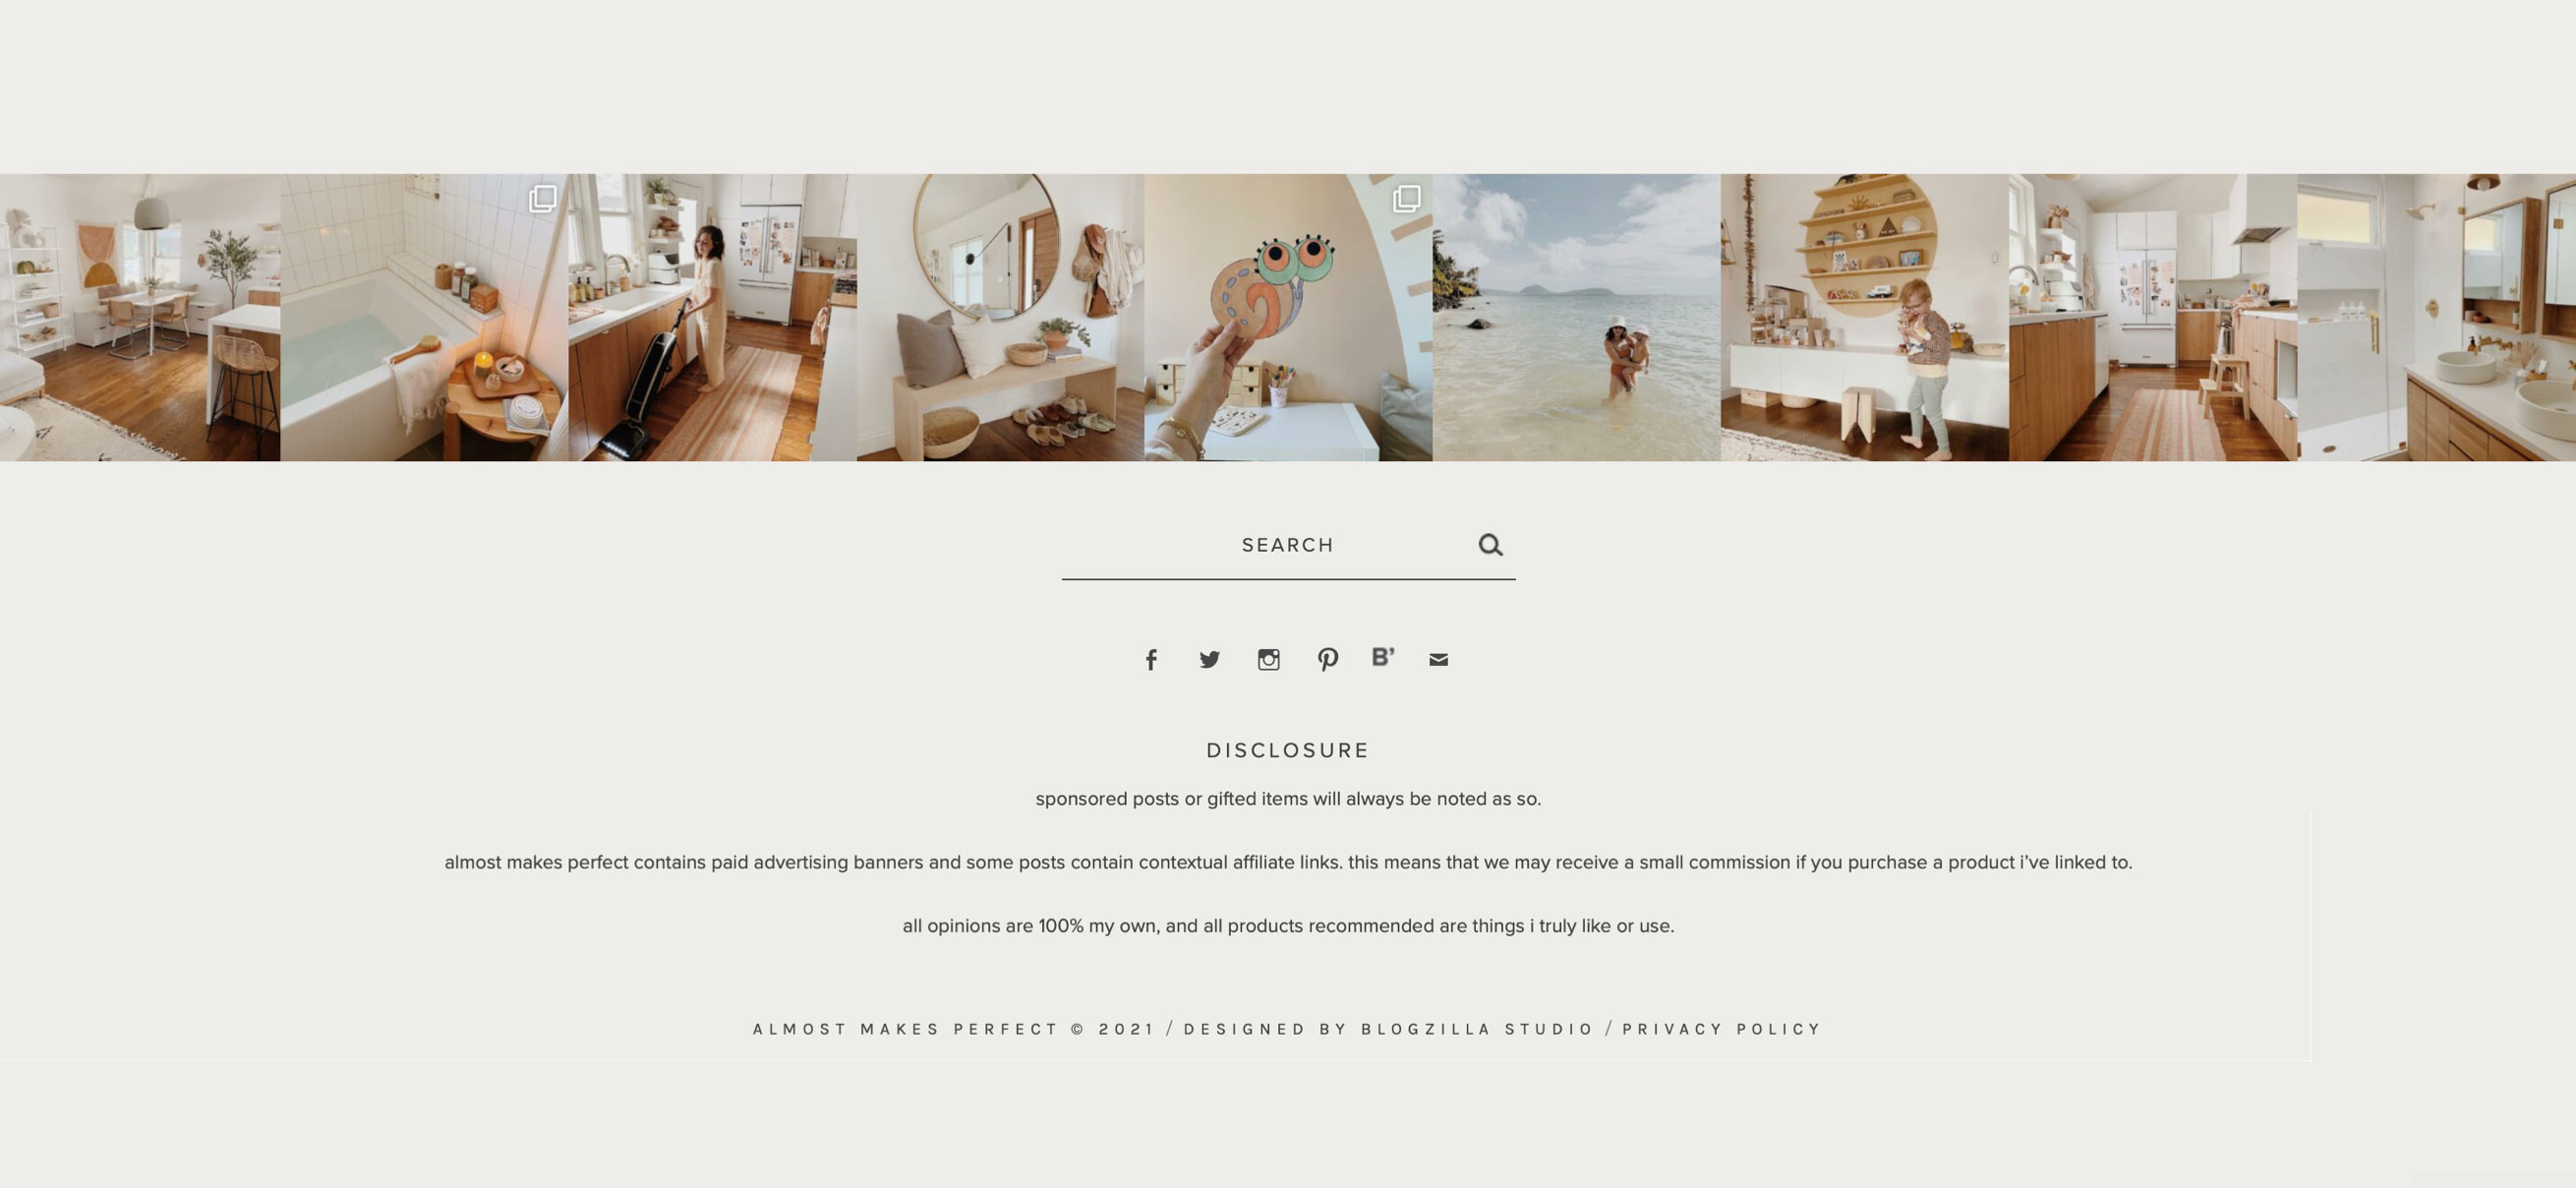
We like this simple footer from the interior design blog Almost Makes Perfect. It has an embedded Instagram feed, search bar, social media links and copyright and privacy information.
And see the disclosure? Once your blog grows and you start using affiliate links, disclaimers like these might be useful for your blog too.
2. Smaller design elements that make your blog design sparkle
Logo
The first thing visitors will most likely see is your blog logo. Flaunting right at the top of the page, it’s the image that helps with your blog’s brand recognition. Therefore, make it memorable.
You can have a blog logo made by a graphic designer. An easy way to hire freelancers is by using platforms like 99 designs, Fiverr or Upwork. If you want to get crafty yourself, you can use DIY logo-creating tools like Canva or Tailor Brands.
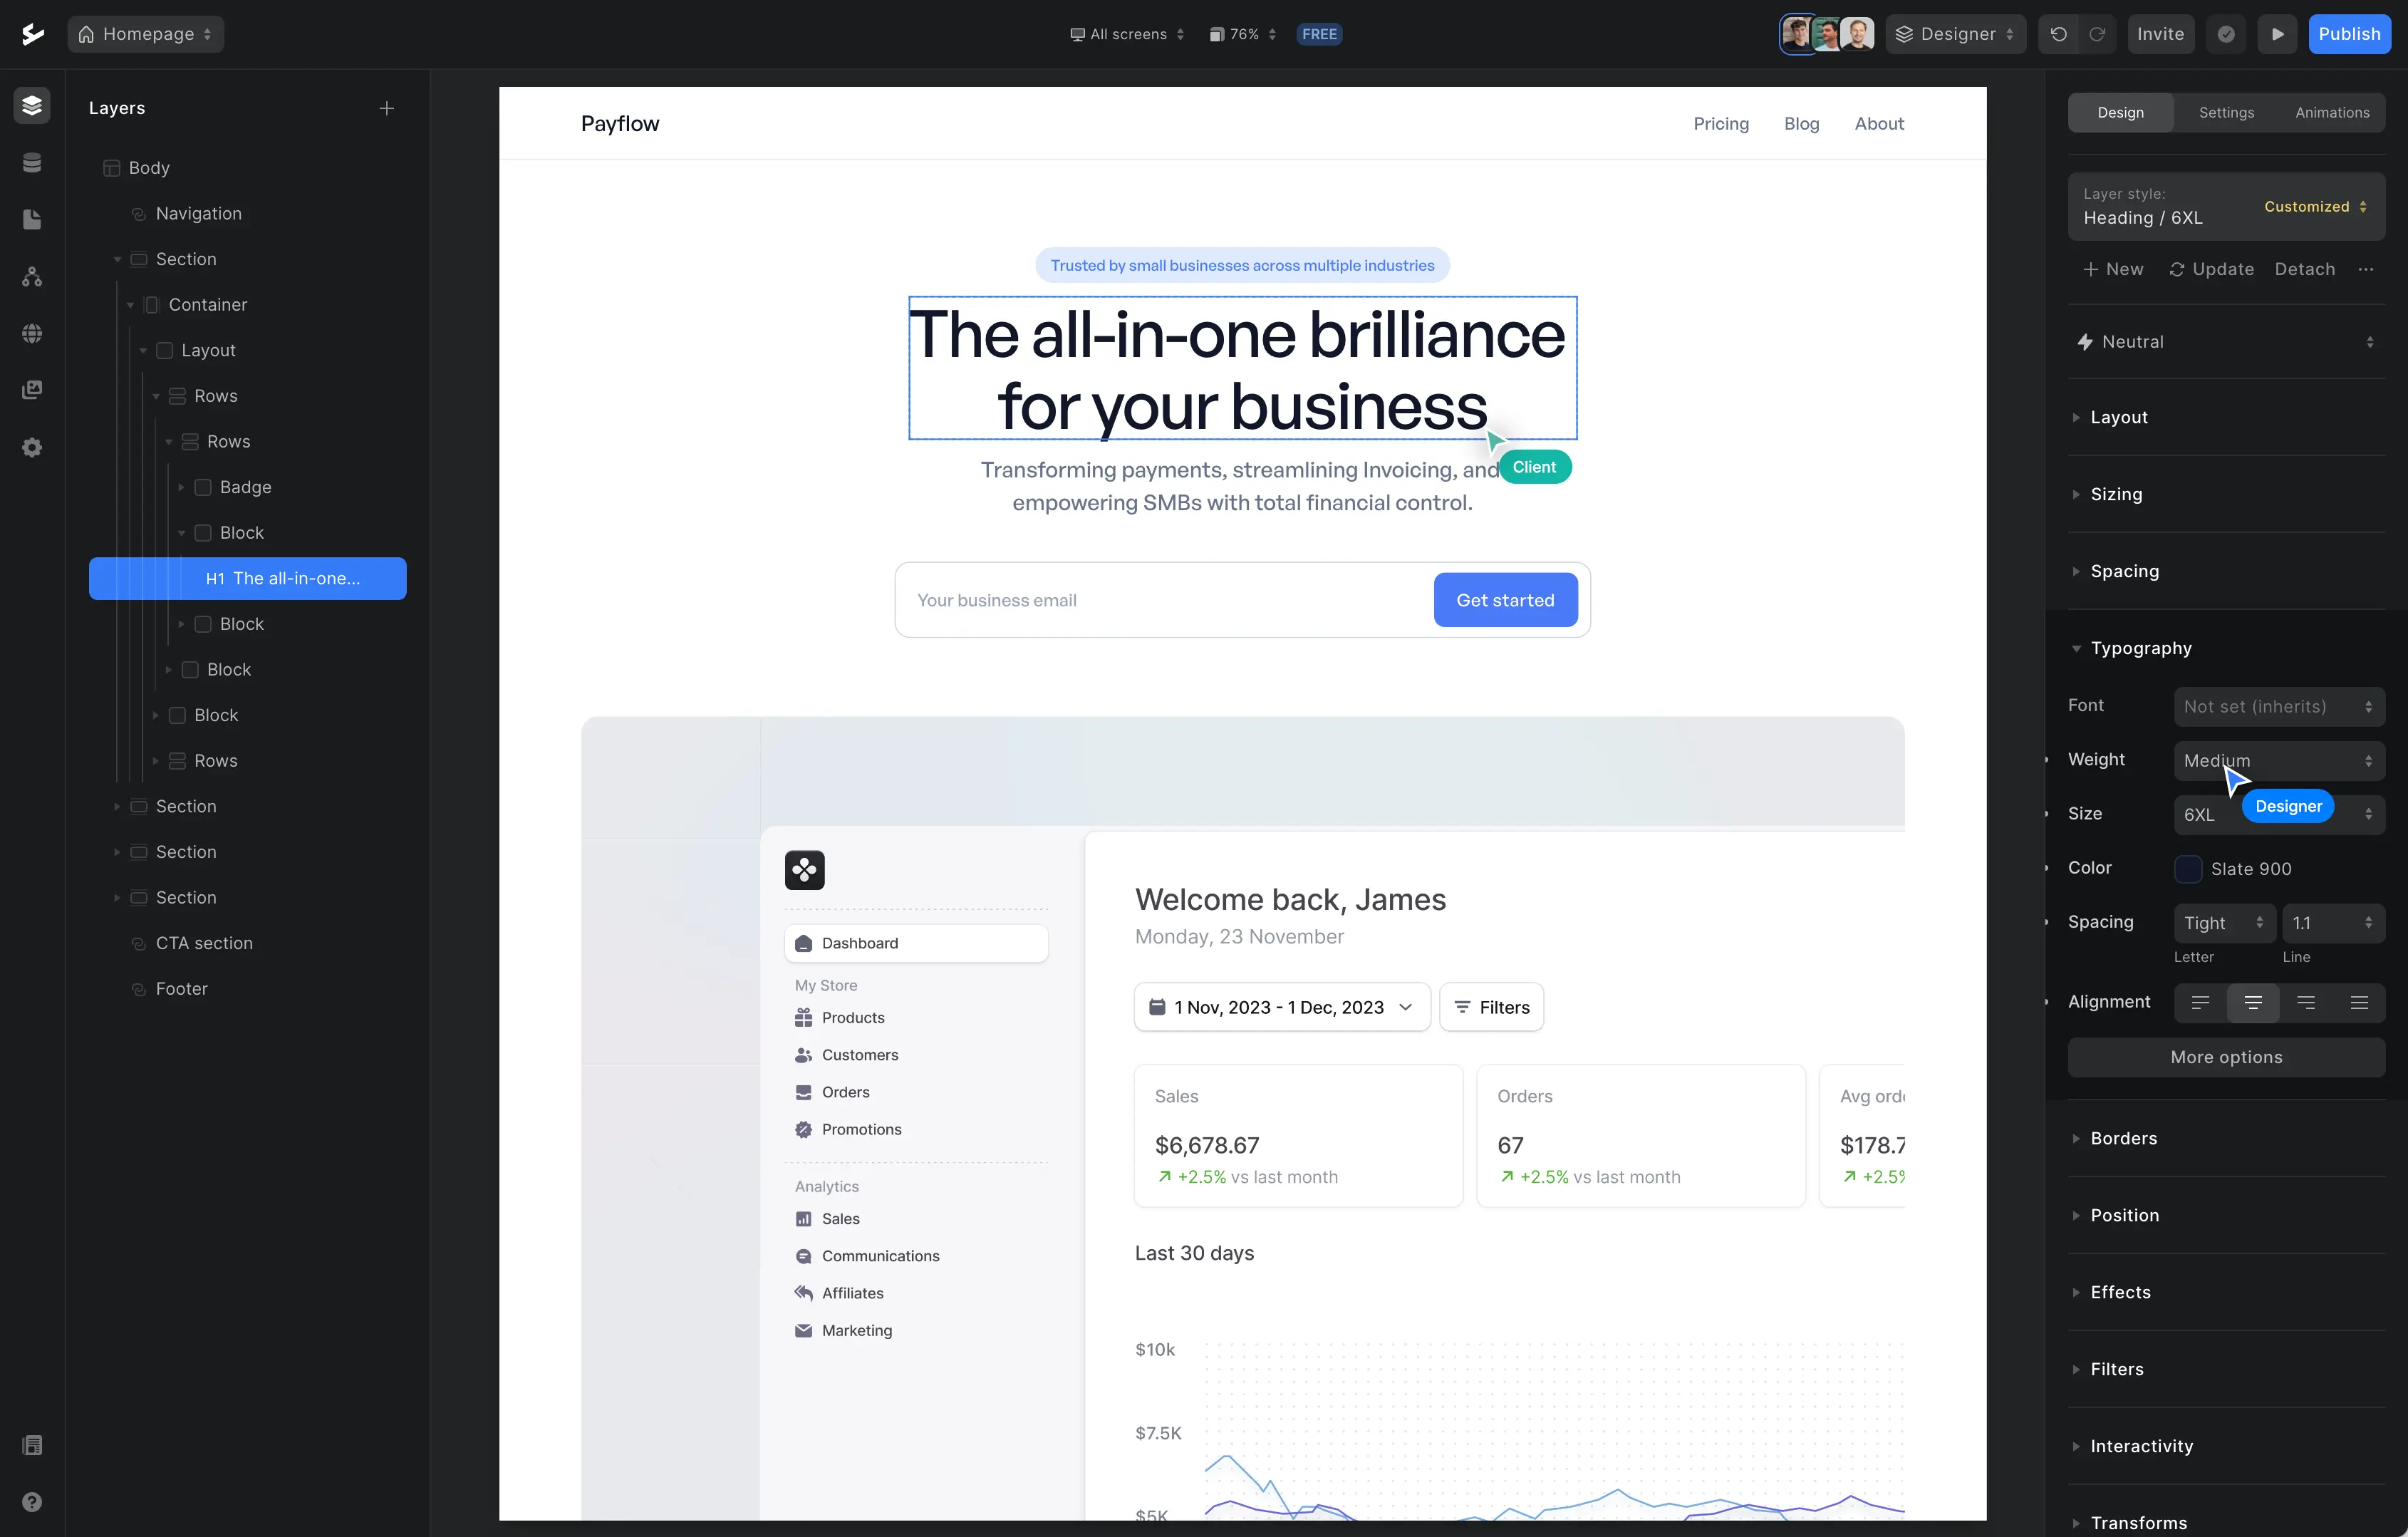
Typography
Since people visit blogs to indulge in engaging reads, you want to make sure all copy has great readability. Opt for clear fonts (e.g. sans serif or serif fonts), a good amount of line spacing and large enough font sizes (ideally, 16 px for text).
If you want to combine fonts, keep your mix to a maximum of three.
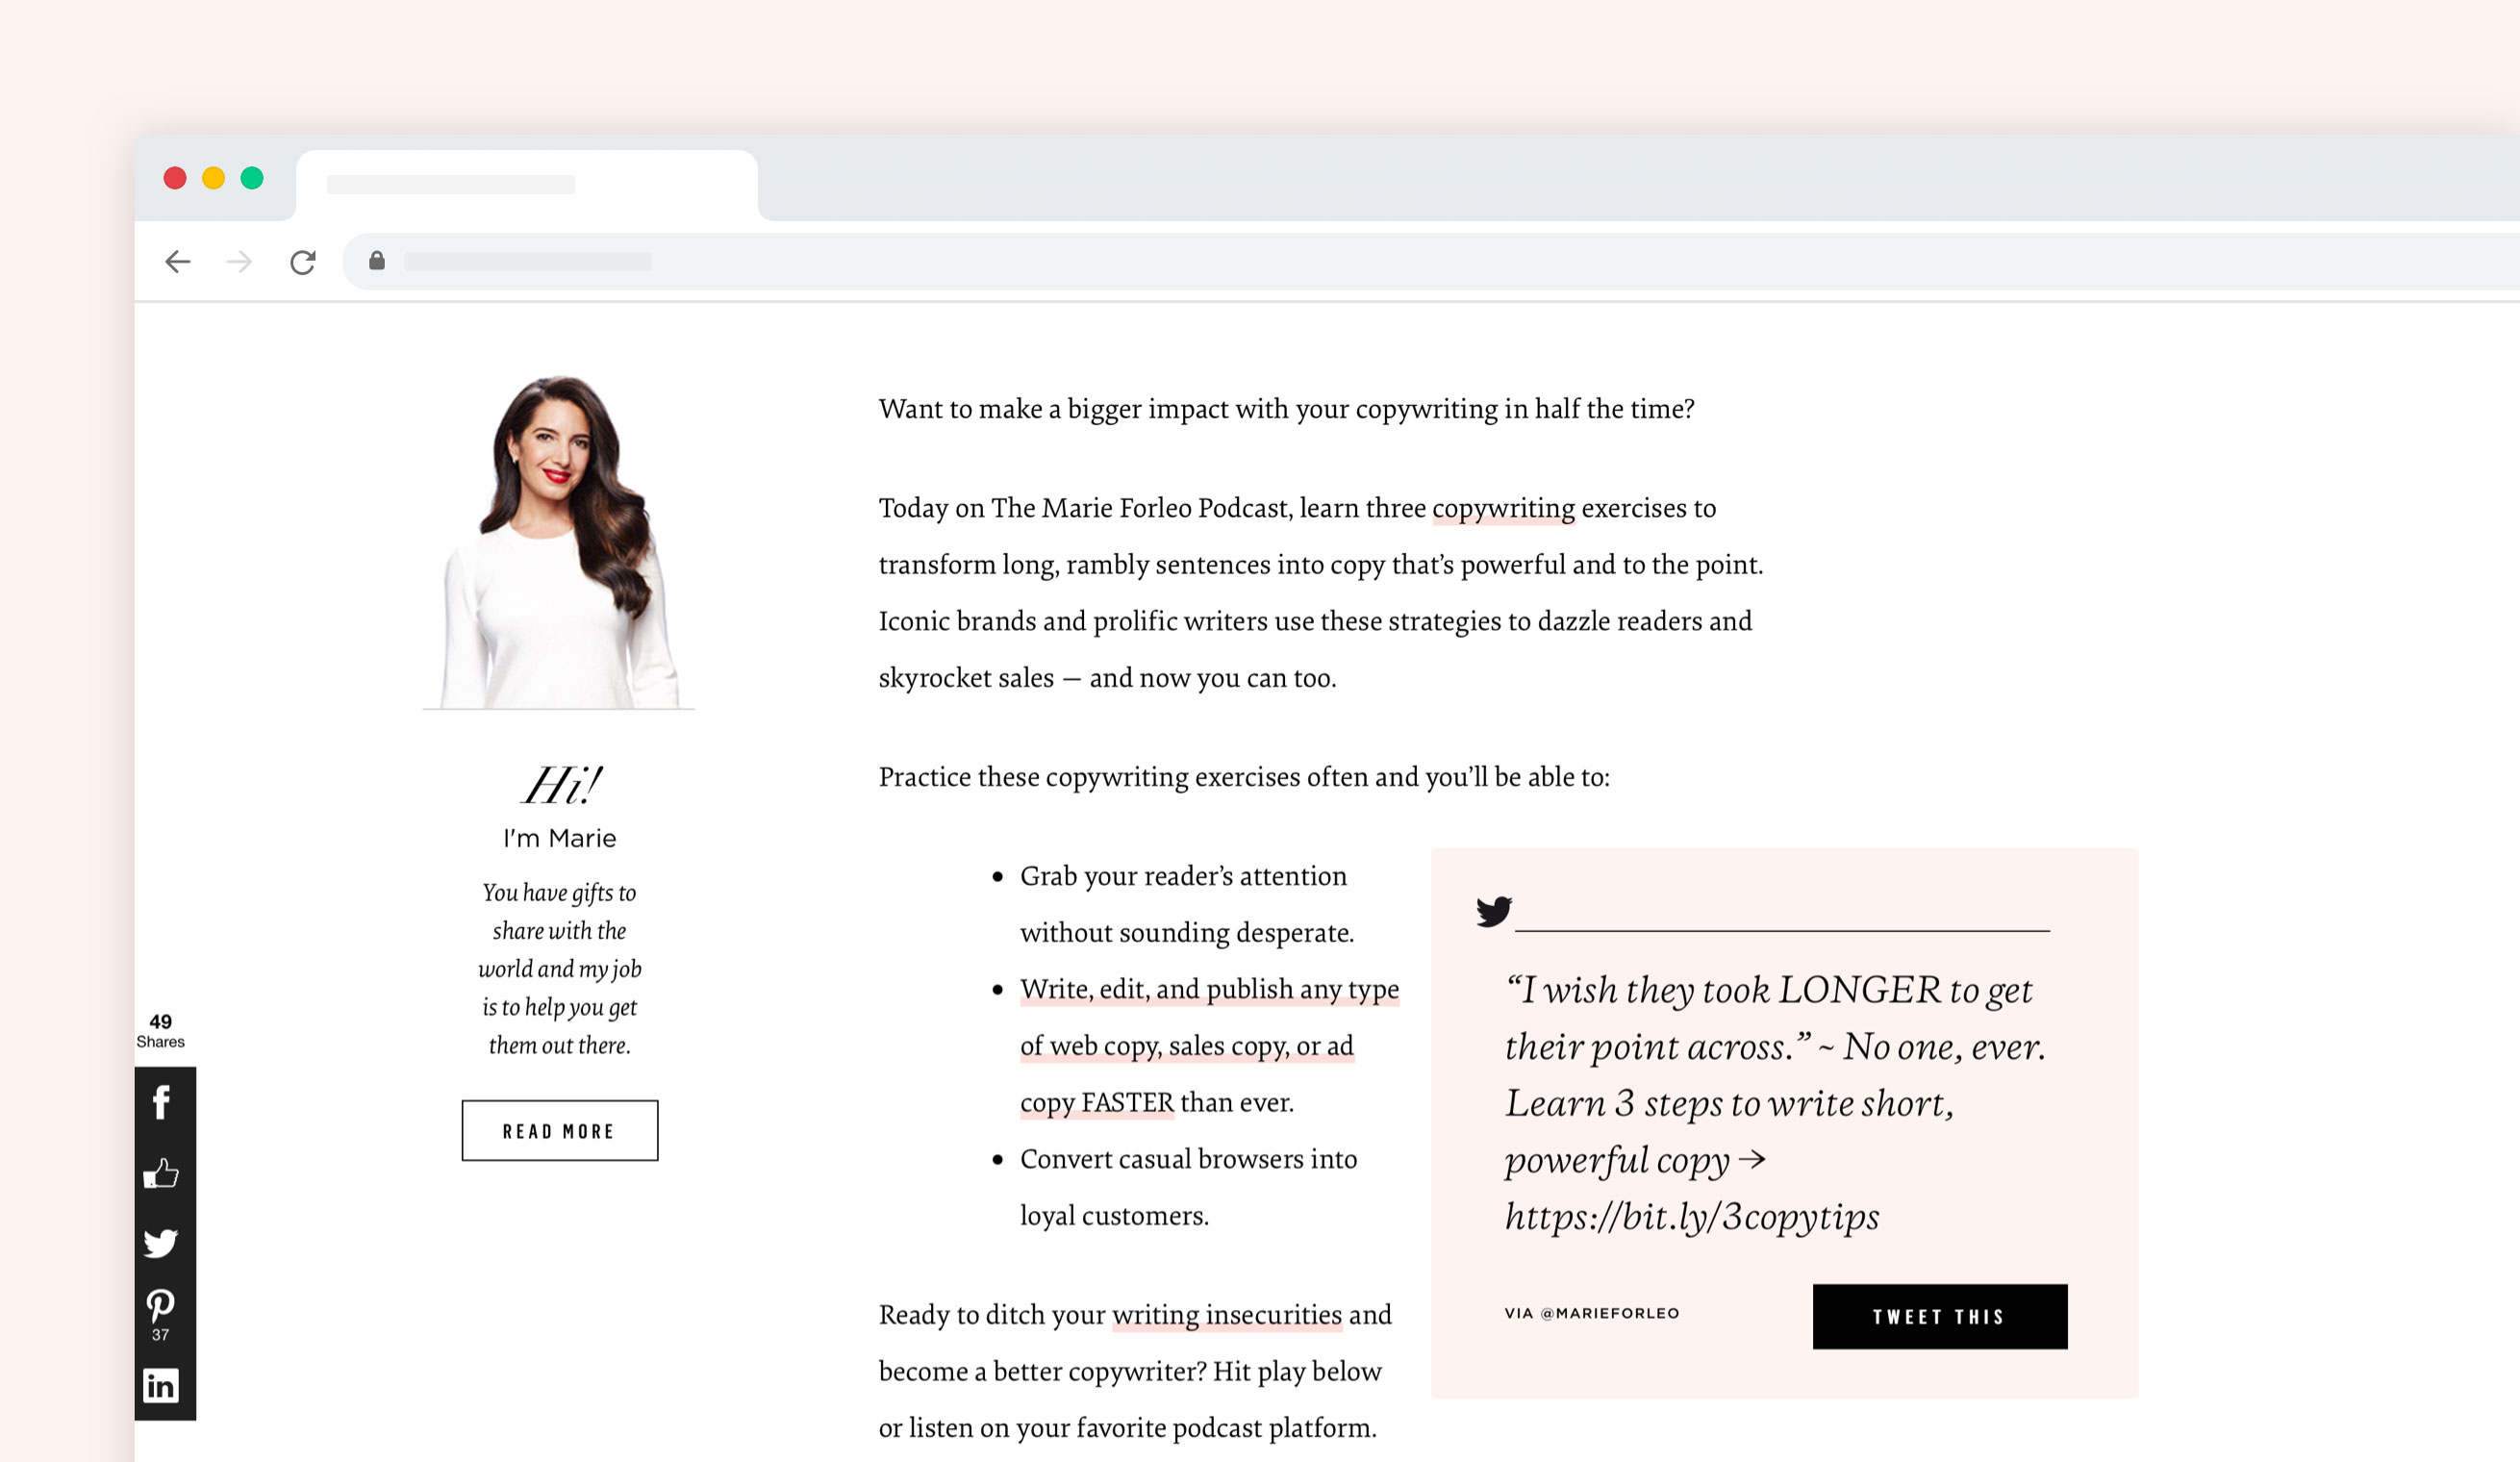
We enjoy reading Marie Forleo’s blog articles, as the graphic design is on point. Note how the text is large and spacious, but also how she uses boxes, quotes, videos and tweets to make articles more engaging (like in this blog). Oh and, how sleek are those link indicators!
Step 3: Expand with these future web elements
Once your blog is up and running, you might want to look into adding the blog elements below to grow your audience and gain more traction. Here’s how to go from a personal blog to a small business.
Social media
Social buttons always belong in your blog design. As soon as you’ve reserved your handles, you can add the links in your header, footer, sidebar — anywhere that seems fitting!
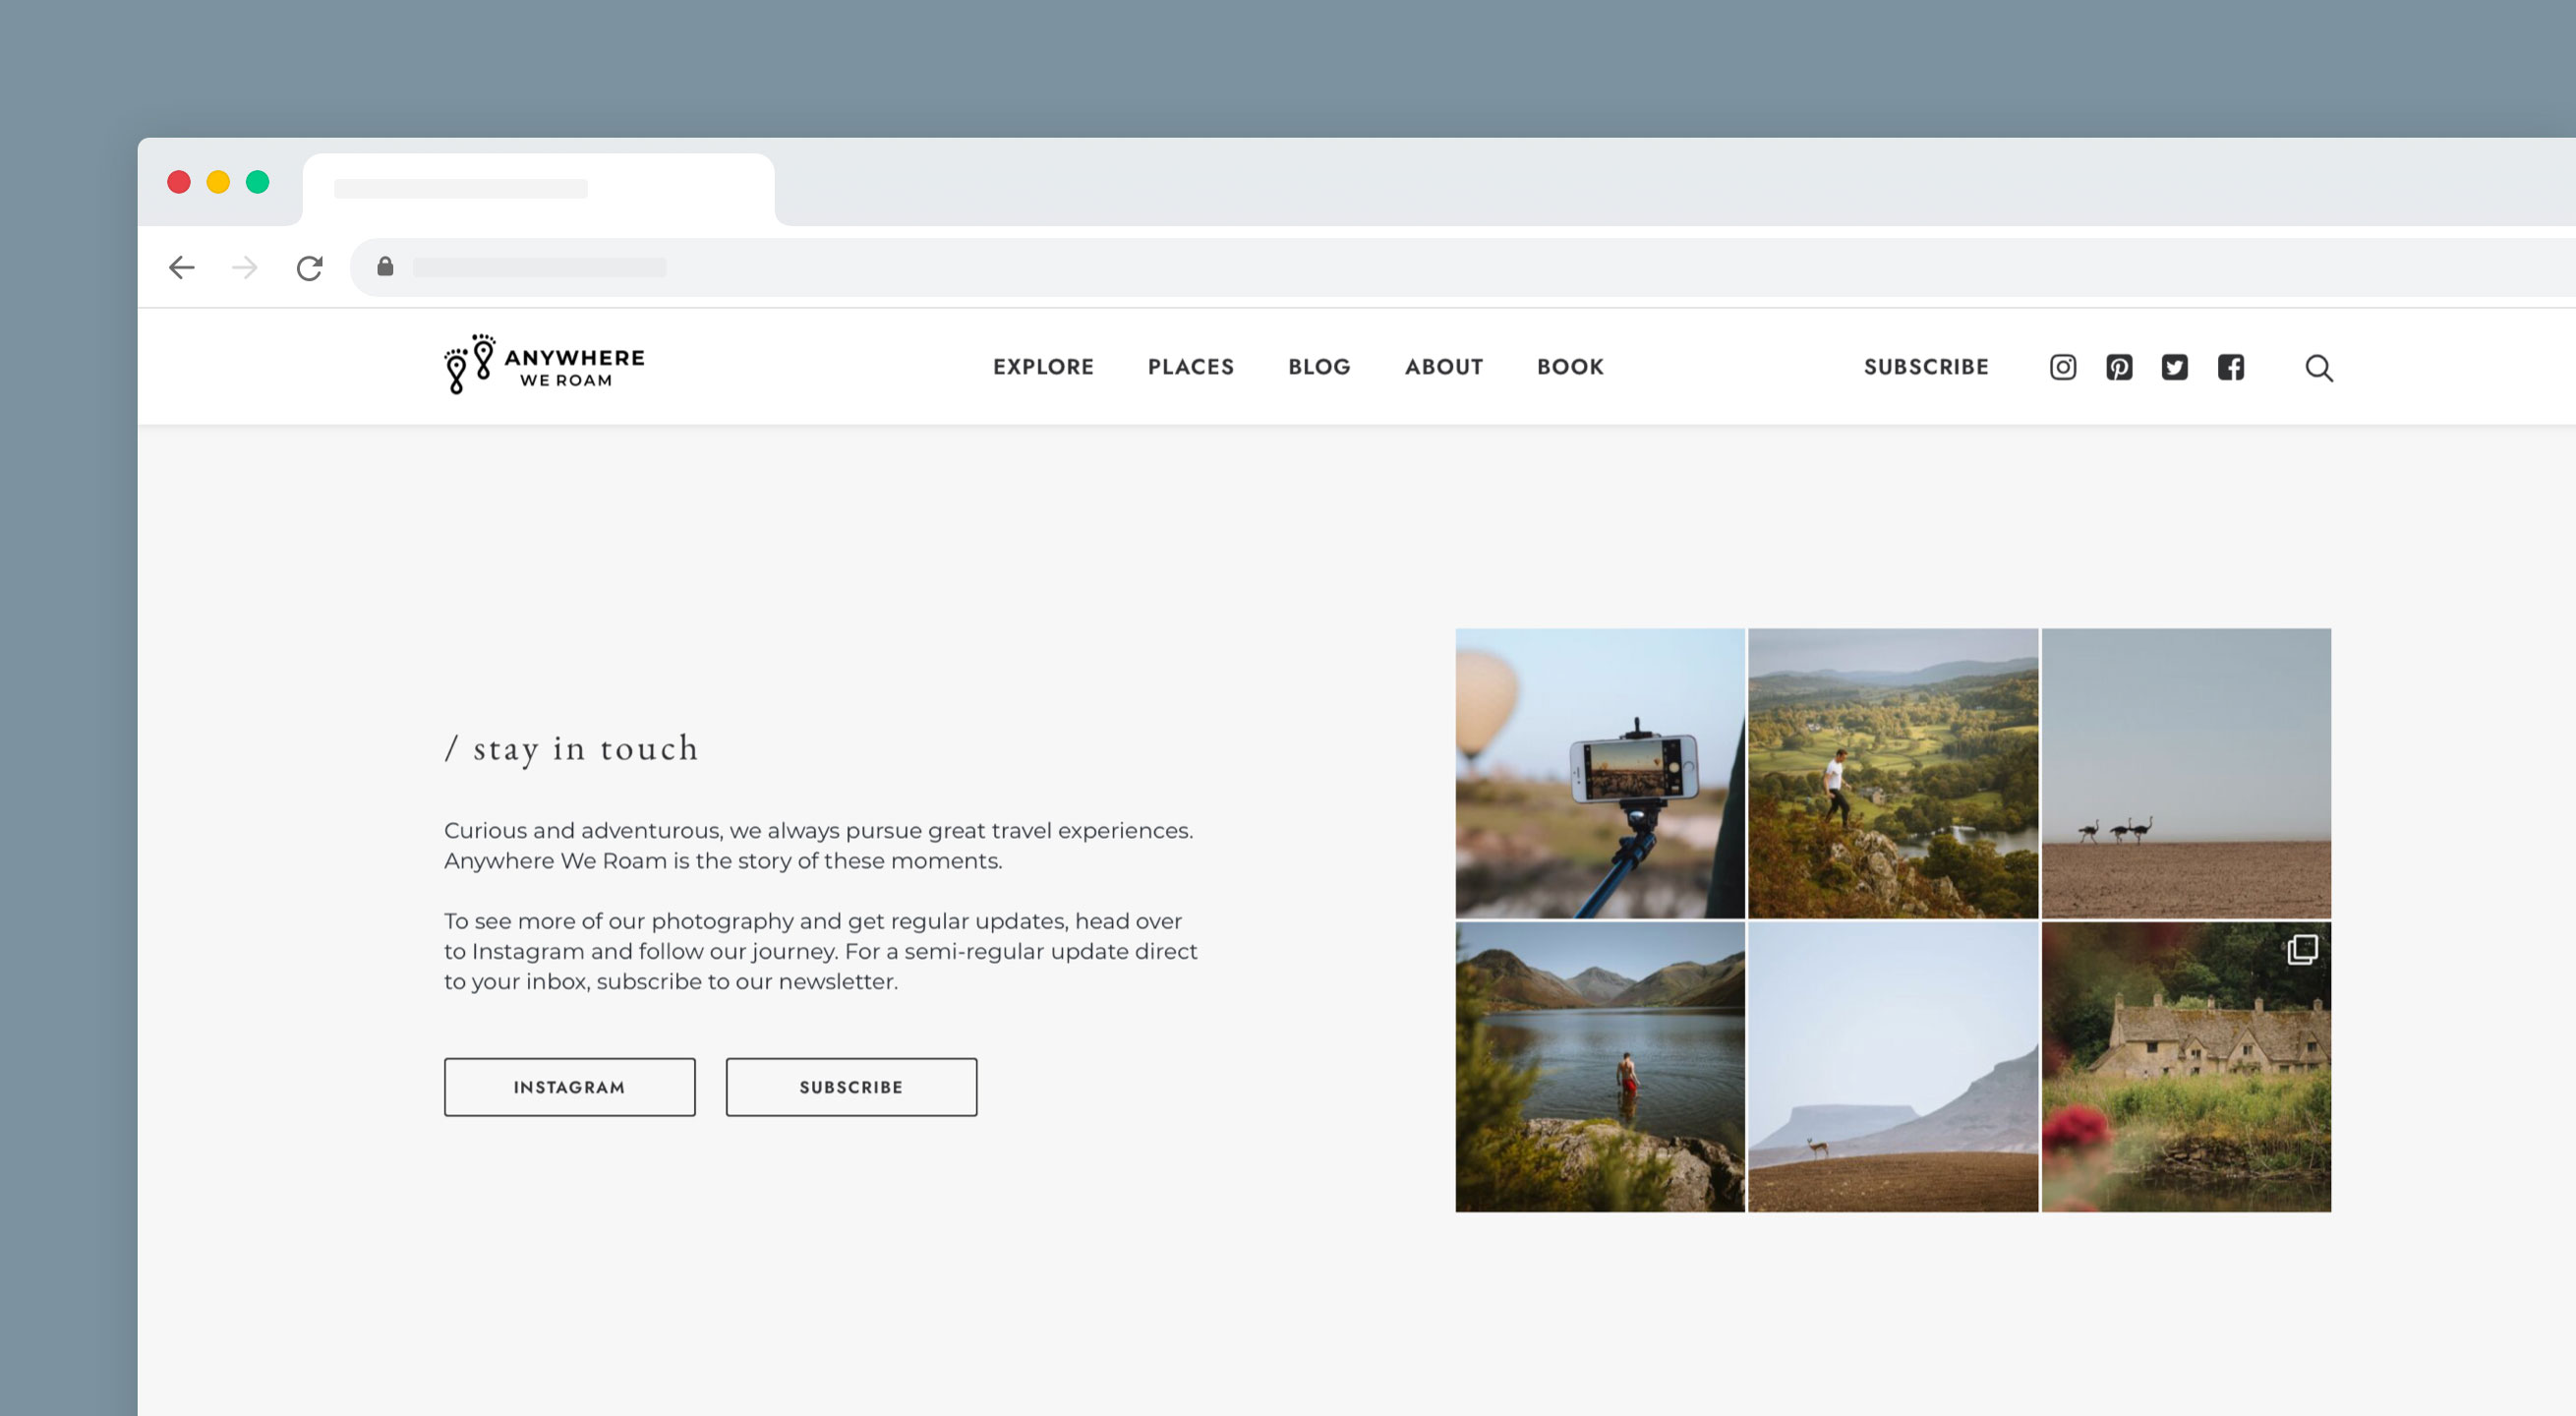
Once you’ve added a good amount of content on Instagram or Twitter, you can also choose to embed your latest posts in your web design. Many blogs have embedded their Instagram feed somewhere on the homepage or in the footer part. This promotes follows, but also adds more imagery to your blog design.
In the example below, you can see how the travel blog Anywhere We Roam dedicated an entire section to promoting both their Instagram and newsletter subscriber list.
SEO
While Search Engine Optimization (SEO) isn’t an element to embed while building your website, it is an important blog aspect to take into account when you’re looking to grow and expand your reach.
To gain more organic traffic and rank better on search engines, you’ll need SEO. For your blog, it’s best to start with on-page SEO. This entails everything from finding the keywords you want to rank for, creating blog content around those topics and optimizing existing content.
In MailerLite’s beginner’s guide to SEO, you’ll learn all the basics of performing SEO for your blog.
Email marketing
A great way to build a following is by having a newsletter. This allows visitors to leave their email and become email list subscribers. You can then send them a newsletter, or automatically notify readers when there’s a new blog post waiting for them.
To turn visitors into email subscribers, you’ll need to promote your newsletter. Most blogs do this by embedding a signup form in the header, sidebar or footer — or a combination of all three.
Ads
Wanting to monetize your blog is completely normal. Who wouldn’t want to get paid for the content that you provide and the effort you put into growing your blog?
Most blogs use ads to grow their blog. One tactic is to place ads in your blog’s sidebar or above the feed. Make sure to embed ads neatly into your blog design so they look like they’re part of the design — this will increase click-throughs.
TIP: When ads aren’t direct brand cooperations, most bloggers use Google AdSense for their ads. These paid advertisements are embedded into your website using Javascript. In Ycode, you can embed Javascript via HTML embed.
Happy blog building!
That’s it from our side. Now it’s up to you to start building that long-awaited blog. You now know what to prepare, which elements to design and what steps to take after your blog has launched.
Comment below with your blog designs (bonus points if you’ve (no-)coded it yourself).
Oh and, if you liked this blog, you might also enjoy our article on how to build your own portfolio website. In a similar style, we’ll explain which design elements you need to build a great online portfolio.
Get your project started today
Discover our intuitive visual editor, use built-in CMS collections, SEO features and launch your web projects with ease.