
Imagine this: Your company is launching a new no-code builder. You’re the Project Manager, and your task is to get your team to test the product and give feedback within a week. How do you get your team involved?
Let’s pause for a second so you can cook up a plan 🍳
Got it? Perfect.
Most managers will ask team members to volunteer as Beta testers. While this works, it might not attract a variety of testers. For example, the HR manager might be too busy hiring people and think: “I don’t need to know no-code, I’d rather focus on my to-do list.” Fair enough.
That’s why when Ycode needed testers, the product team referred to one of the oldest tricks in the book: a contest with incentives. They knew that people were much more likely to participate if they could detect personal gain.
This technique totally worked on me.
This is the story of how I, Megan (Senior Content Writer at The Remote Company and Ycode beginner) learned the basics of no-code in one Sunday afternoon—having an absolute blast!
The Ycode movie page contest
“Win a pair of AirPods”, it said on a slide, as we gathered in the virtual Zoom room to hear more about Ycode’s progress.
“We can win AirPods for real?”, someone asked in the chat.
The answer was yes, and I was intrigued.
Not because of the AirPods (expensive technology and my slippery hands often equals a short-lived romance). But because I loved the idea of showcasing my skills, potentially winning the contest and having less than a week to do so. Challenge accepted!
The Ycode contest was simple: design a web page. A straightforward goal made even more compelling by the topic, “the page needs to be about your favorite movie or TV show.”
Our team loves to discuss movies (we even have a Slack channel about it), so many were excited to build a site while also learning more about their favorite characters and plots while doing so.
The week after, all pages would be presented in our general Slack channel where everyone could vote for their favorite creation by adding trophy emojis (multiple votes allowed).
3, 2, 1… build!
For my favorite movie, I chose Save The Last Dance (you may judge). With its 6.2 IMDB score, it’s certainly not a masterpiece but it is the only movie I watched over, and over again (mainly to copy the dance moves, which, in hindsight weren’t all that).
Before we get into the how-I-built-this part, let’s start with a little backstory.
I know a thing or two about designing websites. In the early 2000s, I created websites (like this one) by slicing my own Photoshop web designs and embedding iframes (don’t judge me, my teenage self didn’t know any better). Later I learned basic CSS to customize my ThemeForest-bought templates on WordPress.
But that’s about all my technical knowledge.
So when I first opened the Ycode builder on that Sunday afternoon, I entered unknown territory. Luckily I was equipped with a basic manual and Ignas’ (our CEO) words: “Databases are great for things like cast members hint hint.”
To start my project, I picked a template.
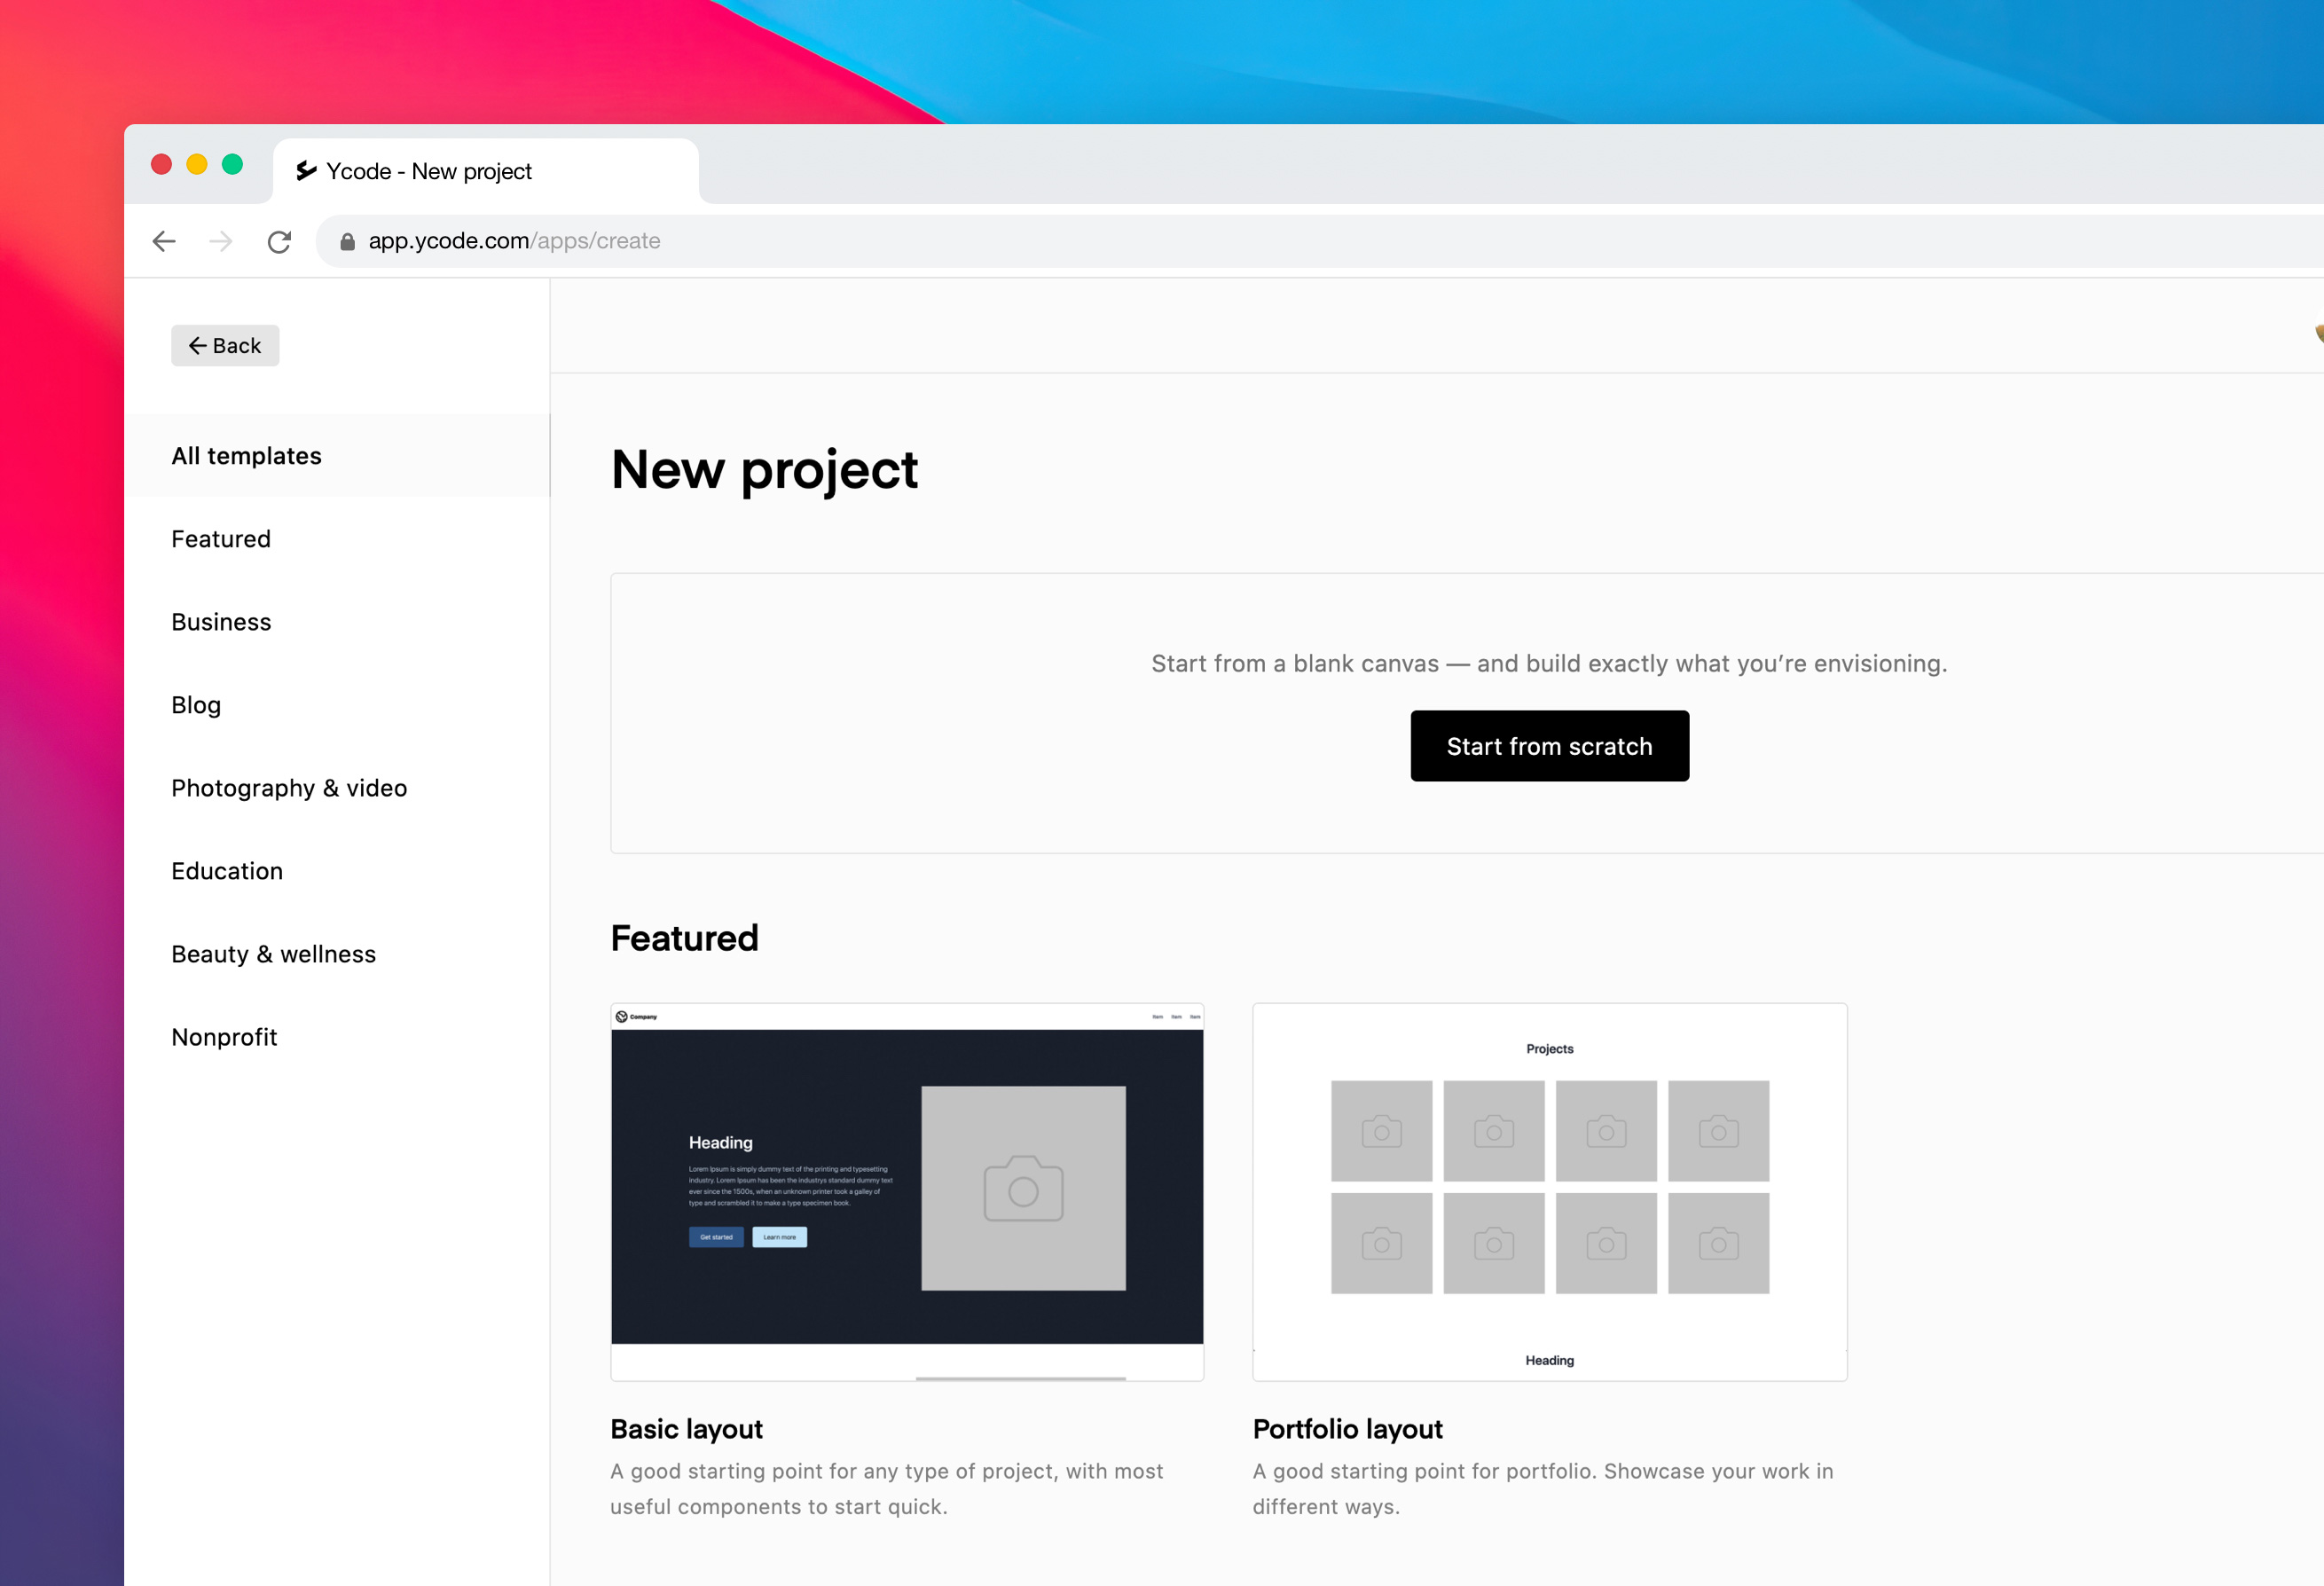
Templates are always a nice start. Not to use that exact design, but to learn a new program. You can click on all the elements, see how things are connected and explore settings.
Once I had an idea of how no-code works, it was time to build. Since the competition was to show what you can build with Ycode, I wanted to incorporate as many diverse elements as possible. The most exciting one being…
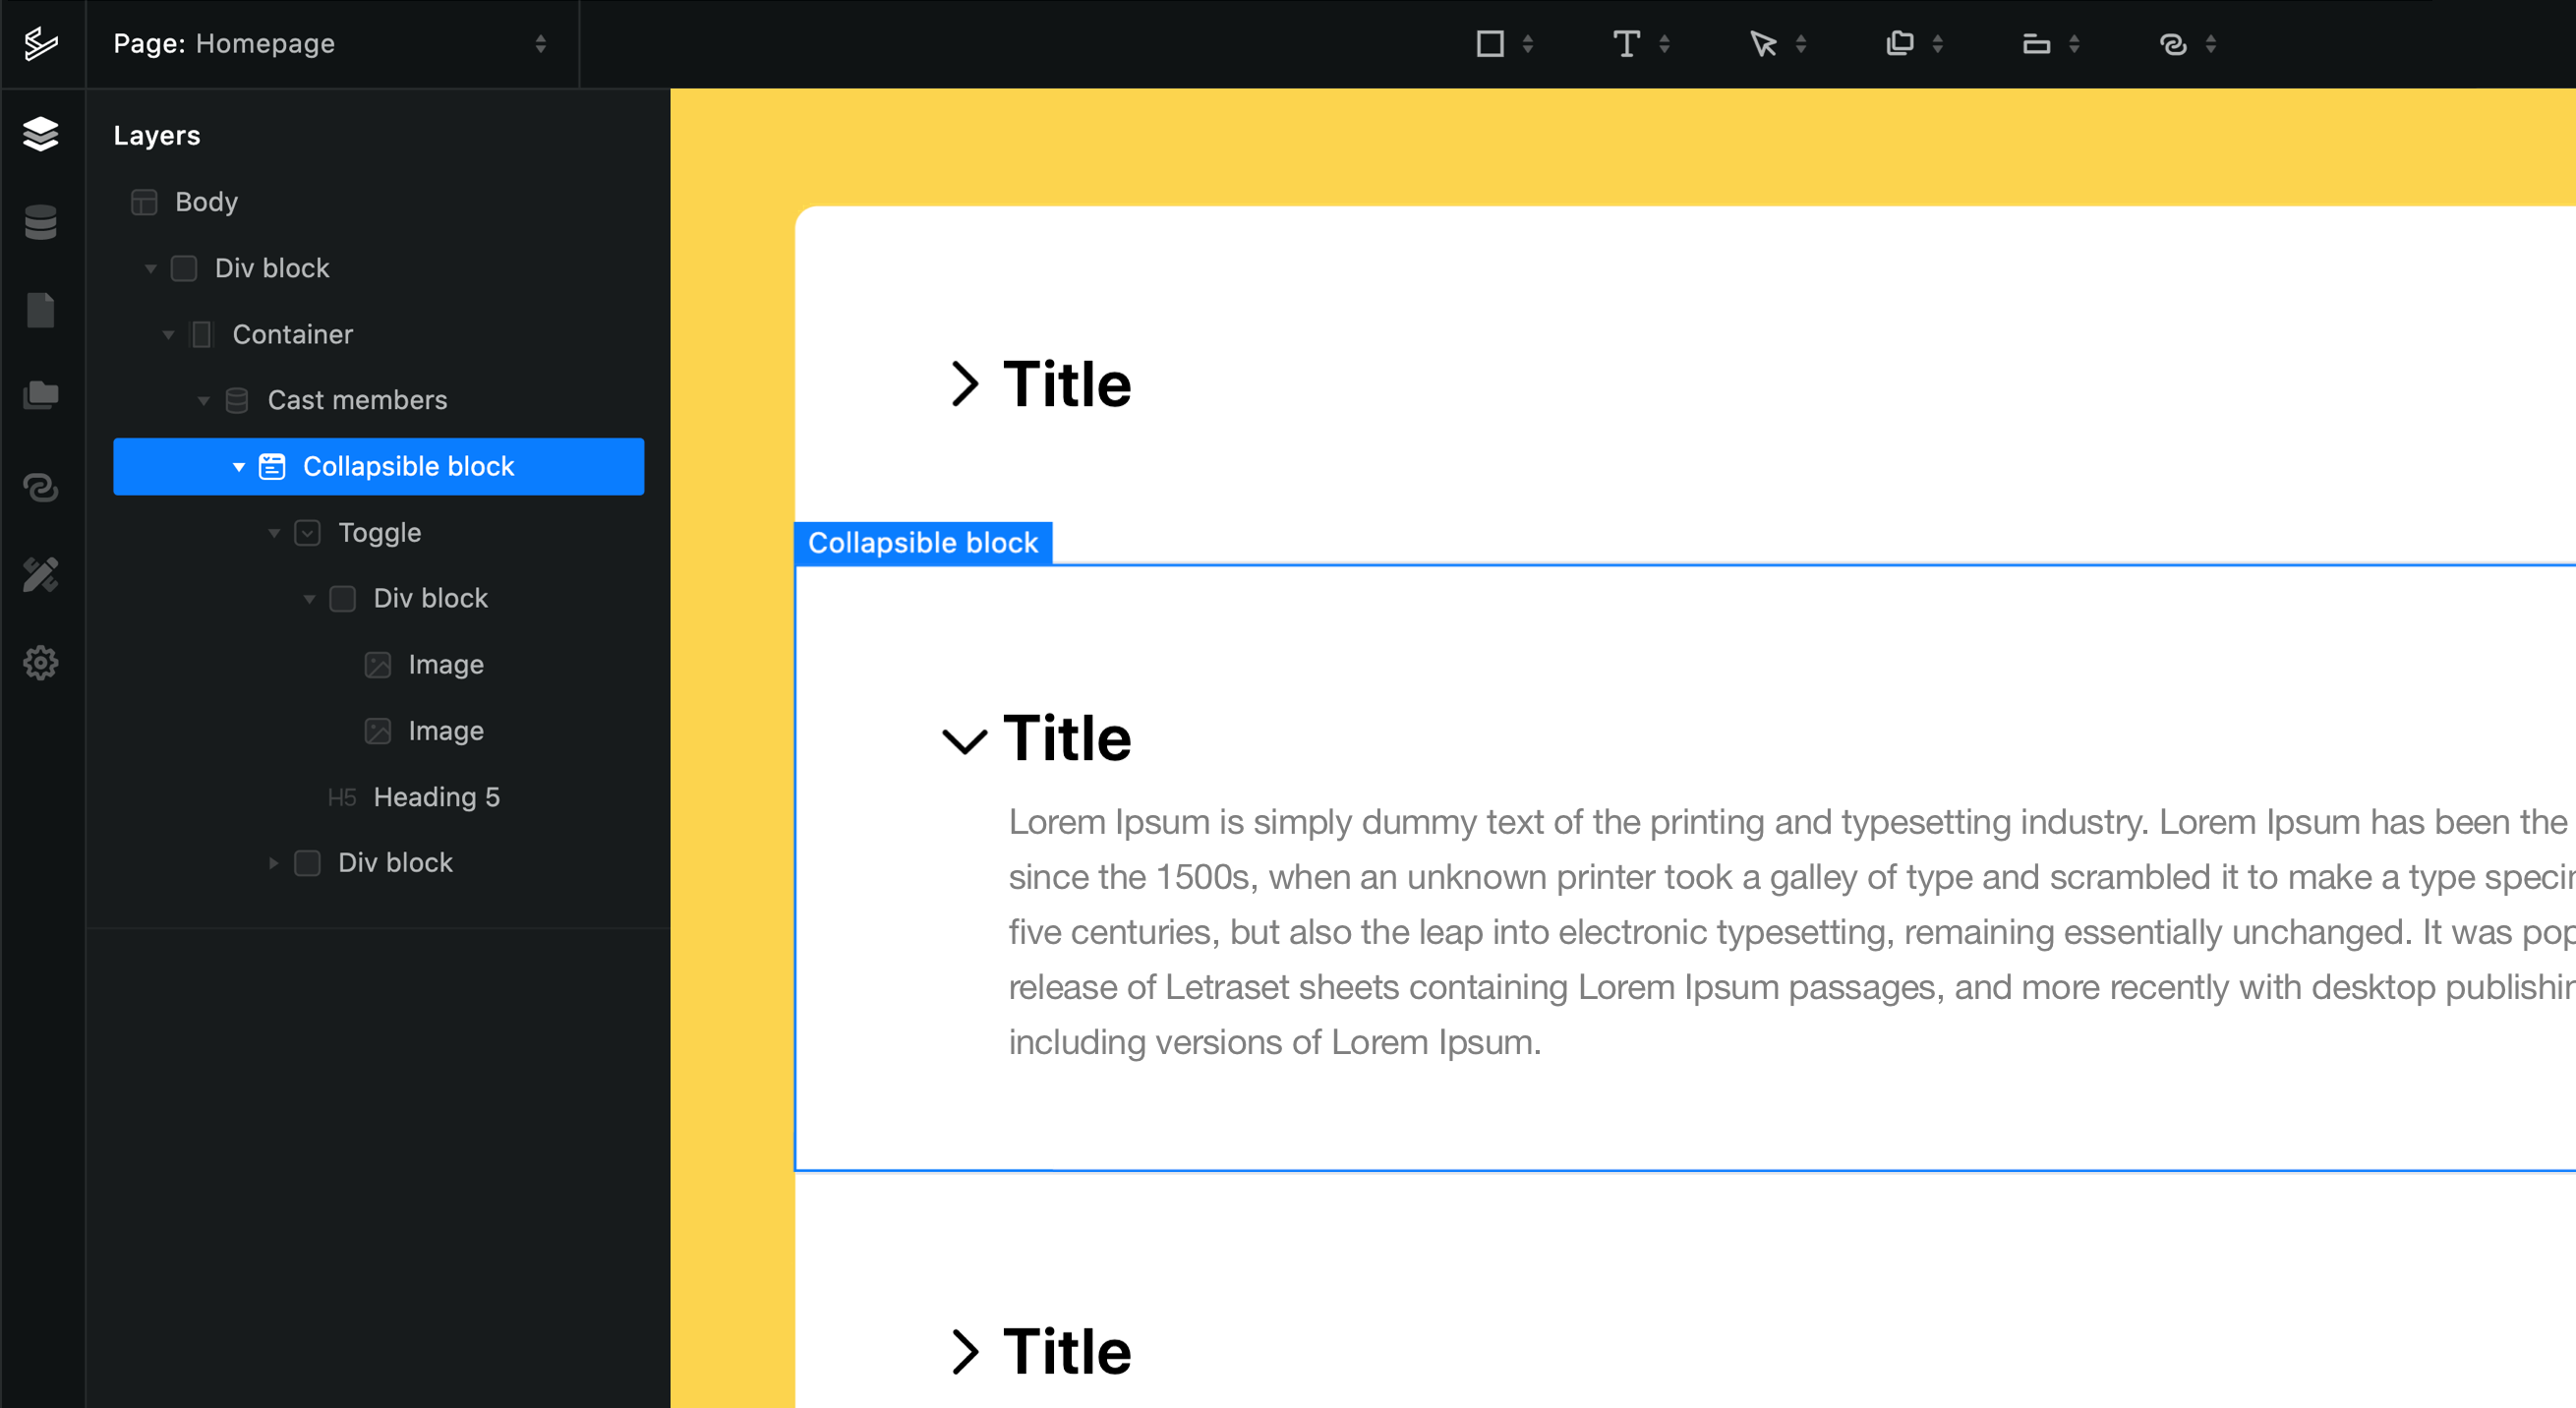
Collapsible block
When seeing how the collapsible block worked, I figured it’d be perfect to show the evolution of the actors. The block heading could be the actor’s name, and once unfolded, the visitor could read more about their acting journey. Here’s how I created it (using that database tip from Ignas).
Step 1. Create a Database and fill the Application Data with the cast member information.
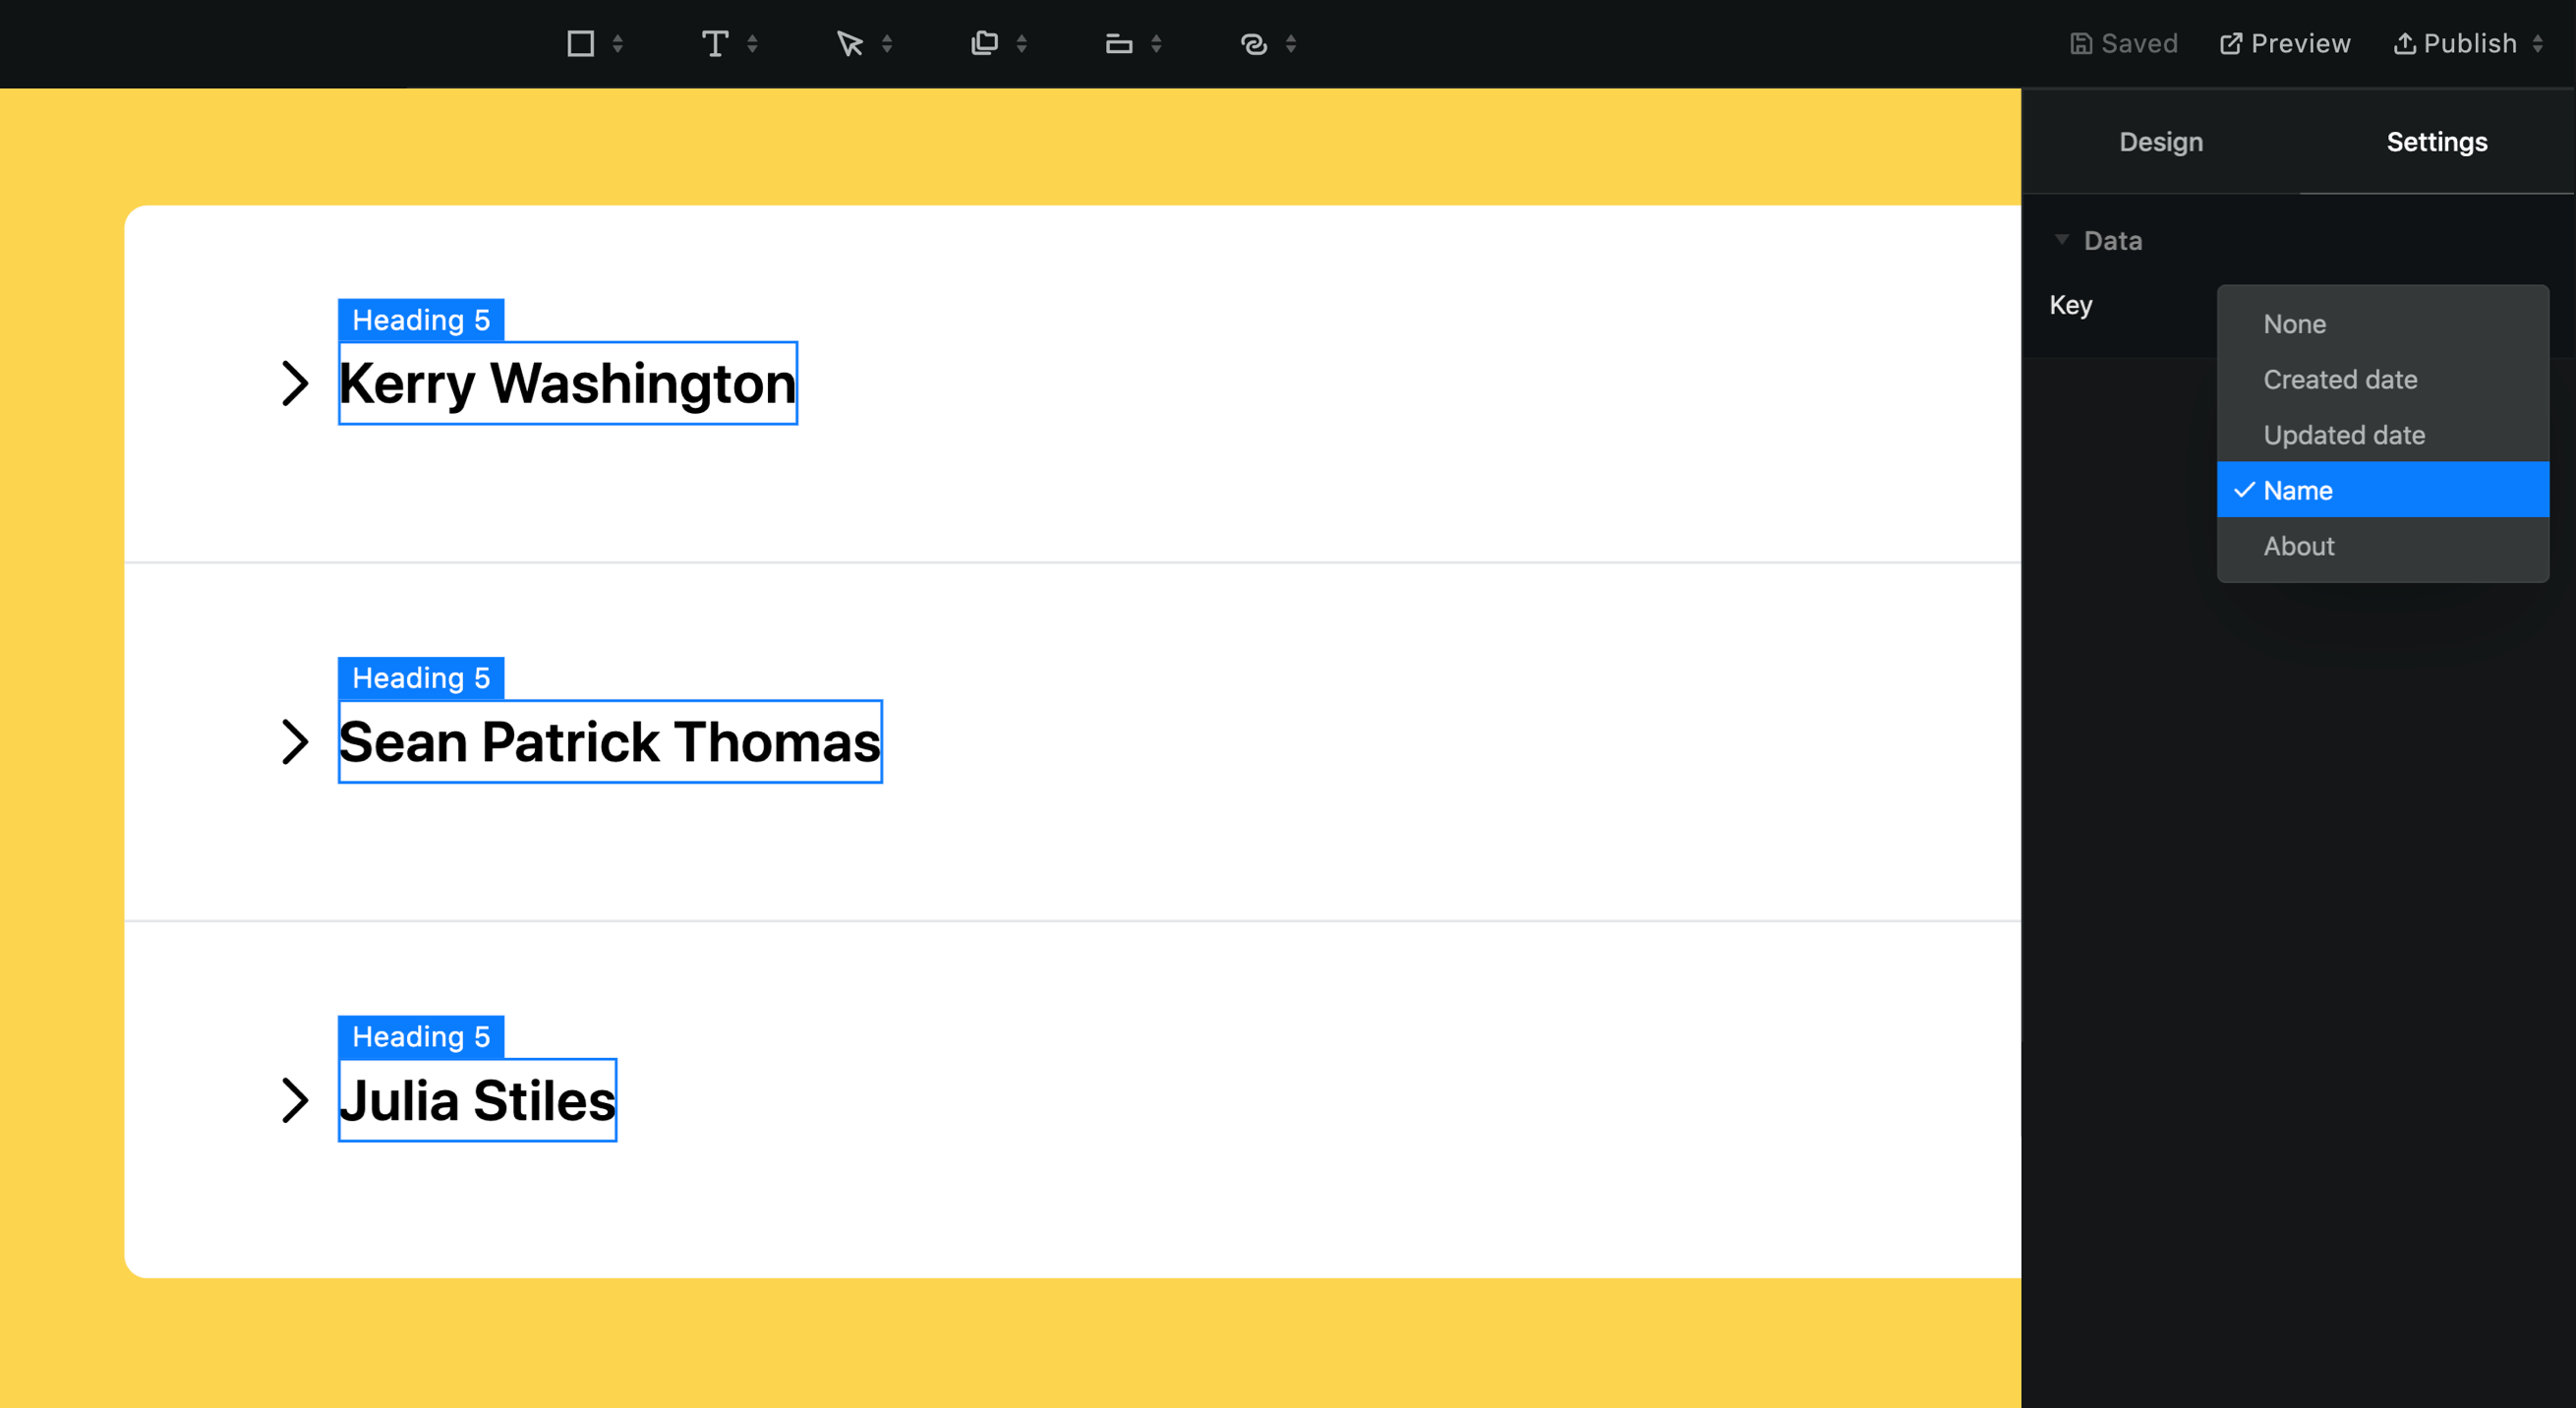
Step 2. Add a Collapsible block and connect it to the database data in the Settings tab on the right-hand side.
Step 3. Ta-da! All the data is automatically connected for each cast member.
With a workable menu, I already felt a lot more confident in my no-code skills! Next up was the header element.
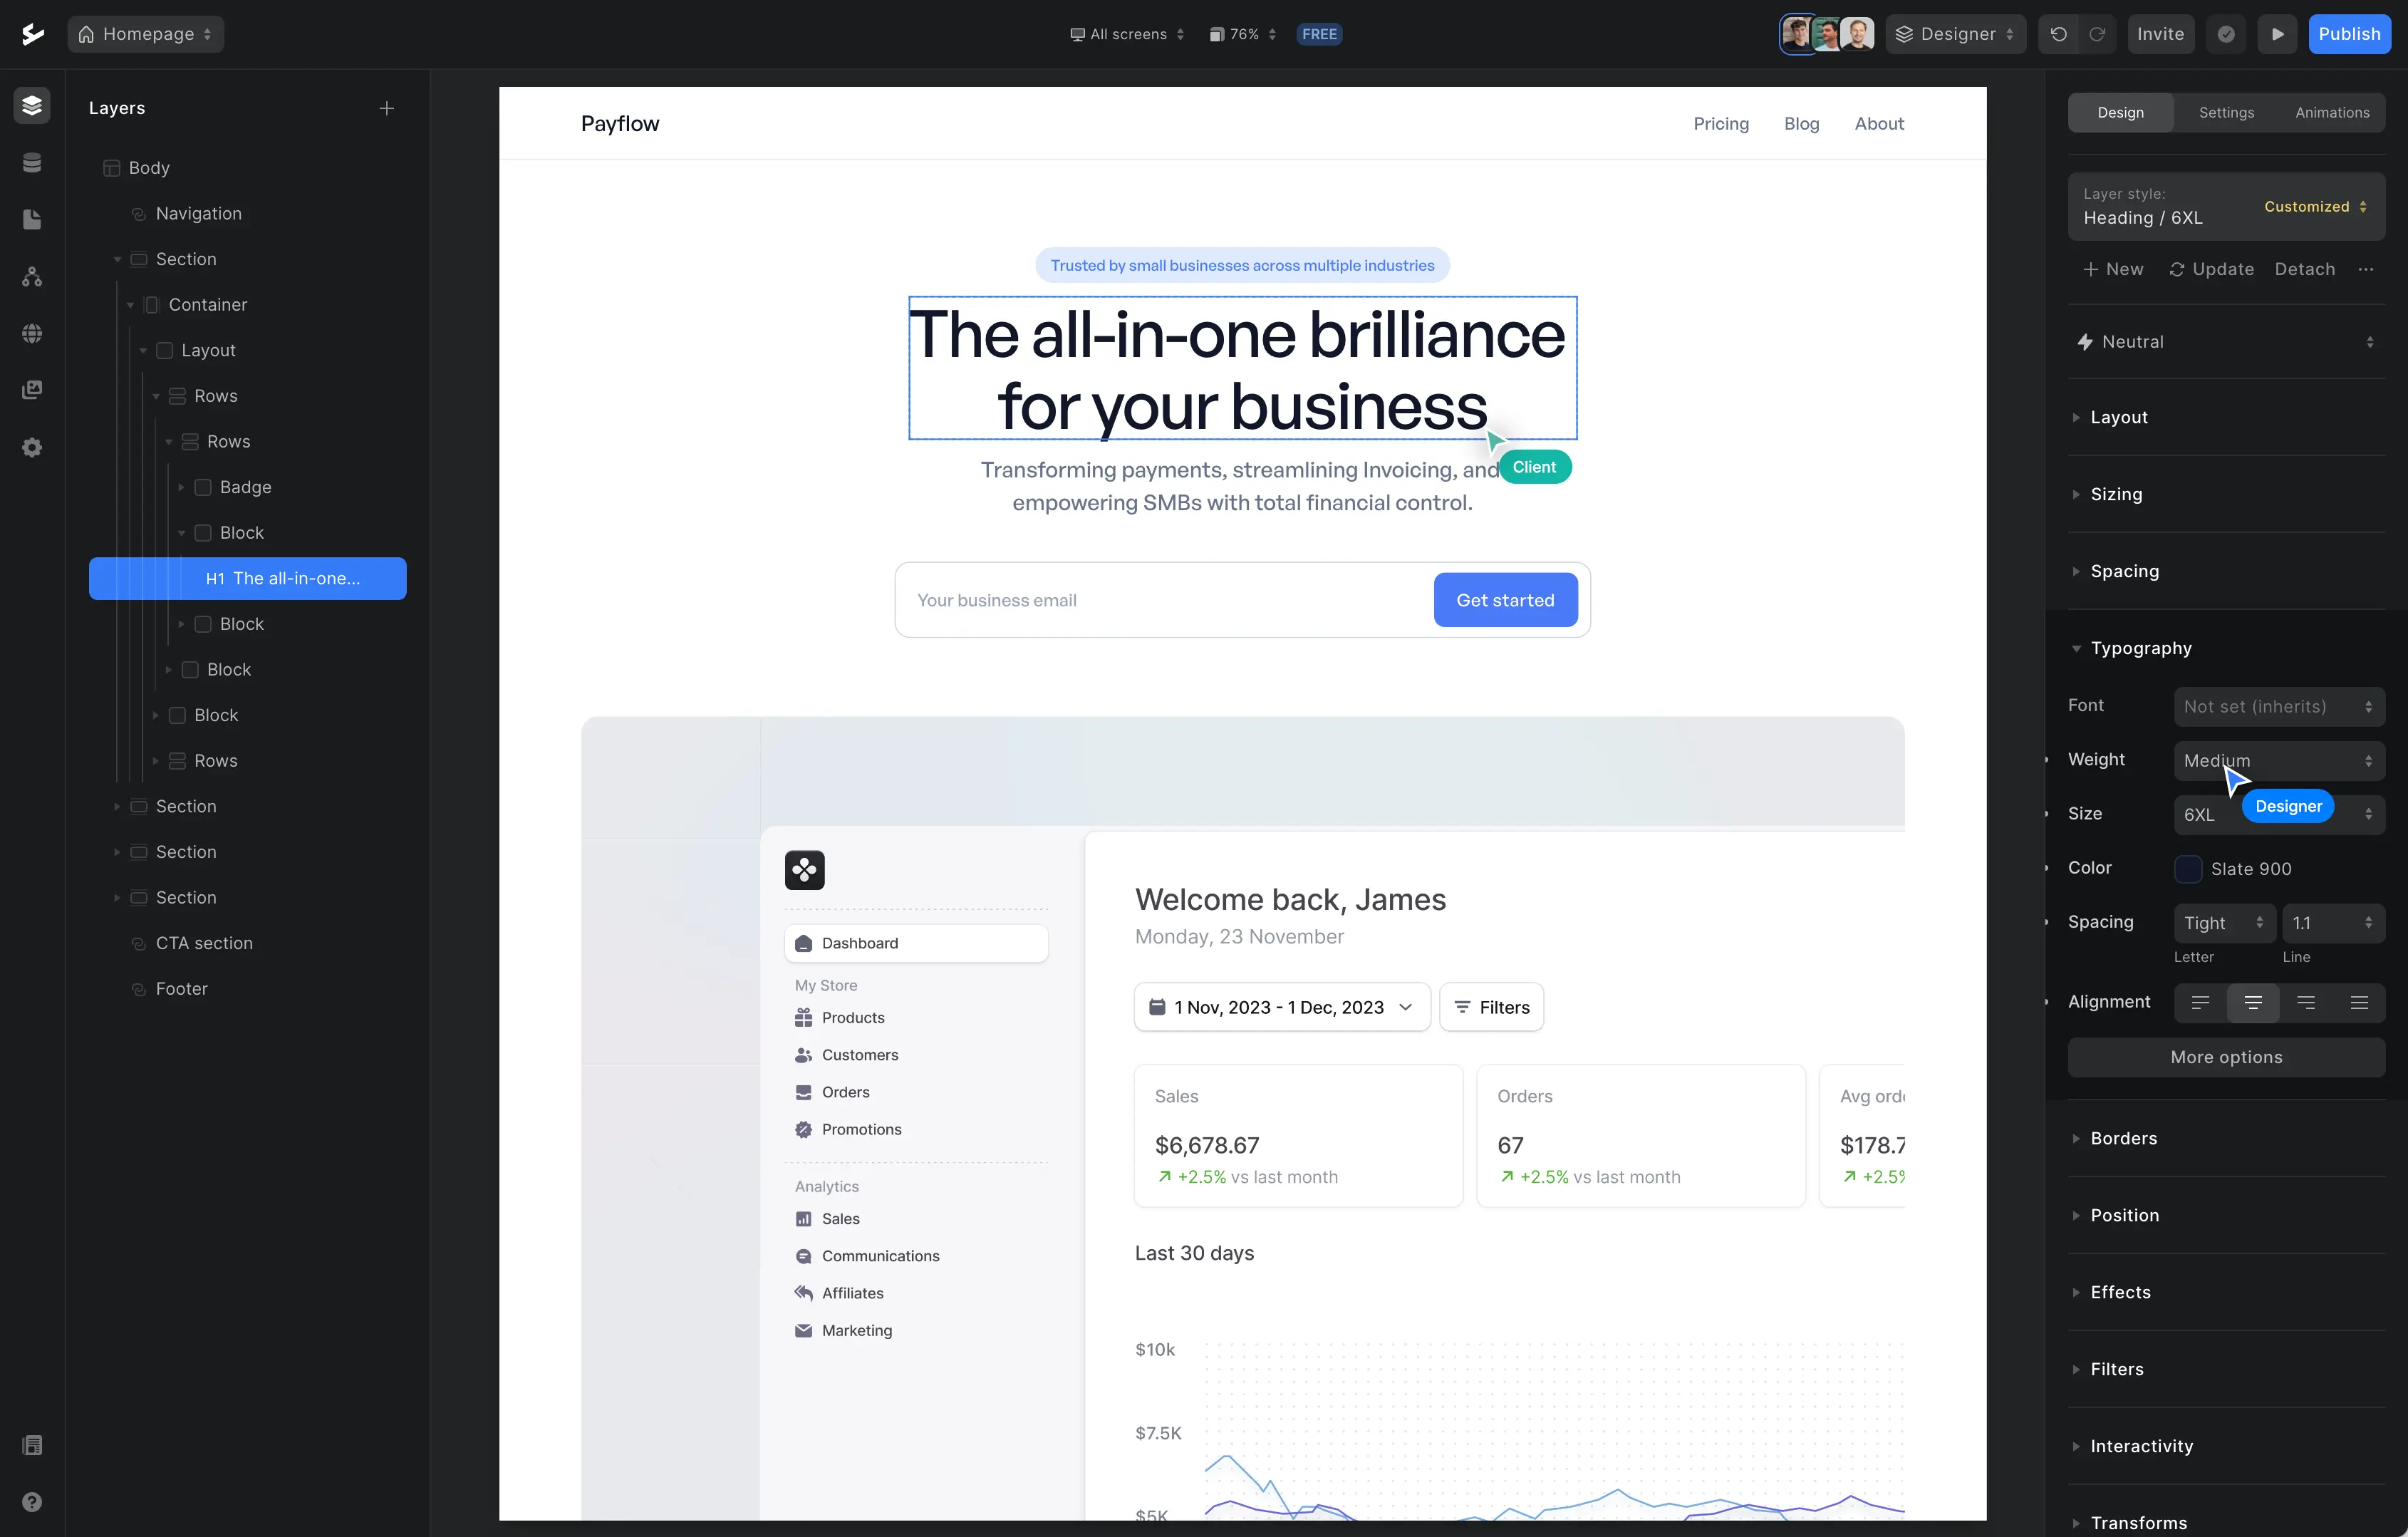
Header video divider
There’s something about adding video or image elements that span the entire width that instantly make you go from “hobby designer” to “oh, I’m a designer-designer”. Especially when you move the container below up just enough to overlap the imagery.
Get your project started today
Discover our intuitive visual editor, use built-in CMS collections, SEO features and launch your web projects with ease.