
You’re tasked with building a website template. Mood check: How do you feel?
If you’re feeling anxious, overwhelmed, and like you’d much rather postpone and tell Netflix you’re indeed still watching, we’ve been there! If you’ve never built a website template before, it can feel like absolute rocket science.
Luckily, you came to exactly the right place to start your journey. As your lead captain, I'll make sure you reach your final destination and make the journey as comfortable as possible—even if you’re not a web developer!
The fasten seat belt sign is on, so let's get this thing off the ground!
Safety instructions: #1 rule for website building
Before we take off, let’s make one thing clear: You’re fully in charge of your website template. If at any point you feel like taking a detour and want to do things a little different from our suggestions, that’s okay!
You have permission to break the rules and let your inner Steve Jobs shine. As long as the website user experience is good, you’re good.
Other than that, we encourage you to follow these tried-and-tested instructions to build a website template that guarantees happy visitors. We’ll go through the essential web design elements, starting at the top of the template and working our way down to the bottom.
Prepare for take-off: Clone a project!
Have you heard about Ycode’s clone feature? It’s pretty epic!
Cloning enables you to share your projects with other people. You’ll get a secret link that can be shared with others. When people visit this link, they’ll see a blue button on the top right corner that says “clone project”. The entire project is then copied and automatically added to their Ycode dashboard—ready for customization.
Now, the other person can open the project and see all canvas elements, as well as database information, components, files, APIs, and other functionality.
➜ Read the cloning documentation
You can decide to build your new website template from scratch, or you can become a web designer by cloning one of our ready-made free website templates. It’s a great starting point for all sorts of websites—whether you’re a small business, run a blogging platform, or need a real estate platform!
You’re free to edit this template with your information and publish it online—saving you lots of time! Promise we won’t tell anyone you didn’t totally build it yourself. 😉
Click below to see the free website templates made by Ycode and clone them to your dashboard.
Business website template
Ta-da! 🎉 This is the very first Ycode template—available for cloning and in the Ycode template gallery in-app!
We opted for a high-quality business website template that is sleek, modern, and simple. It's mostly grey and white for a reason: We want you to be creative and customize it. This business template can be adapted to anything from ecommerce to portfolio websites and more.
The homepage section contains a big header and different content sections that can be adjusted, copied, or deleted to create your own professional website layout. This template also includes a work, about, and contact page.
➜ Click to Clone project
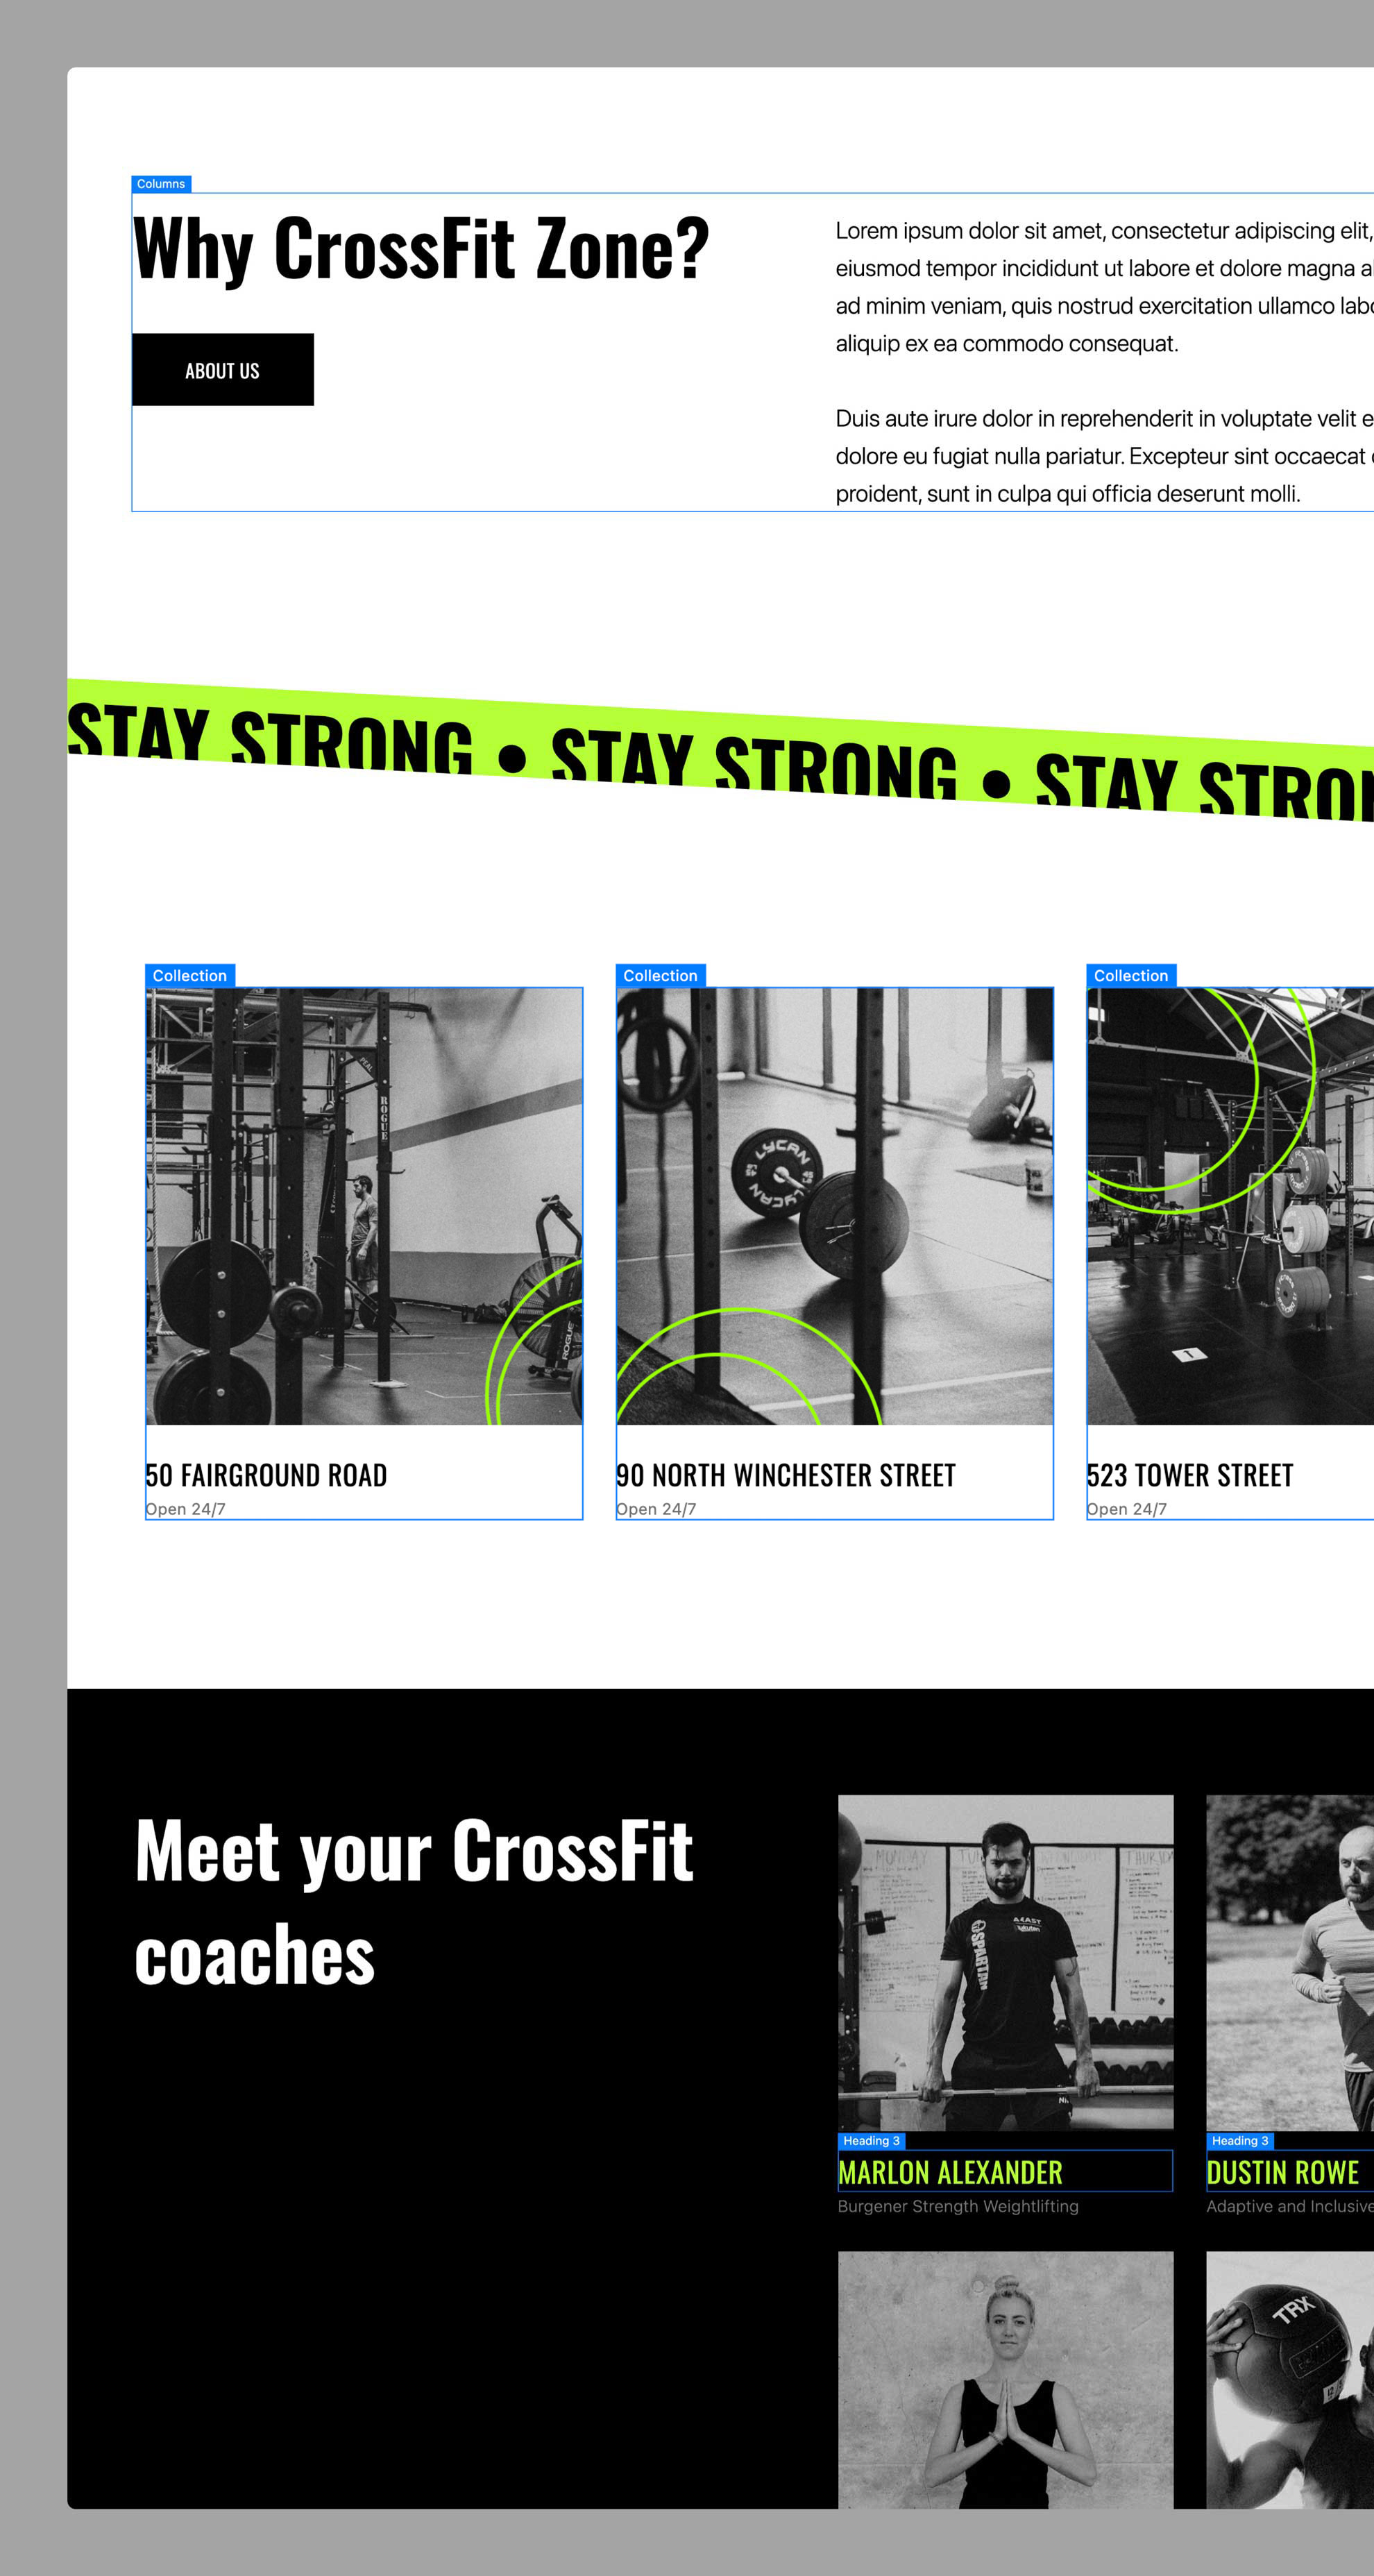
Gym website template
The gym website template is a great example of how you can adjust the business template above to fit your needs.
With a few tweaks, you’ll now have a website that’s sporty, professional, and targeted to CrossFit fans. And even if you’re not designing for a gym, you might enjoy the setup of this template and adapt it to the industry you’re working in.
Clone this project and see the changes we’ve made, like the header background, “stay strong” divider, and bright-colored buttons. This website includes a homepage and gyms, about, and contact page templates.
➜ Click to Clone project
Ready for take-off: Website template foundation
The easiest way to get your project off the ground is by starting with the foundation. (Or even easier, work with one of our free design templates above.)
We’ll go through the web elements that can be found in nearly all websites—regardless of what the purpose or theme is. Once you’ve added these elements, it’ll feel a lot easier to fill in the gaps and create the rest of your website content.
Navbar
Website templates start with a navigation bar. The majority of the time, they’re stuck to the top of the page (fixed or sticky, aka, moving with you as you scroll). Other times, they’re positioned on the left or right side of the screen.
To create the content, make a list of the web pages you want to link within the navbar. Then rearrange and cross off page titles so you’re left with the most important pages. You might want to use dropdown menus that unfold to show subpages.
For the navigation bar web design, the key is to keep things conservative. Write compact titles, use simple colors and fonts, and keep the color contrast high. You can incorporate your logo left, right, or center (whatever looks best!). Make sure to link it to the home page so visitors can always find their way back.
We recommend writing out your menu titles and not replacing them with SVG icons. Unless it’s something instantly recognizable, like a home or email icon. This makes your navbar more user-friendly.
Header
The website header has evolved over time. Back in the web days, it was a small horizontal strip at the top of the page. Placed under the navbar, it would just contain the website’s logo. Nowadays, web page headers can take up the entire screen.
A header often contains:
Headline
Text
CTA (in text or button format)
Background (color, video, or image)
Side image, animation, or video
For website design header tips, things like “use big fonts” and “convince with as few words as possible” are often mentioned. A header element’s job is to immediately tell web visitors what this website is about.
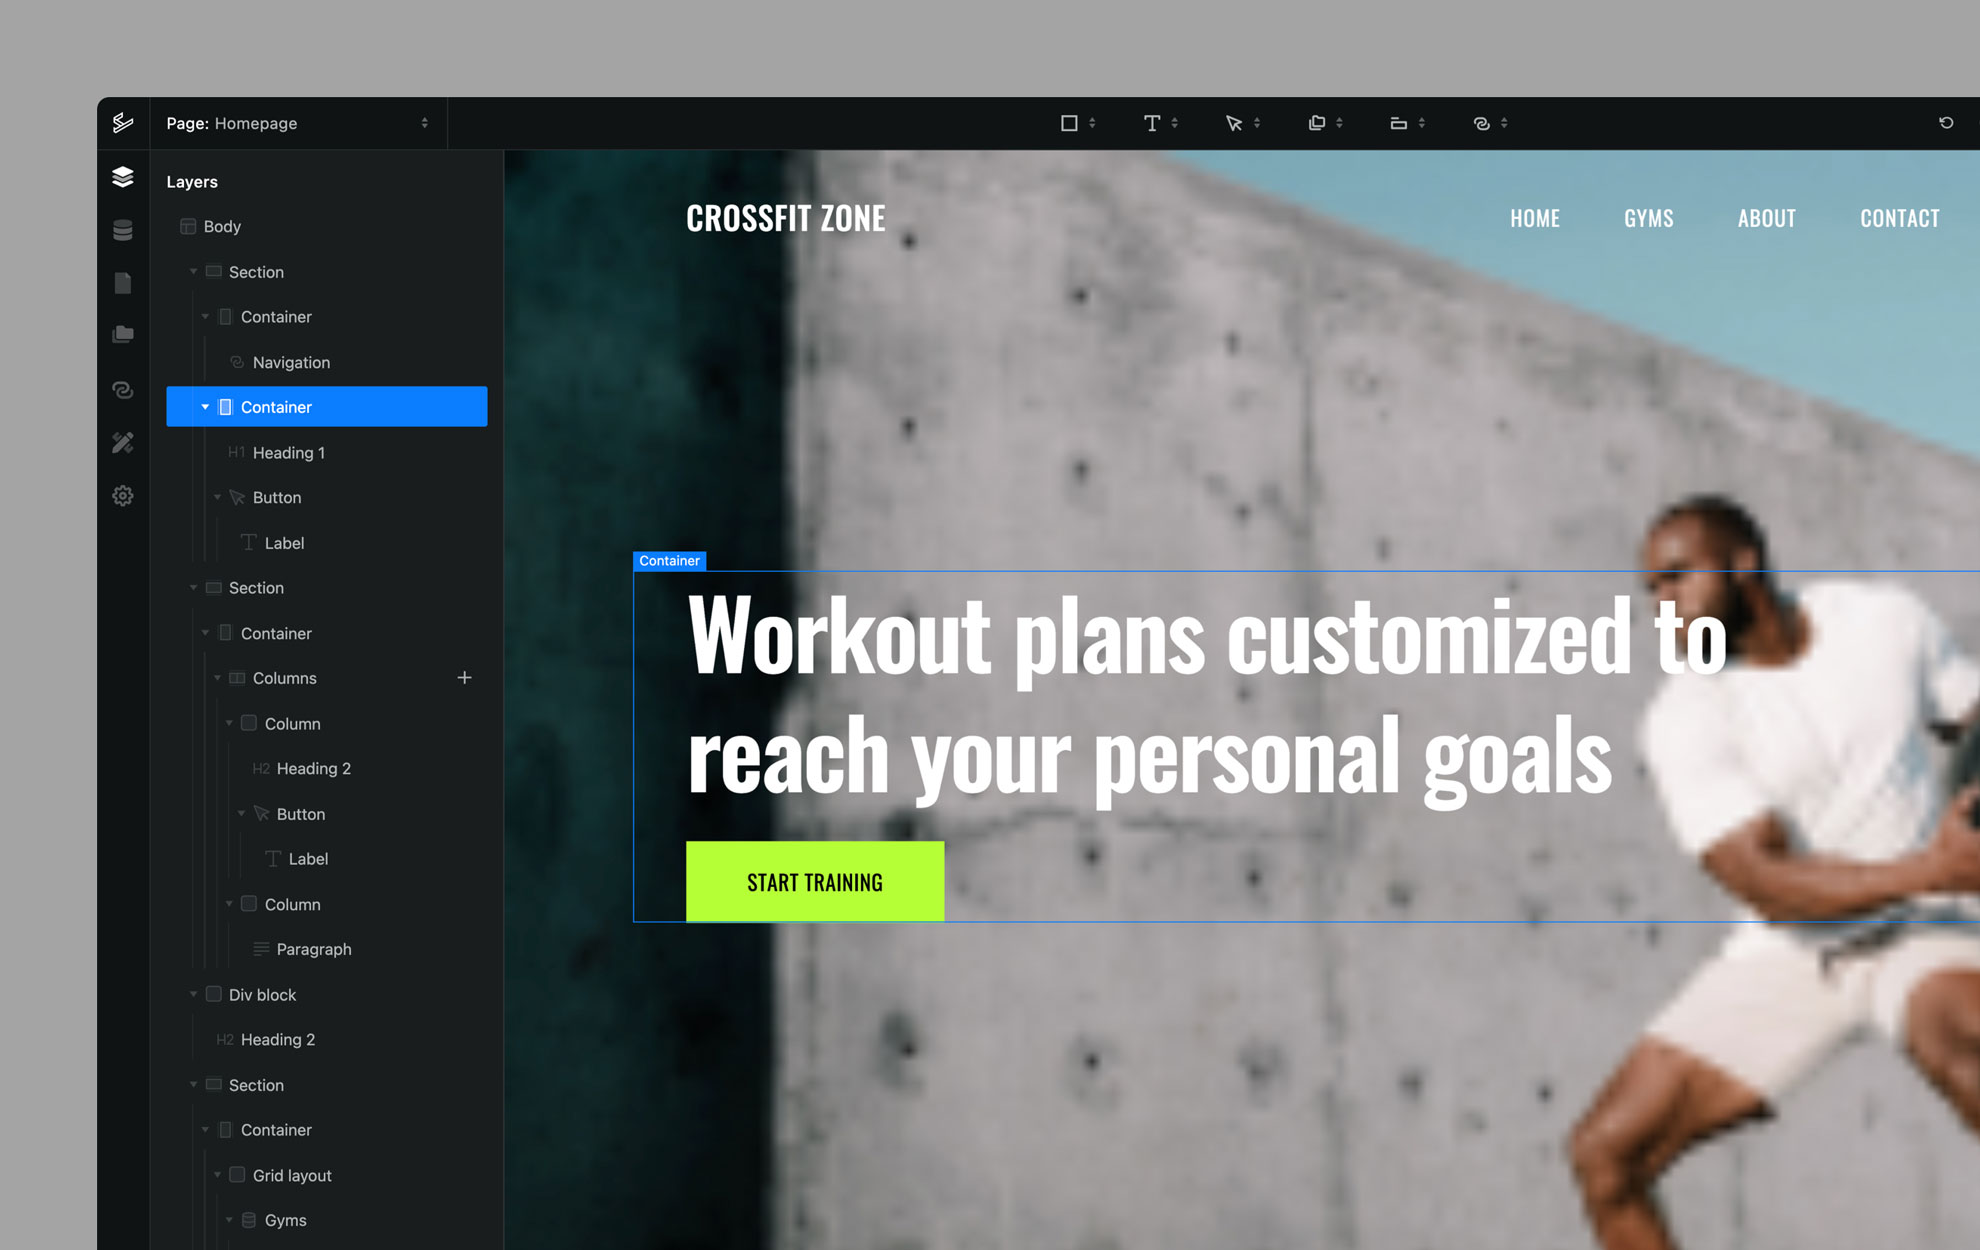
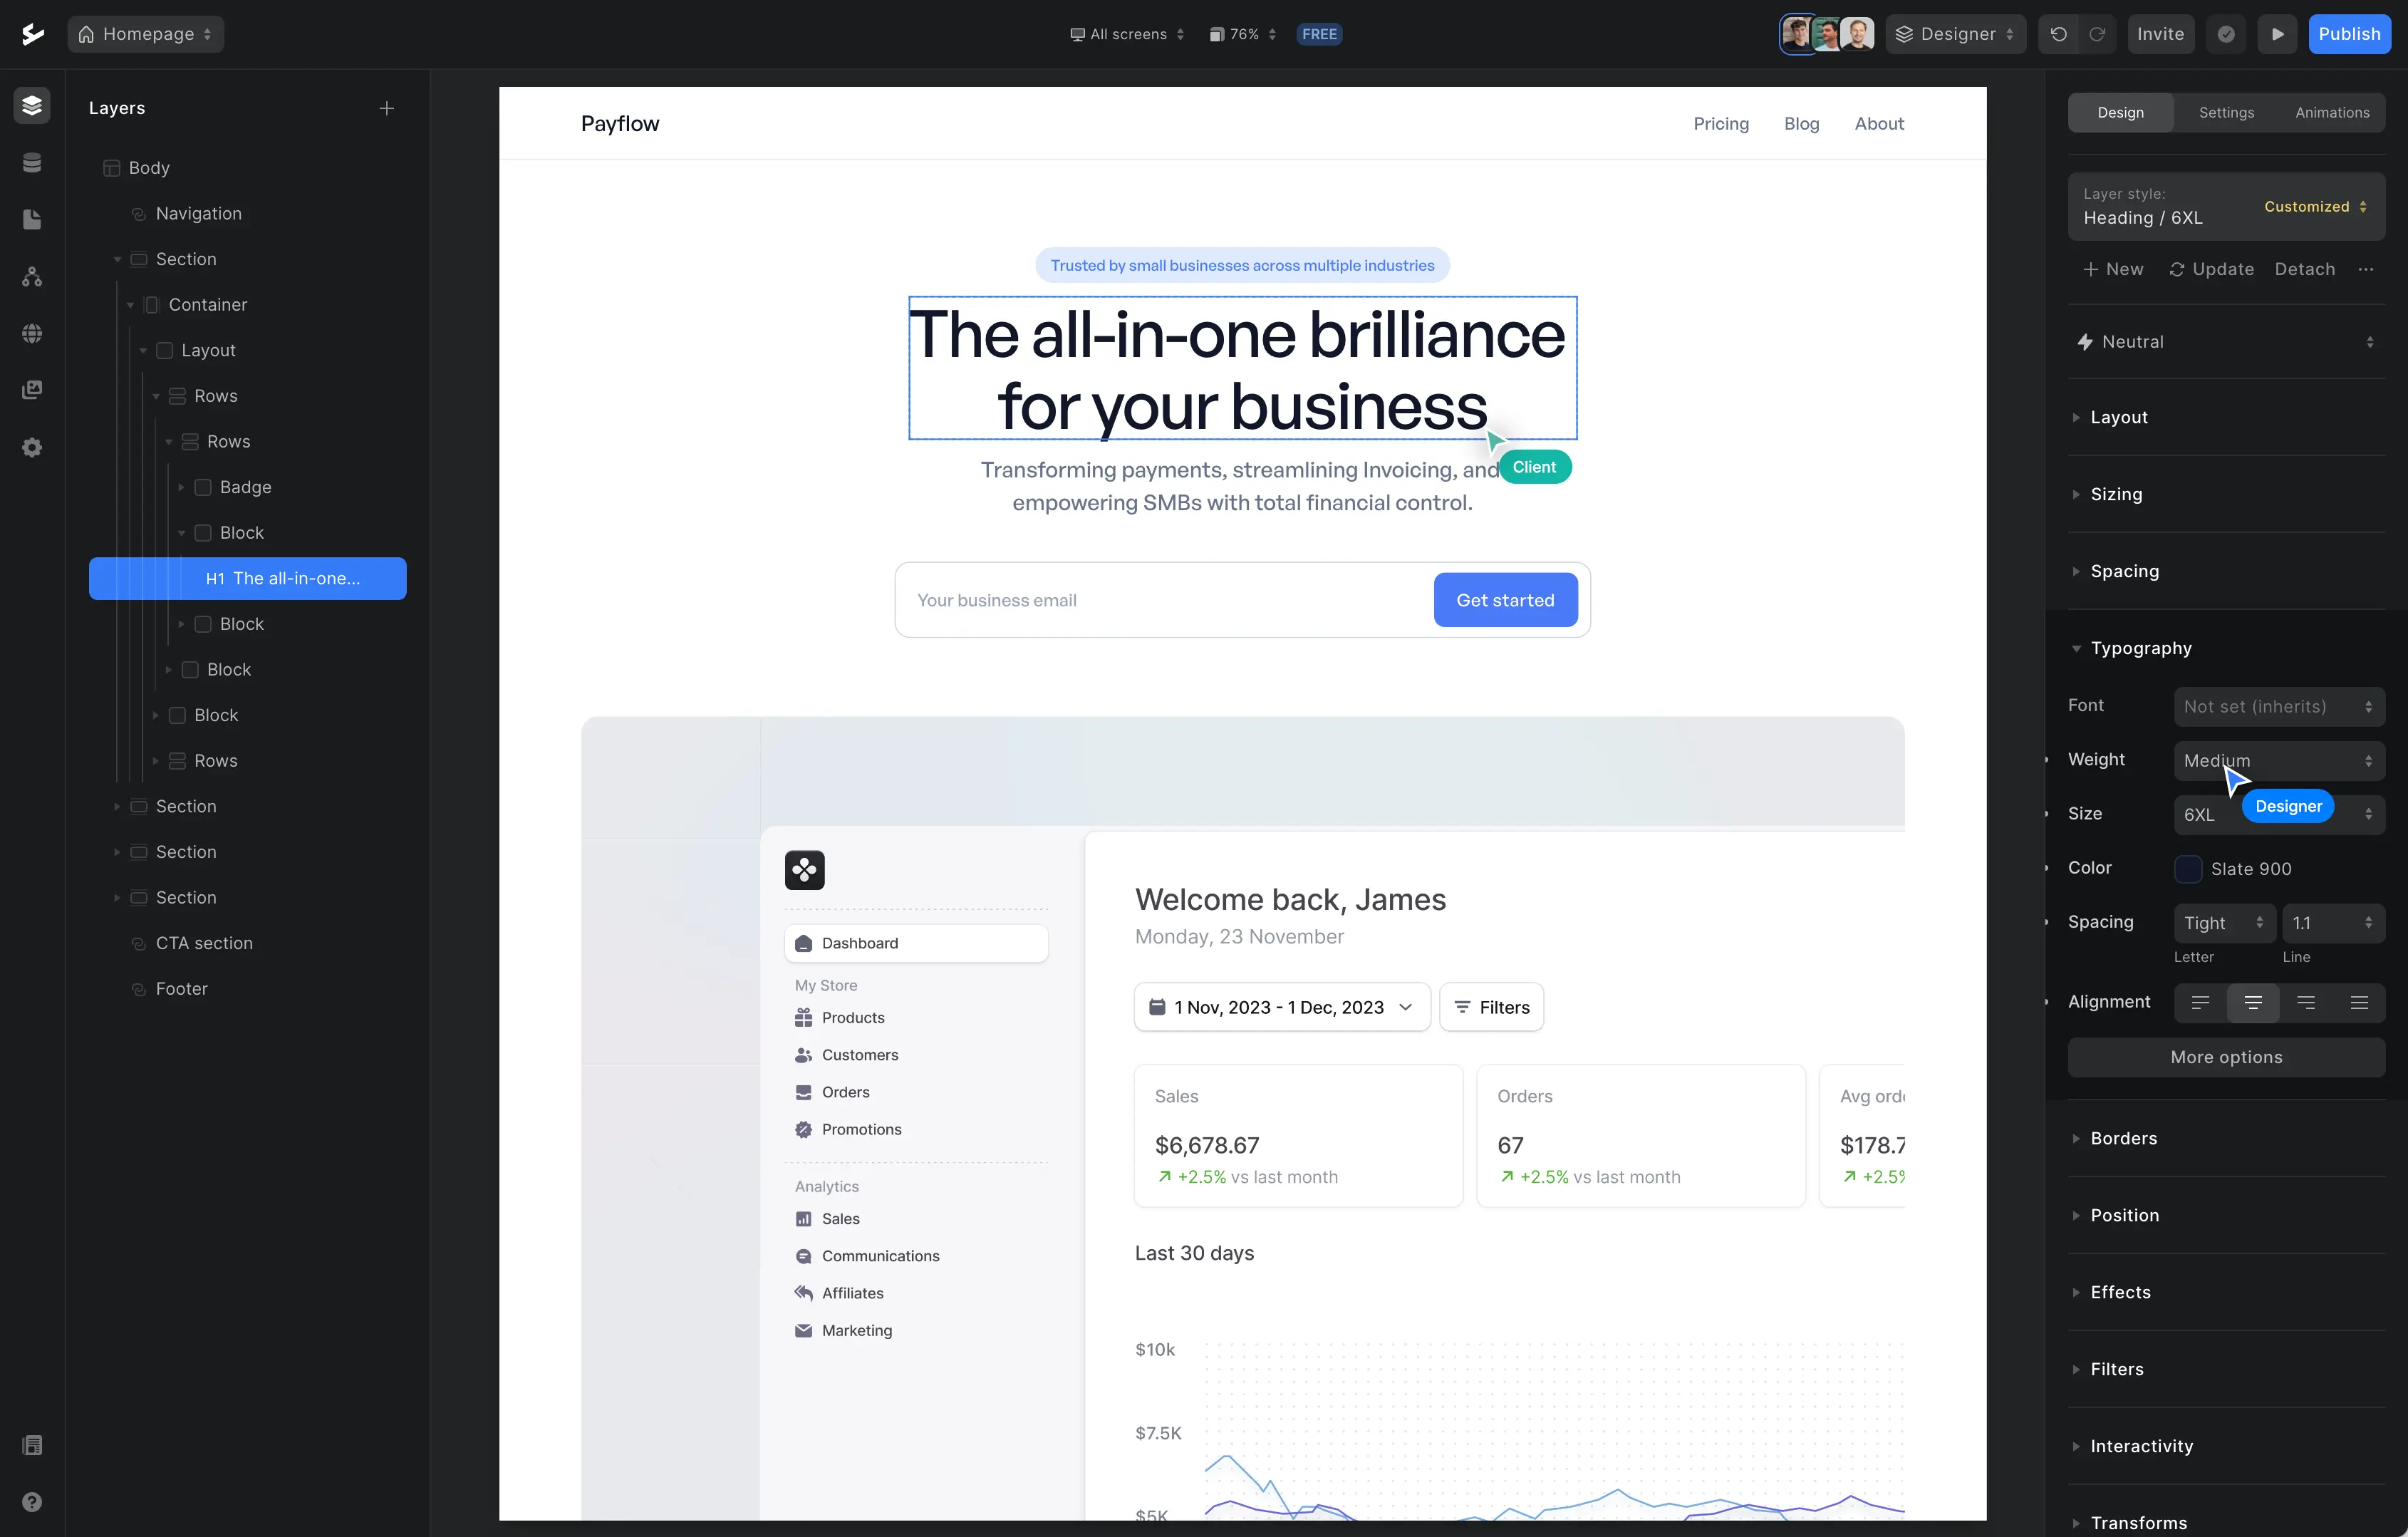
Each header is different, but most of them start with a Section and then a Container. Inside this container, you can add a heading, text element, and a button (that you’ll link in the settings tab).
In the Design settings under Background, you can then pick a color or image (like we did in our gym template). To have the background fill the entire width of the page, you need to set it on the Section layer in the design settings.
Footer
If the navbar is the warm-up, then the footer is the closing act. Placed all the way at the bottom, this element recurs on each page in the same form. Footers often contain links to legal documents such as the Terms of Service and Privacy Policy, as well as the All Rights Reserved statement.
A footer can also include:
Useful links to pages that weren’t mentioned in the navbar
Store address
Opening hours
Social media links
Contact information
Newsletter signup form
Sitemap
Site-wide links for SEO purposes
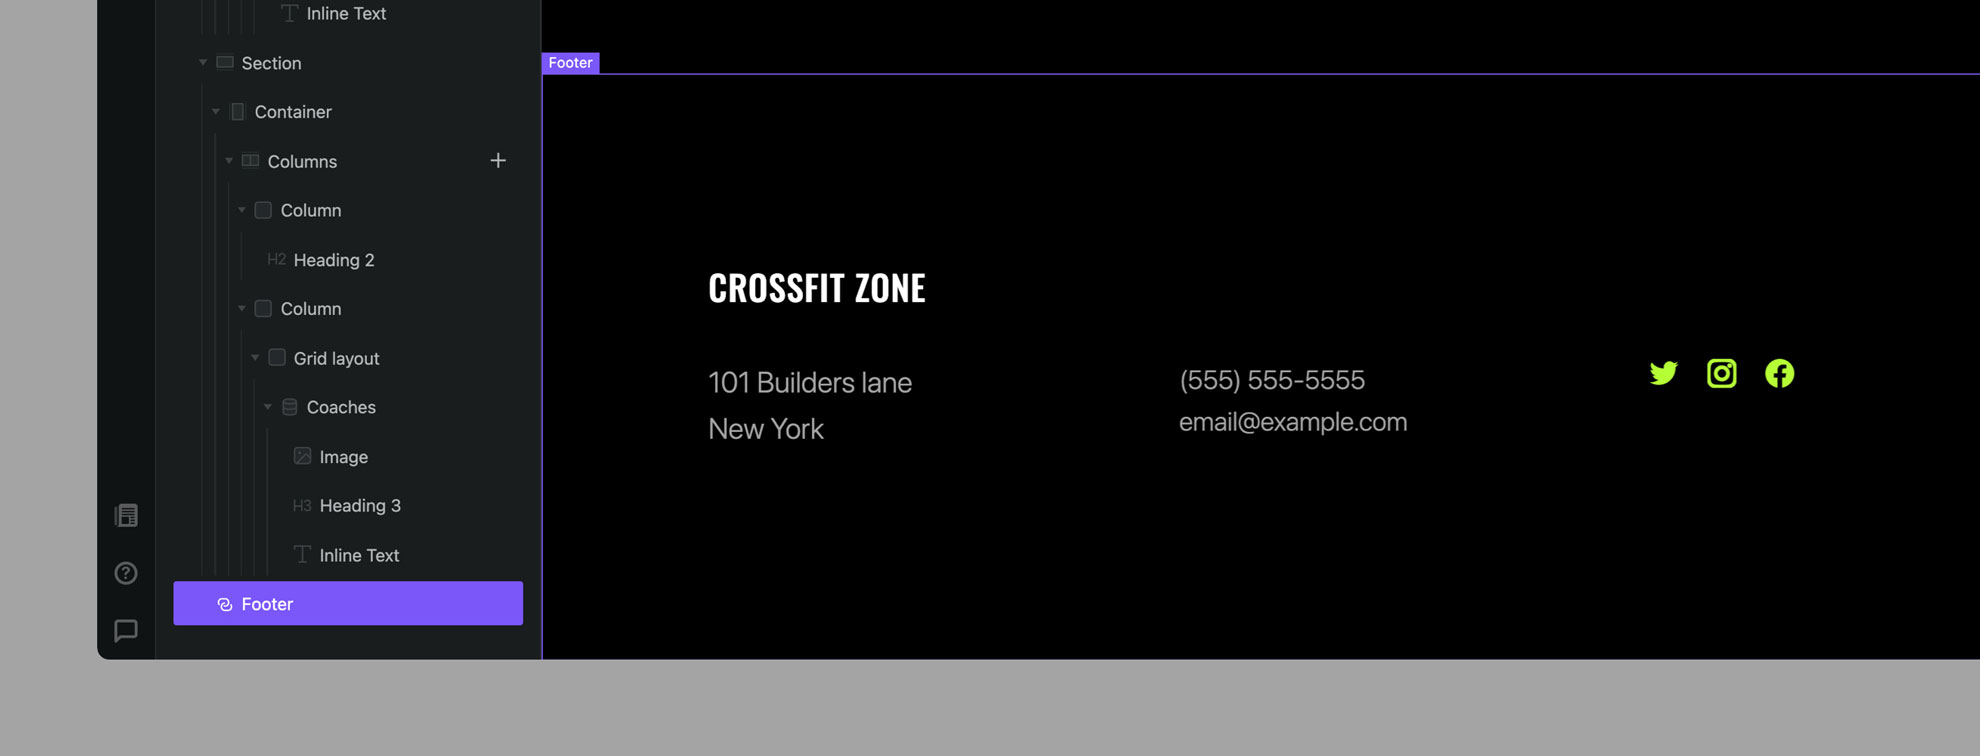
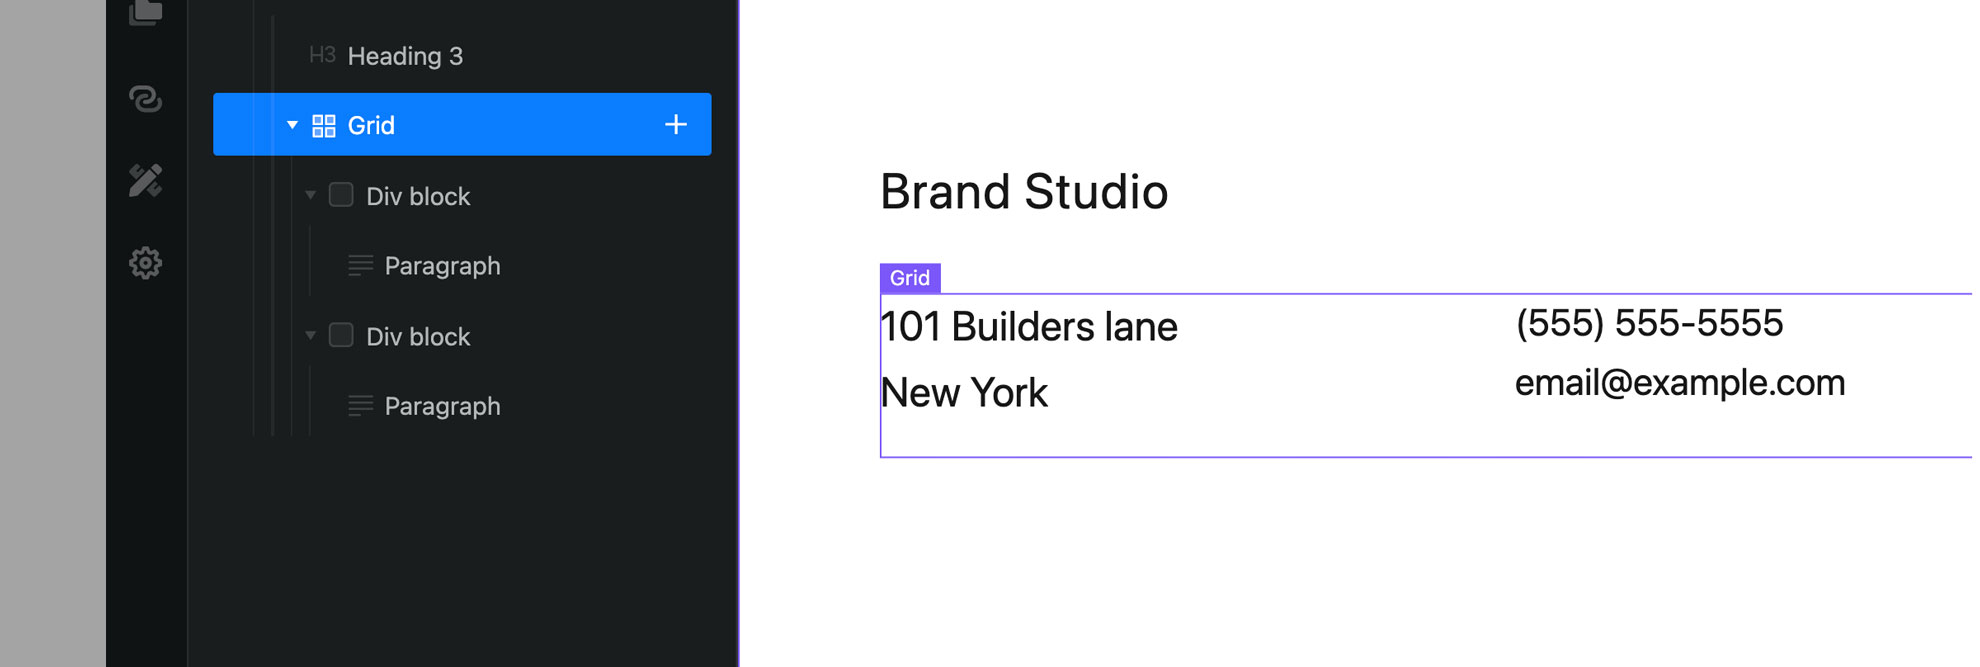
A footer is easily created in site builder Ycode. Start with a Section and add a Container inside.
Most footers have a few different columns next to each other. You can build these columns by inserting a Grid with Div blocks in the container. In each div block, you then add content—headings, paragraphs, text links, social sharing images, etc.
Cruise mode: Elements to fill your own website
Congrats, you’ve made it halfway through and built a great foundation to work with! Now it’s time to take it easy and fill the rest of your landing page website template with content.
Which pages do you want to add? And what information has to be mentioned on each page?
Tip
To add new pages to your website, click on the Pages section (the page icon) in the menu on the left side. Here you can add pages (with the + sign) and customize the general, SEO, and social share settings of each page.
Outline the content for each landing page and then decide what web elements best help to show this information.
Most-used web elements:
Content (text, image or image/text elements)
Image (gallery)
Video (gallery)
Table
Grid
Product description
Newsletter signup form
Contact form
HTML embed to display external content
Tip
In website builder Ycode, you can use all the elements mentioned above, and drag and drop them into your canvas from the top panel. You can also combine elements and then save them as a component, so you can reuse and insert it more easily.
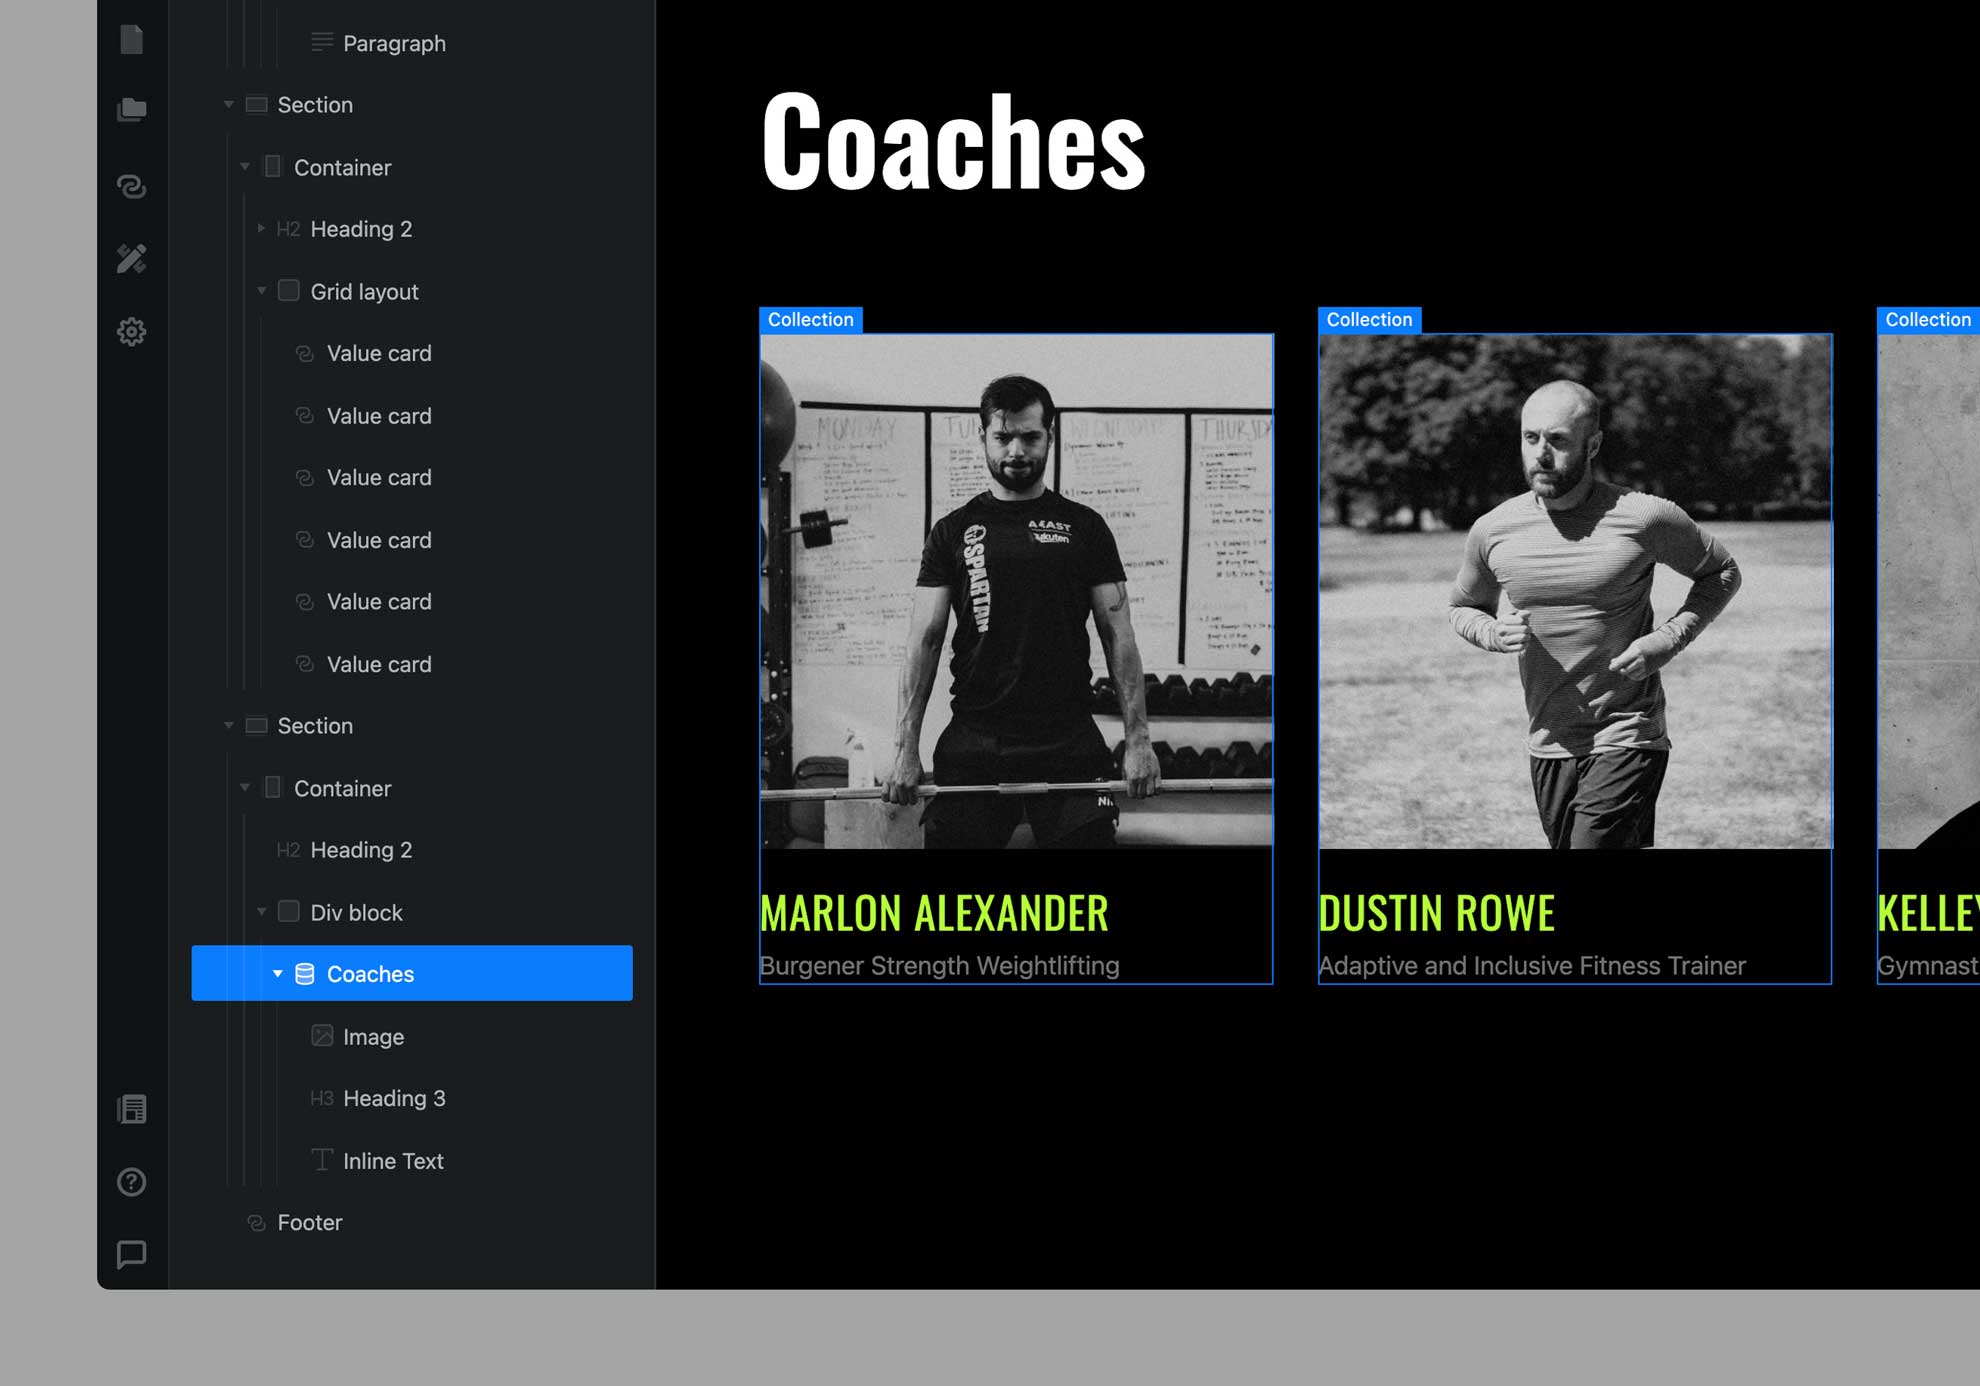
In the gym template below, the homepage includes an about, location, and trainer section.
Make content interactive and save time
Do you want less hassle maintaining your website and web elements that (almost) update themselves? Meet dynamic content.
With dynamic content, information is not static, but taken from a database and shown in real-time. This is how you create elements that can, for example, automatically show the most recent blog posts or new products with their pricing in your online store.
➜ Read the dynamic content documentation
In the example below, dynamic content is used to create the about section. The coach images, names, and job descriptions aren’t added statically on the page, but in a database.
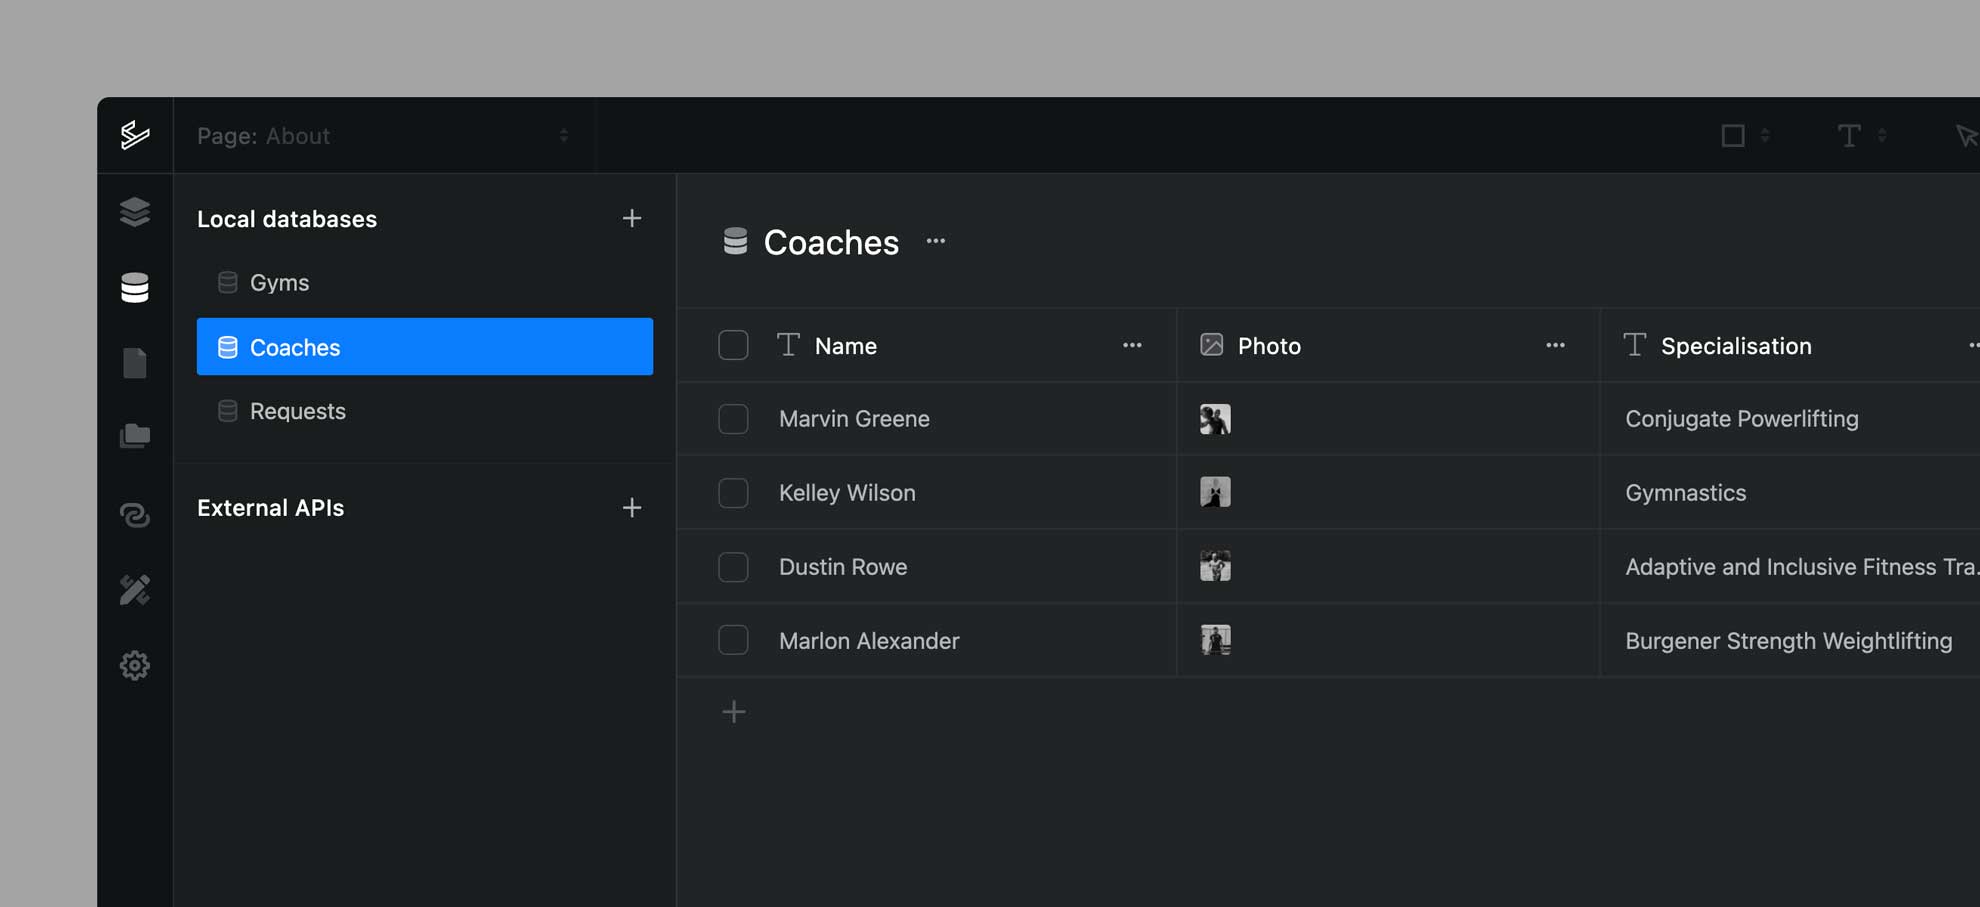
Each element (image, header, and text) is connected to a different database field. When a new coach joins the team, their information can be added directly to the database and their profile will be shown on the page automatically. Talking about a professional-looking website!
You’ve reached your destination!
We’re almost ready to land and end this journey. Before you can hit publish and launch publicly, there are a few things left on your to-do list.
Increase your online presence with SEO optimization for each page
Or, if you don’t want people to find your website on search engines, select the option to exclude your website from site search results in the SEO page settings
And of course, take all the time you need to tweak your website design and work on elements until you’re happy. You can share any roadblocks or questions in the Ycode community and get help from other no-code builders.
But for now, let’s celebrate: YOU DID IT! 💪 That wasn’t too bad in the end, right?
We’re super curious about your website templates! Share your link in the comments.
Get your project started today
Discover our intuitive visual editor, use built-in CMS collections, SEO features and launch your web projects with ease.