Importing data manually
Once you’ve added all the fields you need it’s time to add data to the fields. This is done in the Application data tab. To insert data manually, select + New entry.
When you manually add a field, you will need to fill in the Name and a Slug (the URL part). The slug is automatically copied from the name, but it can be changed separately.
Imported data can be uploaded in CSV-format. Once uploaded, you can map columns to fields, create new fields and skip columns if needed.
Importing data in bulk
Since dynamic content is all about making your life easier, it comes as no surprise that there’s a way to bulk import data. This lets you make changes in a CSV file and upload it all at once to transfer these changes to your site. Speedy Gonzales-style.
Uploading a CSV
In your project settings, open the database in the left sidebar and then click on the Application data tab on the right side. This is where all the database fields are at.
Above the table you’ll find four options:
Export (available soon)
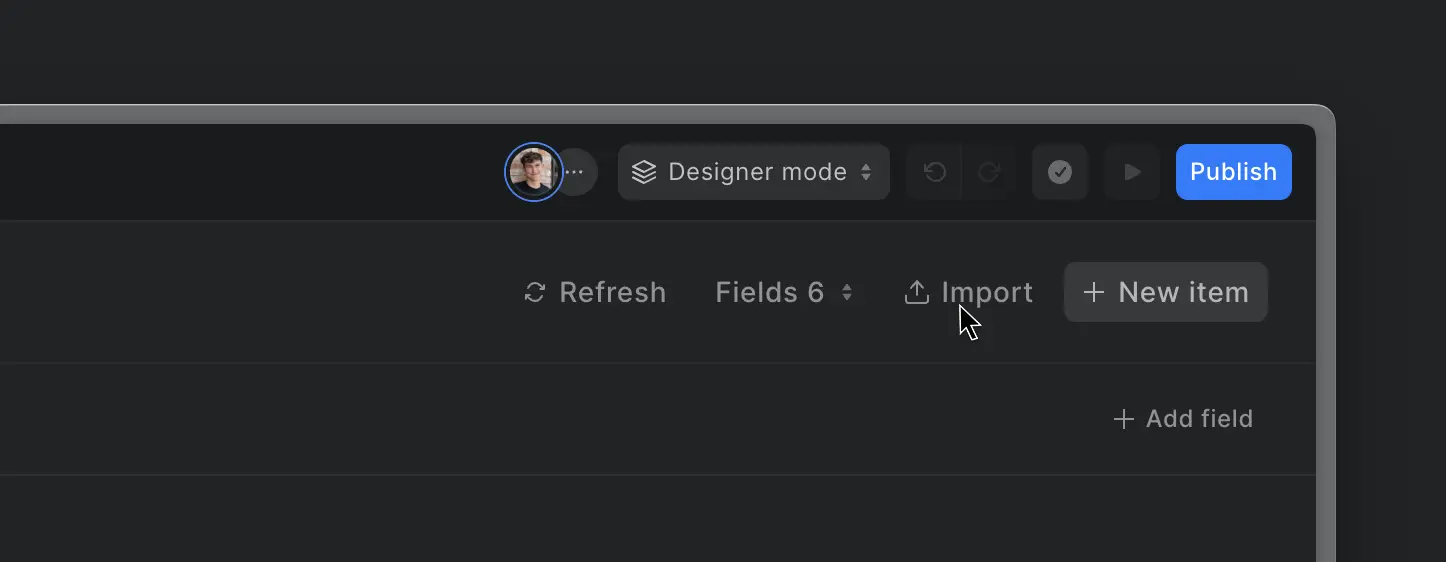
Import
Delete
New entry
To upload a CSV, select Import. Then select Browse file to search through your computer and find the file.
Once your CSV file is uploaded, you can map columns to fields, create new fields and skip columns if needed (see below). Once you’re finished, you can import the data.
Note: The maximum CSV file size is 100MB.
Removing data in bulk
To remove several data entries at once, go to the Application data tab and select the entries you want to delete. You can select all your entries at once by marking the checkbox on top. Then click Delete on the top right.
Mapping columns to fields
In your CSV file, all information is stored in columns and rows. Once uploaded, you can attach column headers to field labels (Name), and map columns to fields (Bob). The values (text, numbers, valuta, etc.) will be taken from the rows for each field label.
Mapping fields
Choose which columns to map. On the left side, you’ll see the data and on the right side, you can select the right column from the dropdown menu.
Creating fields
You can also create a new field to map to a column. Open the dropdown menu and select Add new field. You can then define the field type and give your new field a name.
Skipping fields
Are there columns you don’t want to map? Simply skip them by selecting None in the dropdown under Import as.
Empty fields
If a cell within one of the columns is mapped to a reference field, and it’s empty or does not contain any values that exist in that database, the reference field will be left blank.
Preview
On the left side, you can see a preview of the data in the columns that will be imported. You can only preview these few lines, the full data is shown once the import is completed.
Sorting data
Once your data is uploaded in the Application data tab, you can sort it by using the arrows at the top of the table. Click on the header you want to sort and press inside the column to change the direction to ascending or descending.
Searching for data
When you’re in the database section with the Application data tab open, simply click Control or Command + F to search for specific data using keywords.
Structuring CSV files
If you’re uploading an exported file (for example from your e-commerce or CMS), you can 99% be sure the structure of your CSV isn’t a hot mess. In which case, you won’t have any issues uploading it to Ycode.
If you are creating your own CSV file, we’ll share some tips below on how to properly structure your data.
To create your spreadsheet, you can use programs like MS Excel, Google Sheets or Airtable.
In spreadsheets, each column represents a field and each row represents items and their values.
Tip: If your row only contains numbers, dates, etc., you can apply this format to the row in your spreadsheet to make it easier for Ycode to recognize values.
Ycode can recognize a variety of field types. In the list below you’ll see which types you can use, and how you should format them in your spreadsheet.
Text: Plain text field with
Text area: Plain text field with numerous amount of characters
Rich-text: Any values can be mapped to this field. The value of this field should be HTML code. During import, code will be cleaned (removal of elements, classes and attributes that are not supported). Therefore, please double-check your rich-text fields afterward
Number: Number, without any letters, symbols or commas (so 10000, not 10000 USD, $10000 or 10,000)
Date: Any supported date format
True/False: Either true or false
Link: URL
Email: Email address
Phone: Phone number, with or without the country code, written with two zeroes (00) or the plus sign (+, add ' in front to avoid activating a formula)
Image: Direct URLs that ends with the image file extension (.jpg, .png, etc.). Only support extensions will be imported
YouTube: Only YouTube videos are supported at the moment. Enter the video ID, which is the part after ”v=” in the browser URL: www.youtube.com/watch?v=3tM103RrHJE
When you’re done, save your spreadsheet as a CSV file.
Make sure to select the type “Comma Separated Values”. Other extensions can have trouble rendering correctly.


