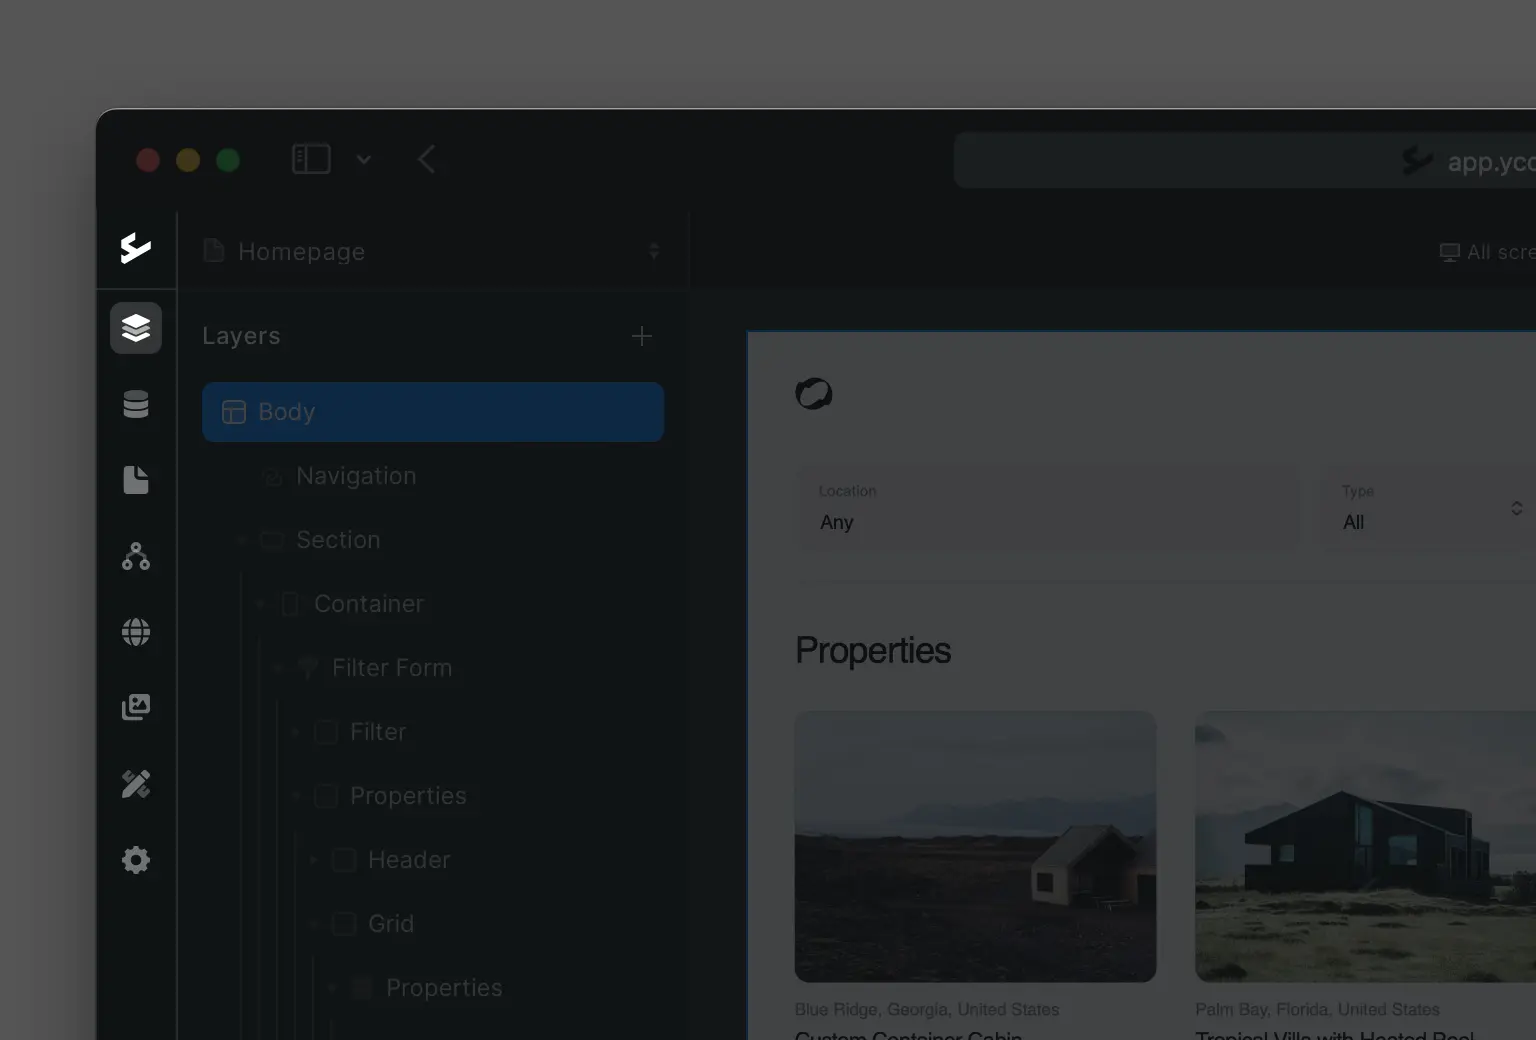
Left-side panel

Ycode logo

Click on the Ycode logo to navigate to your main dashboard, where you can view and create projects, and access your profile settings.

Layers

Click on Layers to open your canvas. In this view, you can see the Layers sidebar (1) on the left, your Canvas (2) in the middle and the right sidebar (3) with a Design and Settings tab.

CMS

CMS are used for dynamic websites. These types of websites grab information from a database and present that information each time the page loads. If you make changes in the database, the content will adjust accordingly.

For example: You run an online store and feature new arrivals on your homepage. Instead of manually updating the homepage, you can use a database to automatically display new products—either by updating your Ycode database or syncing it with your inventory management software via API.

Database-driven websites are a huge time-saver when it comes to maintenance/updates. They also make it possible to create personalized websites and web apps (like your banking app).

In the Databases section, you can manage your local database and API.

Local database settings

  • Click the Plus + icon to add a new database

  • Use the Data name field to add or edit a name

  • View the existing fields (created and update date are there by default), and add new ones by clicking + Add field

  • Click + Add relation to create new active relationships for your table

Application data

In this tab you can add single record entries (+ New entry). To delete entries, select those you want to erase and then press Delete on the right-side above the table.

The search bar can be used to search for specific entries.

Don’t forget to hit Save before you exit the screen.

Pages

In this view you can edit the settings of all the pages within your project. If you have more than one page, you can select the page to edit in the left-hand menu.

File manager

This is the file manager, where all your uploaded images, videos and documents are stored.

You can upload files in bulk by clicking on the Upload files button.

To delete files, either manually select pictures or click the Select all button on the top right. The search field can be used to look for specific file names.

Components

Components will save you time when your website design contains the same elements. Simply save a set of elements (a component) and then easily insert it via the top panel in your canvas.

To create a new component, open the Layers view and then select the group of elements you’d like to save (e.g. a section with nested elements).

Right-click on the top-level element (e.g. Section) and click Create component.

Now, if you head back to the Components tab, you’ll see the saved component you just created and named.

Select the component in the left sidebar and right-click to edit, rename, duplicate or delete the component.

In your canvas on the left, you can edit or expand the component.

Don’t forget to press Save before you exit.

Design controls

In this control panel you can see all the different colors and shades that belong to it. It’s the perfect place to add a custom palette with your brand colors, so you can easily find and use these colors for backgrounds, headings and blocks when building your website.

Click on the Create color button or the + icon next to Colors (left sidebar) to add your own shade palette.

You can make changes to existing palettes by hovering over a shade and then clicking the pencil icon on the right. To delete a shade, select the trash bin icon.