Overview

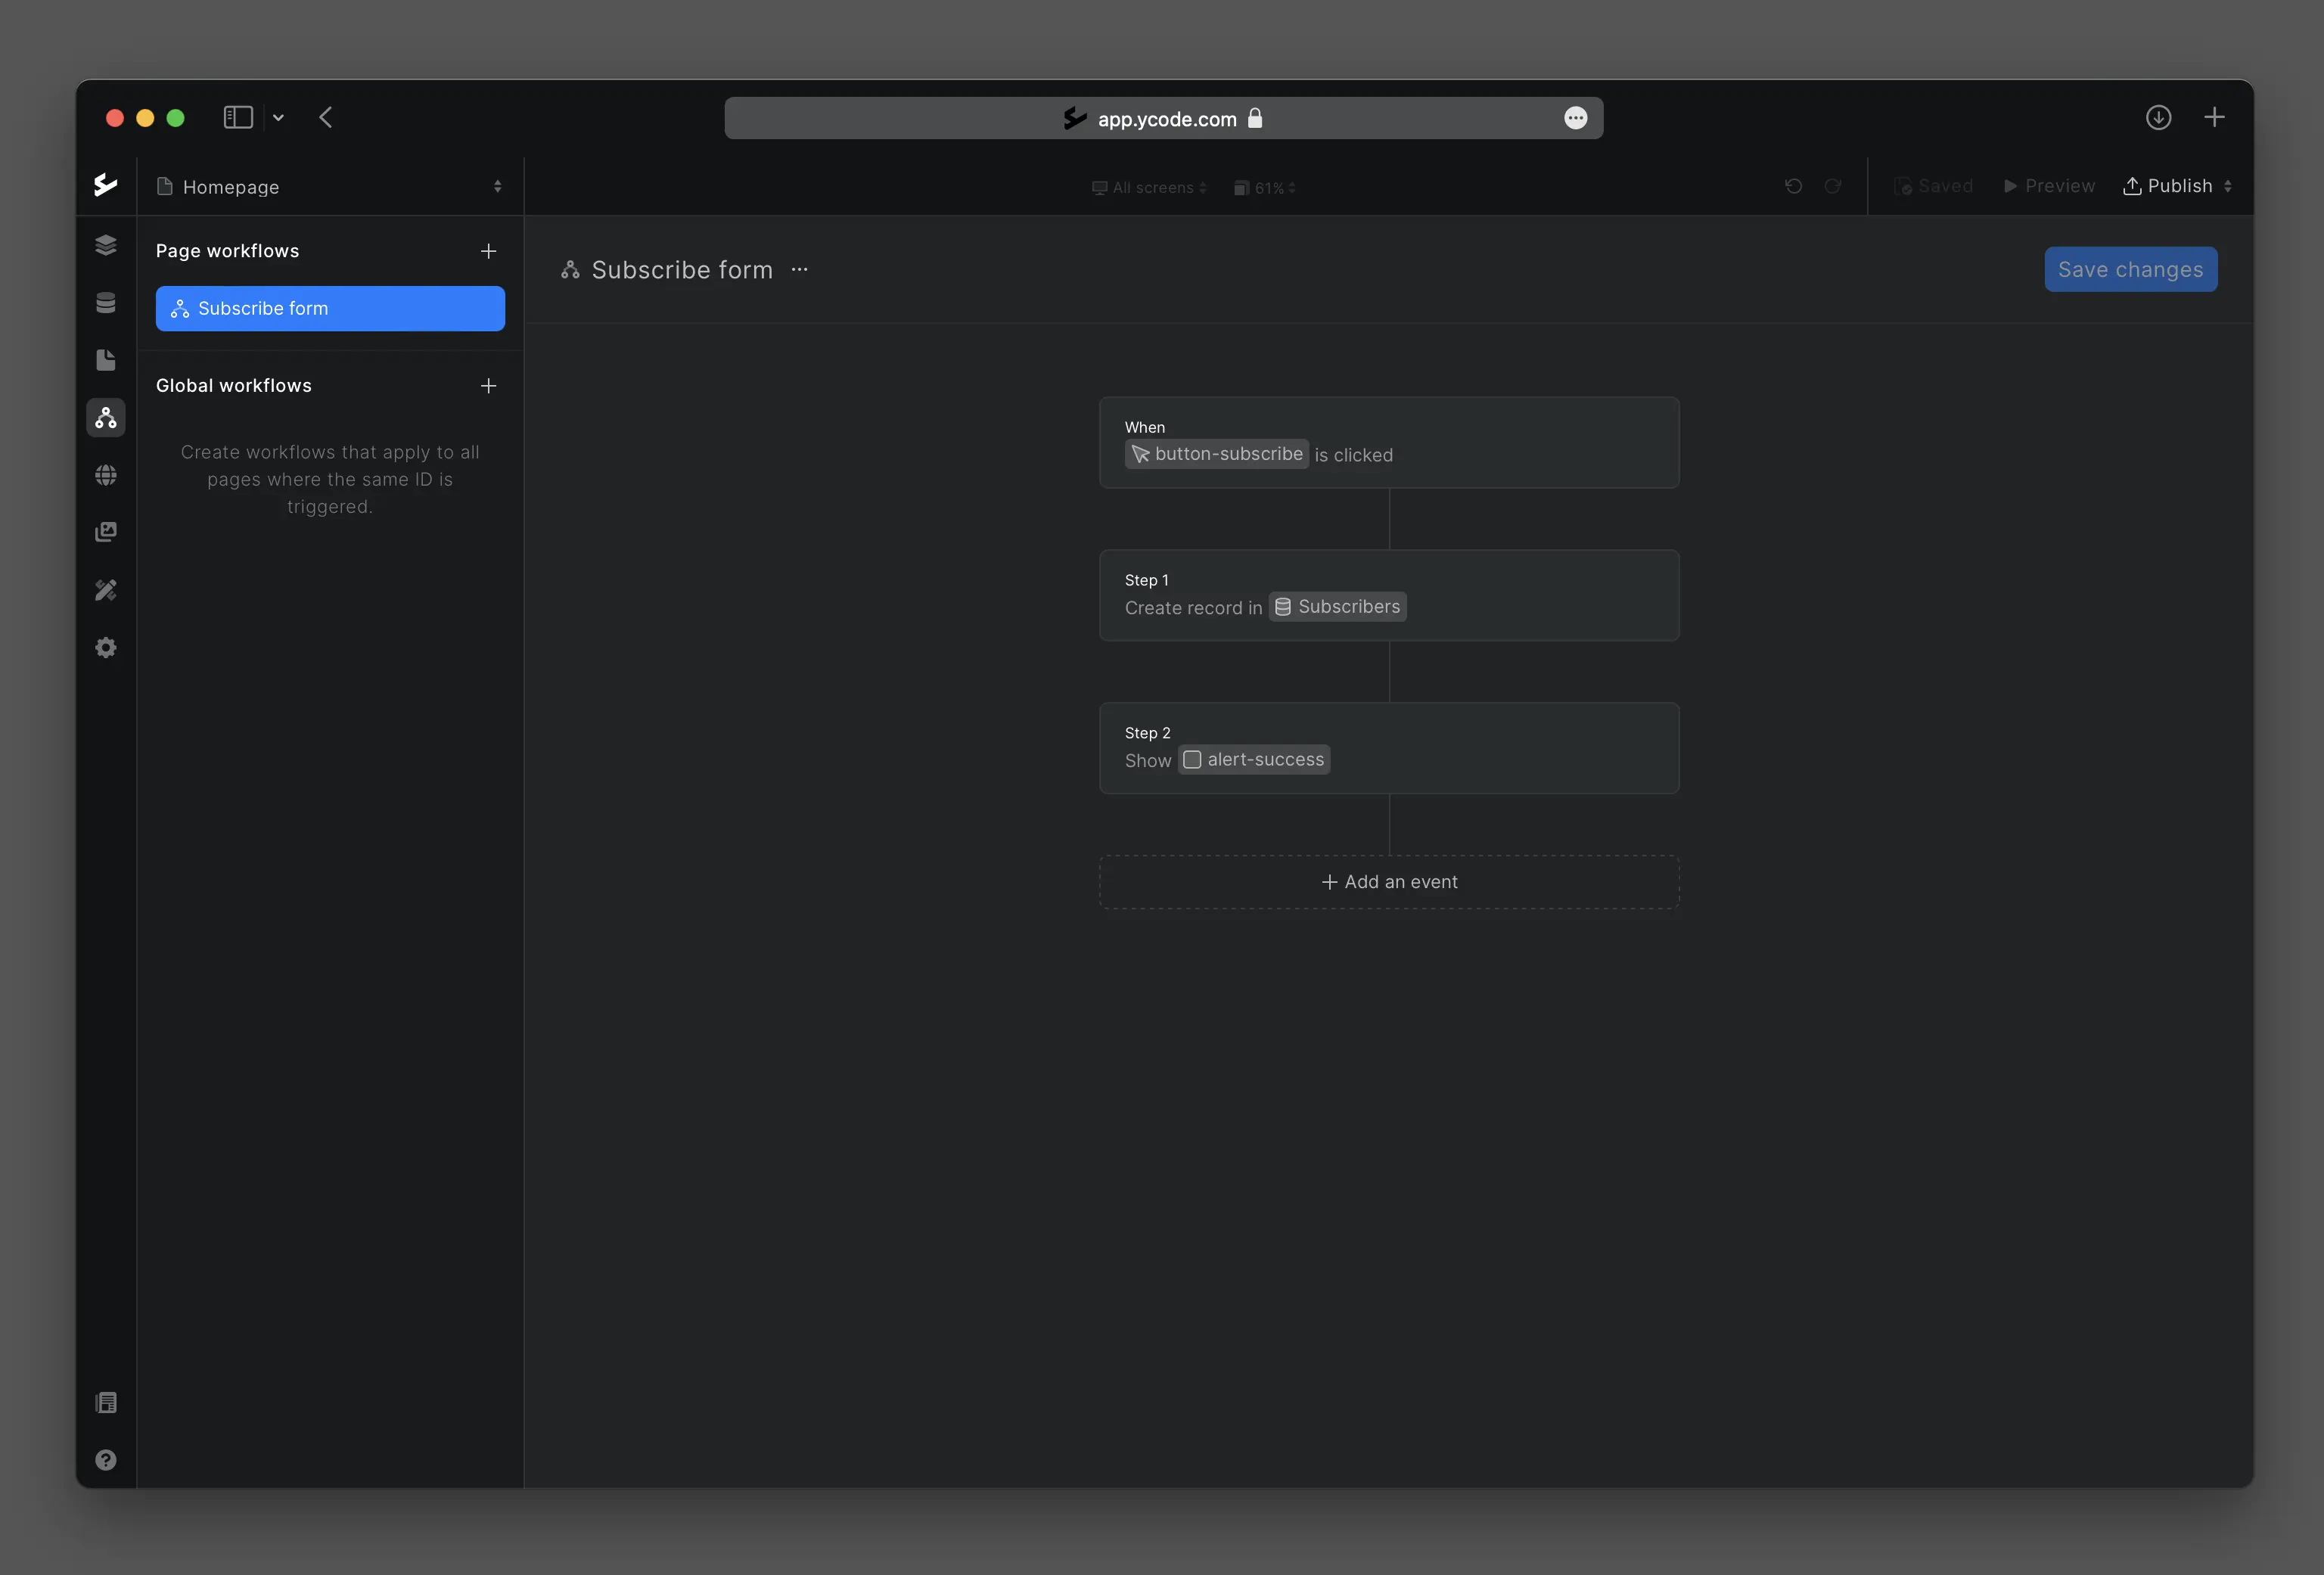
Workflows are step sequences that automate the way you work.

In Ycode, you'll easily build workflows in the intuitive workflow environment. You can use them for a variety of tasks, such as triggering an email to send, showing or hiding elements, and showing a (pop-up) message.

Continue reading to learn about all available workflows and how to build them in Ycode.

Types of workflows

In Ycode, you can build two types of workflows:

  • Page workflows

  • Global workflows

Page workflows are specific to a page and element. They have a unique ID that cannot be repeated.

Global workflows let you repeat a workflow and use the same ID on multiple pages and elements. This is useful in many situations, such as:

  • Having a button redirect to a specific page on multiple pages

  • Having several forms with the same workflow

While both workflows are created in the same way, the difference is that with page workflow the ID is used once, and with global workflows, you can repeatedly use the same ID.

Where can you find and use workflows?

You’re able to find the Workflows tab by going to the left-hand side and selecting the third icon. Here you will be able to start creating your workflows by clicking on either + Create page workflow or + Create global workflow.

You can then add an event and select from two different “When” events, General or Elements.

Inside of General, we have Page is loaded this will make it so that when your app page is loaded an action will happen (you will assign this action on the next step).

Inside of Elements we have Clicked on element and Clicked outside of element for the former the action will happen after clicking on an element, and for the latter, the action will happen after clicking outside of an element.

If you select any of the events under Elements you will have to choose which element you want to add/tie the event to.

To do this we need to assign an ID name to the element, go back to the canvas, select the correct element, then go to the right-hand side and go into Settings. While on the settings, under Attributes you will have ID there you can give an ID name to your element.

Note: You can also right-click on the element you want to tie the workflow to and select either Create page workflow or Create global workflow, this will automatically assign a random ID name to that element.

Once you have done so simply go back to the workflows tab and select the element you just named by clicking on Select Element.

Once you have chosen your first event we will then have to choose the action that will happen when that event is triggered. Simply click on Click here to add an event again to see all of the options.

This will again be divided into different events, however, the actions that follow are different.

In the next sections, we will be explaining step by step how each action works and giving examples for each one.